Introduction
Tools
Parts
-
-
It's not easy, but I know that with this guide you are able to do it too.
-
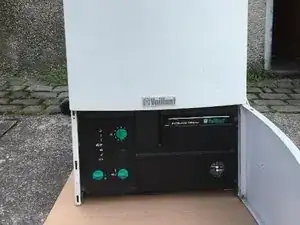
remove the bottom white plastic grid with a Philips screw driver
-
close the incoming cold water. disconnect device from electricity.
-
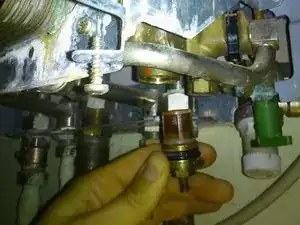
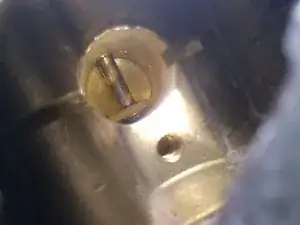
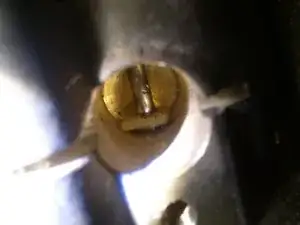
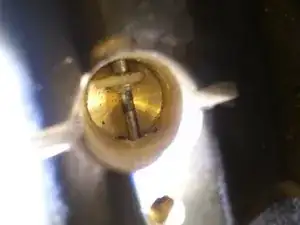
remove the the filter screw with a 14mm spanner
-
clean the filter, put it back and test if you can get hot water from the tap. dont forget to reopen the the incoming cold water :-)
-
If still no hot water, go to next step
-
-
-
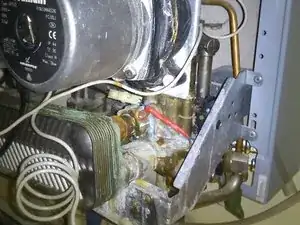
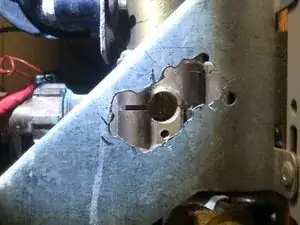
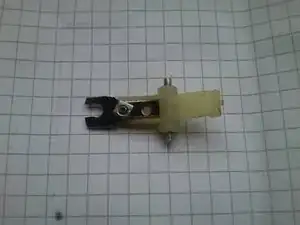
remove the front and the right side cover with a screw driver to see the water flow switch (black micro switch with green rubber seal)
-
open the hot water tap to check if the micro switch is being pressed by a whitish lever
-
If yes, check the switch for contact failure according to my earlier guide.
-
if the switch is not being pressed by the whitish lever then you have to check if the lever is not broken
-
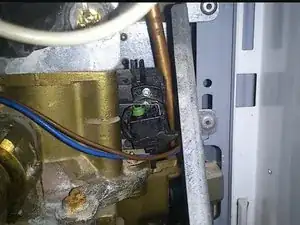
Remove the micro switch and the micro switch bracket screws (2 pieces). To do this i cut & drilled some extra holes on the metal plate.
-
-
-
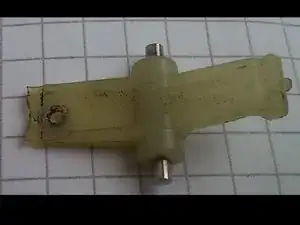
in my case the whitish plastic lever was broken on the inside( left side on the picture), one small part was left attached to the vertical moving shaft of water switch, (see pictures.)
-
so i drilled a 2mm hole on the plastic lever and manufactured a fork like end for it. I used 0,6mm thick steel plate.
-
I attached them with a 2mm nut and a bolt. the openinng cut on the fork is 3mm. if you need a metal fork manufactured and posted, just let me know.
-
-
-
before you put everything together , check if the vertical shaft in the water switch unit is moving up when opening the hot water tap.
-
if it's not moving , unfortunately you are out of luck. You might try hammering it a bit from outside.
-
To reassemble your device, follow these instructions in reverse order.
2 comments
super-guide!
Thank You. I make it in similar way.