Introduction
This guide covers how to remove the Blu Ray disk drive in the Xbox One X. This is a straightforward process once the outer shell of the Xbox has been removed.
-
-
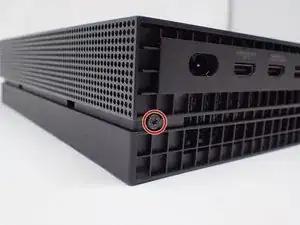
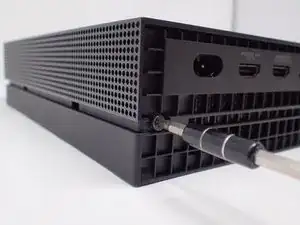
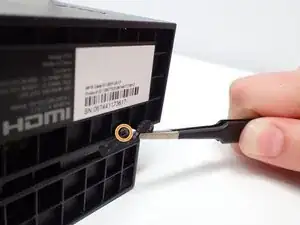
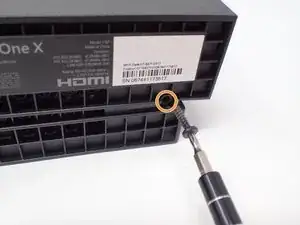
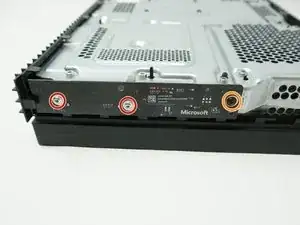
Use a T9 Torx screwdriver to remove the 13mm screw which is under and to the left of the power input.
-
-
-
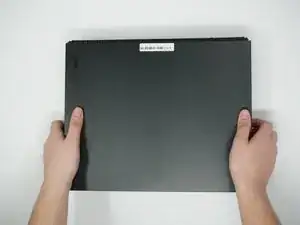
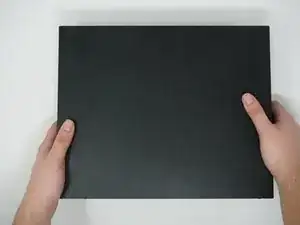
Orient the case so that the front of the Xbox (the side with the power button) is facing you.
-
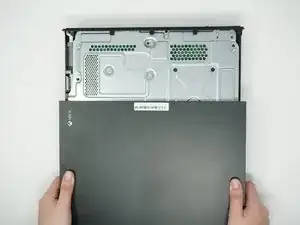
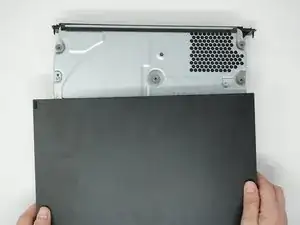
Remove the top of the case by sliding the case towards you.
-
-
-
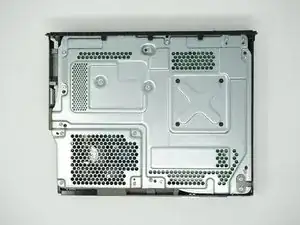
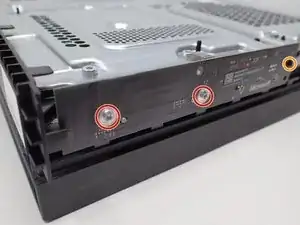
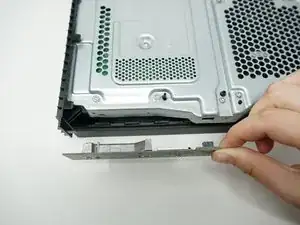
Using a T9 Torx screwdriver, remove the two 15mm silver screws that are holding a circuit board/panel to the side of the interior metal casing.
-
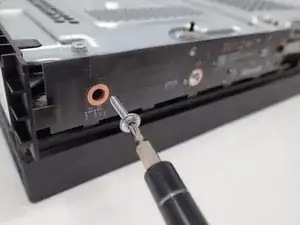
Using the same screwdriver, remove the 9mm black screw located farther to the right on the same circuit board/panel.
-
-
-
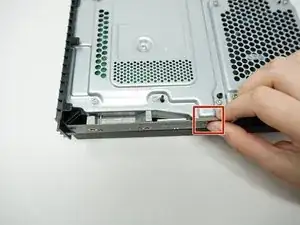
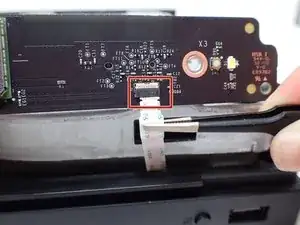
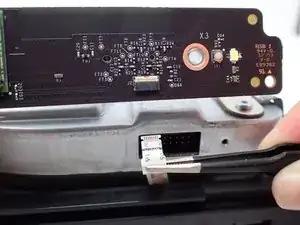
Pull the upper edge of the white clip down, and then remove the white connector from the dislocated panel using precision tweezers.
-
-
-
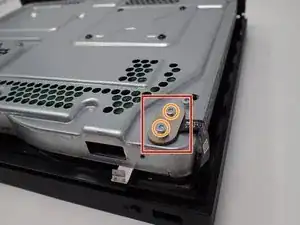
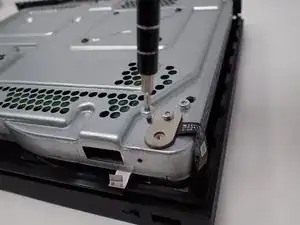
On the top of the device in the corner directly above the white connector, there is an oval plate held in place by two screws.
-
Remove both of these 7mm screws with a Torx T9 screwdriver.
-
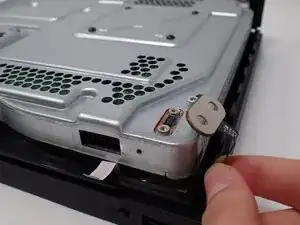
Lift the detached plate off to the side.
-
-
-
Use a Torx T9 screwdriver to remove the six 47mm long screws, which attach the bottom side of the outer case.
-
-
-
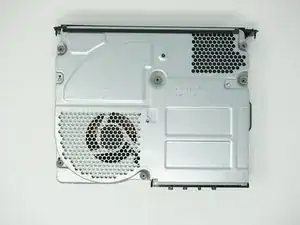
Turn the Xbox over, so that the bottom of the case is on top.
-
Lift the bottom of the case off of the Xbox by pulling it up and toward you.
-
-
-
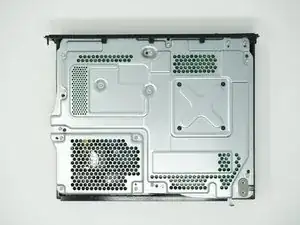
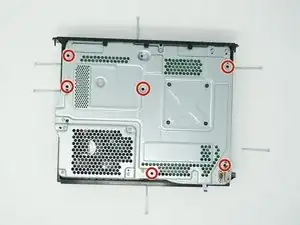
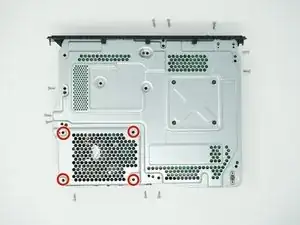
Flip over the device again, so that the top is facing upwards.
-
Remove the 4 smaller 11mm screws in the lower left corner on the metal casing using a Torx T9 screwdriver.
-
-
-
Flip over the device again, so that the bottom is facing upwards.
-
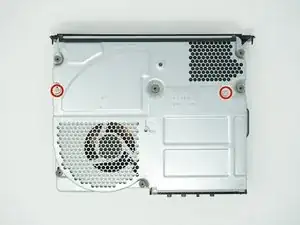
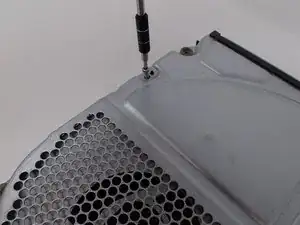
Using a Torx T10 screwdriver, remove the two screws located on opposite sides of the metal casing. One is near the fan vent, and the other is near the power supply vent.
-
-
-
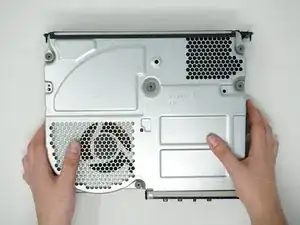
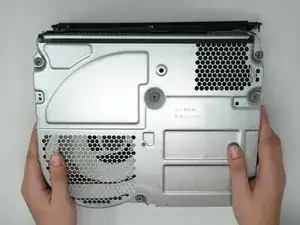
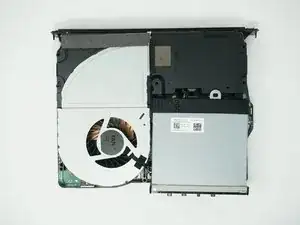
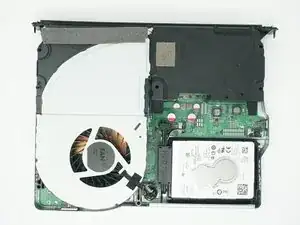
Remove the metal casing by pulling it upward, revealing the interior components of the device.
-
-
-
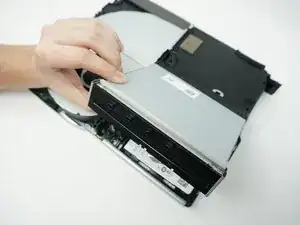
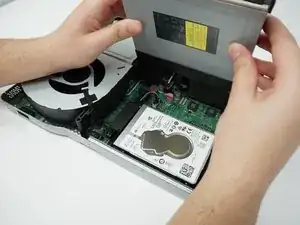
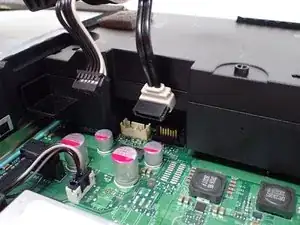
Using your fingers, gently unplug the two sets of wires connecting the drive to the motherboard.
-
Alternatively, you can disconnect the wires from the drive-side sockets. This is much easier if you have not removed the power supply.
-
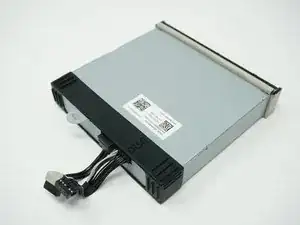
The BD drive should now be completely detached from the rest of the device, and it can be set aside.
-


To reassemble your device, follow these instructions in reverse order.
5 comments
ok it says no other parts required besides the tweezers and the t9 screw driver, but it doesn't mention what model of BD-ROM is suitable to replace it with.
The six long screws actually take a T-10 bit
Please FIX Number 8 THIS IS NOT RIGHT!
Unfortunately the manual is not correct here. Above the black slot is a white switch / pen, fold it over with your fingernail, so fold it over to the front. Then the cable can be easily removed without any problems and tweezers. GERMAN: Hier ist die Anleitung leider nicht korrekt. Oberhalb des schwarzen Steckplatzes befindet sich ein weißer Schalter/Stift, diesen mit dem Fingernagel umklappen, also praktisch zu der Vorderseite umklappen. Danach lässt sich das Kabel ohne Probleme und Pinzette einfach abziehen.
Marcel -