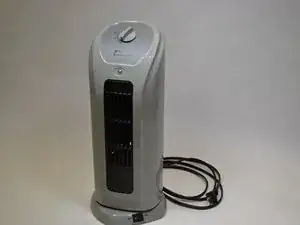
Introduction

  1. iNAxlg1wYJCiFArN
    • Using a plastic opening tool, remove the four small foam pieces on the bottom of the fan.

  2. XXrSlLb1KNHYQmqI
    XXrSlLb1KNHYQmqI
    mSerbvNuWePwgA3I
    ieEIooj3I6eKNpFe
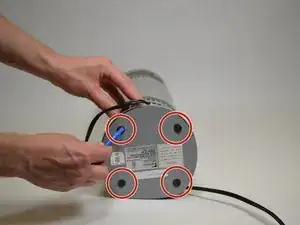
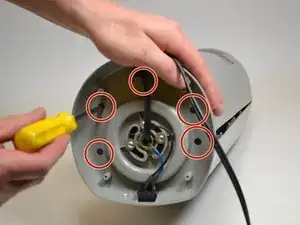
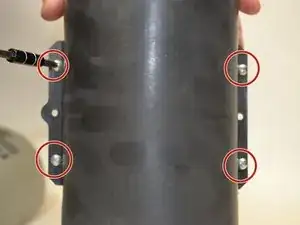
    • Remove the four screws that were uncovered in the previous step.

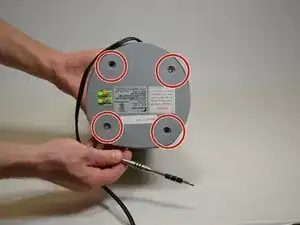
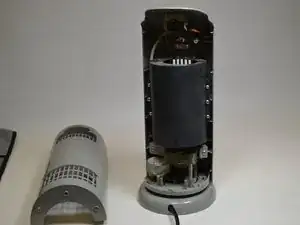
    • Remove the bottom cover using a spudger if needed.

  3. jocsJxJhHU6KJaGE
    • Remove the five screws that can be seen by aligning the base and the fan.

  4. rbljW6slxqSkUeeL
    rbljW6slxqSkUeeL
    DLDhD2TLnD3jSQHs
    • Stand the fan upright. Locate and remove the two screws near the top.

  5. fSSbuxKXvgp1tmhR
    fSSbuxKXvgp1tmhR
    QtWJmWJElNEAEVkO
    • Locate and remove the two bottom screws.

  6. CXWMZaUeIfhMXZsW
    • Remove the back casing by pulling it away from the front casing.

  7. SfhjevIaZsGvrQLN
    SfhjevIaZsGvrQLN
    FMWkFwhsmBqbPead
    • Remove the two screws attaching the motor to the front casing.

  8. B2hJETqUoPGBXdR2
    B2hJETqUoPGBXdR2
    fQnbKUwwGleSAU6Z
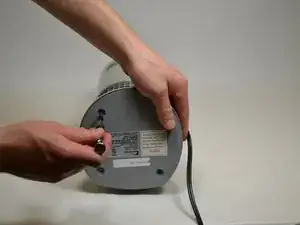
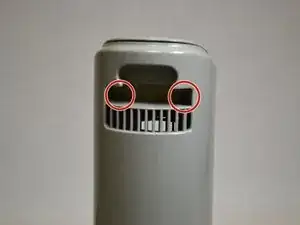
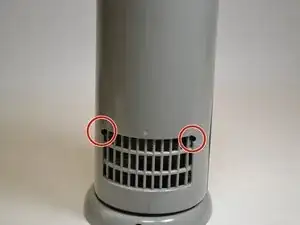
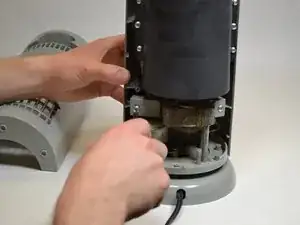
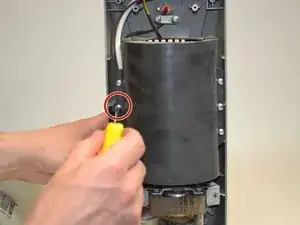
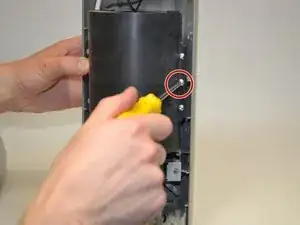
    • Remove the two middle screws connecting the air filter casing to the front casing.

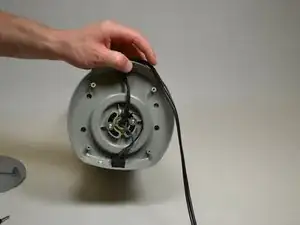
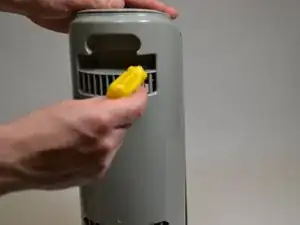
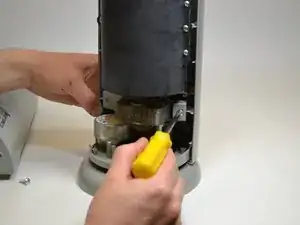
    • Remove the front casing.

  9. jXVacreBaehAIHSy
    • Remove the four remain screws holding the air filter casing together

  10. BJ1aeweRn4GbK21f
    BJ1aeweRn4GbK21f
    BUiWUCmYDopnawBs
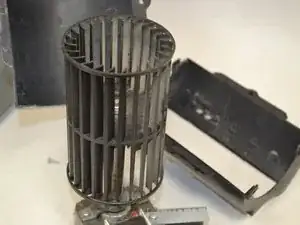
    • Put the new air filter casing in place after cleaning the filter.

    • Repeat steps 1-9 in reverse order to properly put back together the fan.

Conclusion

To reassemble your device, follow these instructions in reverse order.

Dannis Thompson

Member since: 11/04/17

261 Reputation

0 comments