Introduction
If your humidifier is not producing any mist, then there may be a problem with the ultrasonic mist maker. If the mist maker is malfunctioning, it will need to be replaced.
-
-
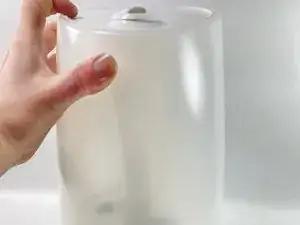
Orient the device so the nozzle is facing the ceiling.
-
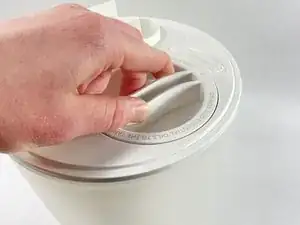
Twist off the primary water holding cap.
-
-
-
Place the device upside down so that the tank cap is facing you.
-
Use your hands to twist the tank cap and remove it from the device.
-
-
-
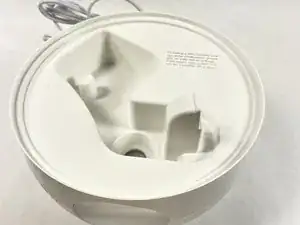
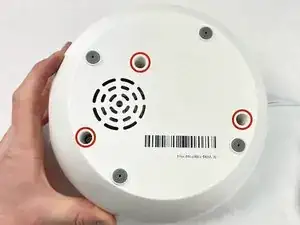
Remove the three screws from the base of the device using a T20 Torx screwdriver.
-
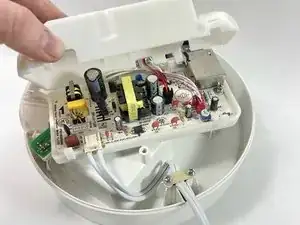
Remove the base of the humidifier to access the components.
-
-
-
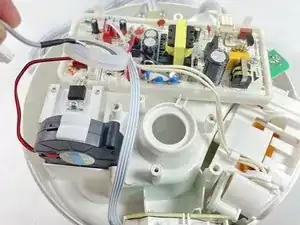
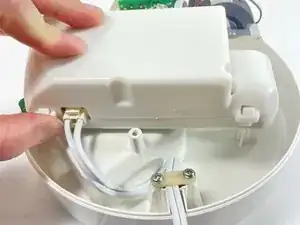
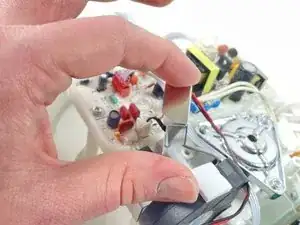
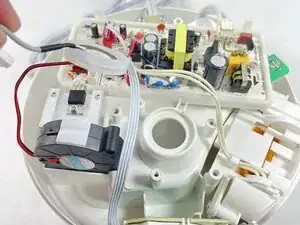
Gently remove the inner shield for the primary board to access the wiring for the humidifier.
-
-
-
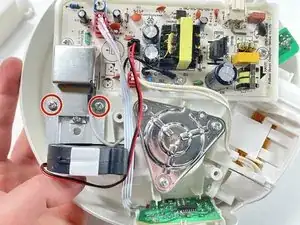
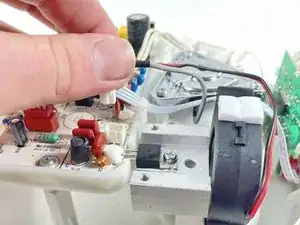
Remove the square heat shield by unscrewing the two screws using a Phillips #1 screwdriver.
-
Unclip the mist maker power cord.
-
-
-
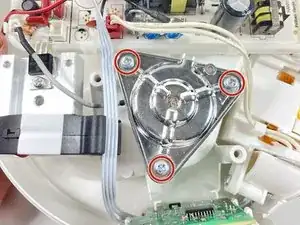
Remove the triangle shaped heat shield by unscrewing the three screws using a Phillips #1 screwdriver.
-
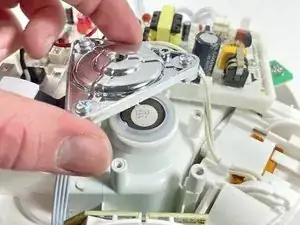
Remove the mist maker from the device.
-

To reassemble your device, follow these instructions in reverse order.