Introduction
This guide will demonstrate how to replace a water filter on your Thermador T30IF800SP Refrigerator. It's recommended that the filter be replaced every six months. The refrigerator will notify you of the needed replacement with the message "FILTRCHG" (Filter change). You can view this message by opening the freezer door and looking at the small screen located at the top of the freezer, next to square buttons labeled "Alarm" and "Vacation." Though the refrigerator can operate without changing the filter, it is not recommended since it can cause issues in the future and affect the quality of the ice made by it.
Parts
-
-
Open the freezer door.
-
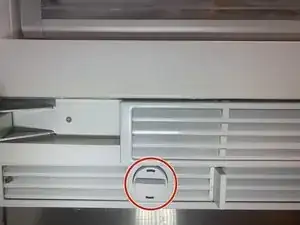
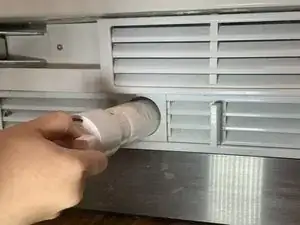
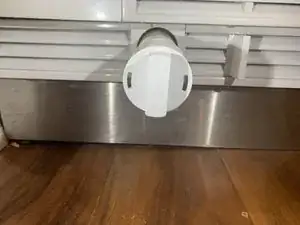
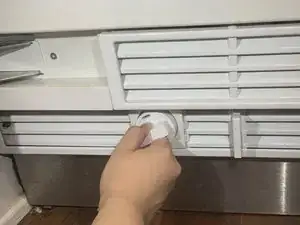
The filter is located near the bottom of the freezer compartment and to the right of the bottom door hinge.
-
-
-
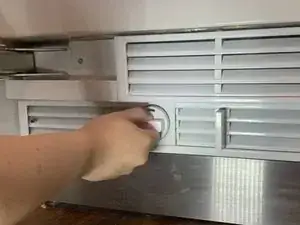
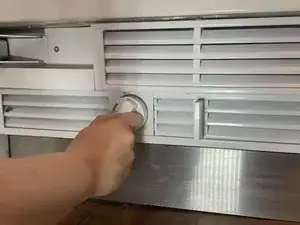
Grab the cap of the filter and rotate it to the left.
-
Once the filter has been fully rotated (180 degrees) pull the filter out.
-
-
-
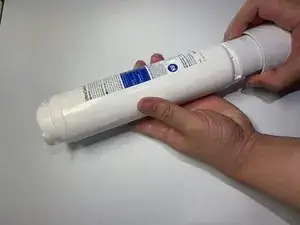
Use both hands, one holding the filter cap and the other to hold the filter.
-
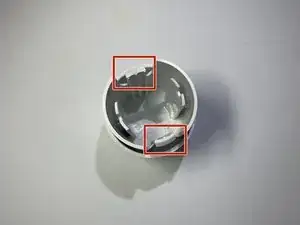
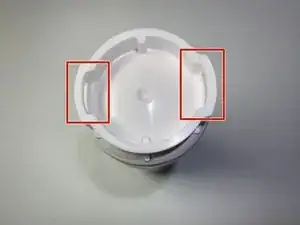
Press the two clips on the filter cap to release the filter and once the clips release pull the cap off of the filter to separate them.
-
-
-
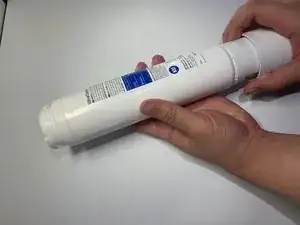
Take out your new filter and remove the packaging.
-
Connect the filter to the cap by lining up the two clips on the cap to the two slots on the back of the filter.
-
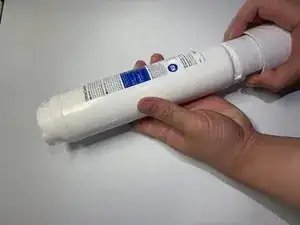
Gently press on the clips, then connect the filter and the cap by pushing them together.
-
To make sure the two are connected, lightly pull on the cap.
-
-
-
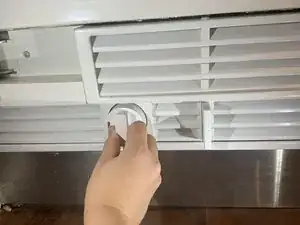
Place the filter in the slot, with the arrow on the left side of the cap pointing to the right.
-
Push the filter into the slot.
-
Turn the filter to the right until it locks into place.
-


After the 24 hours enjoy your fresh and clean ice.