Introduction
This speaker removal guide can ensure the safe removal and replacement of a speaker from a TDK Life on Record Trek Max A34.
-
-
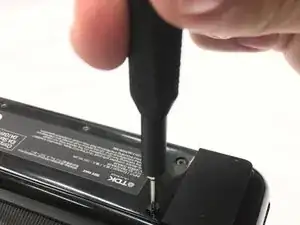
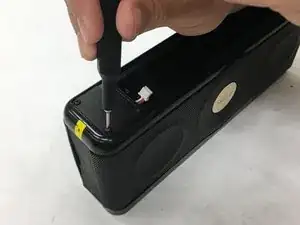
Turn over the device so the bottom is facing up. Remove the screws of the battery cover using the iFixit TR7 screwdriver.
-
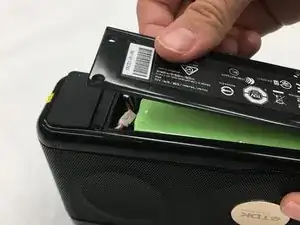
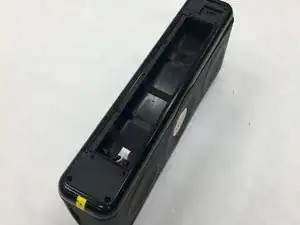
Remove the battery cover by pulling up where the screws should go.
-
-
-
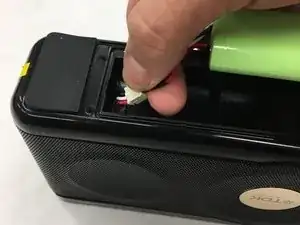
Carefully unplug and remove the battery.
-
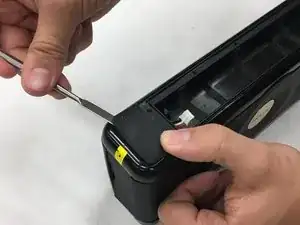
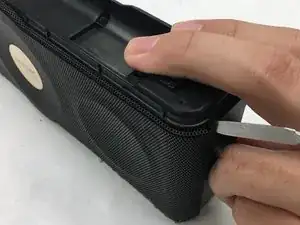
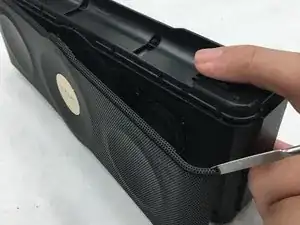
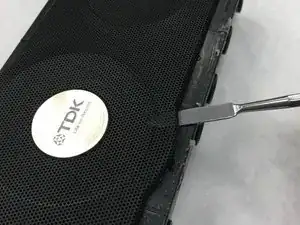
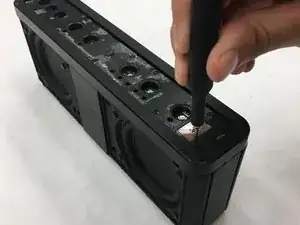
Use the metal spudger to pry off the rubber bumpers from the bottom of the speaker.
-
-
-
Use a Phillips #00 screwdriver to remove the screws that were underneath the rubber bumpers.
-
Remove the battery holder. Be sure to thread the exposed wires through the hole within the holder.
-
-
-
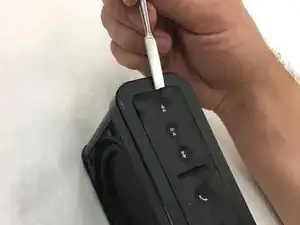
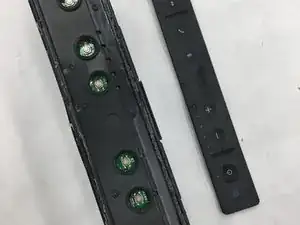
Turn the speaker back upright. Use the metal spudger to pry up the rubber cover to reveal the buttons underneath.
-
-
-
Use a Phillips #00 screwdriver to remove the screws that hold the top cover in place.
-
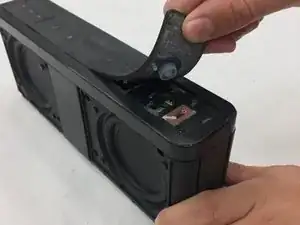
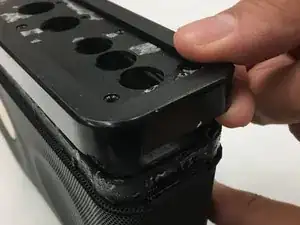
Remove the top cover.
-
-
-
On the backside of the device, remove the screws using the Phillips #0 screwdriver.
-
Once the screws are removed, separate the two frame pieces.
-
-
-
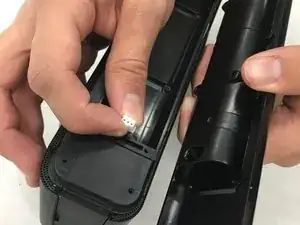
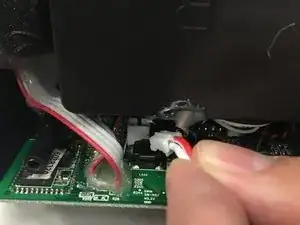
Within the device, there is a single cable connecting the large speaker to the motherboard. Unplug this cable.
-
-
-
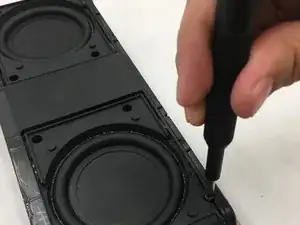
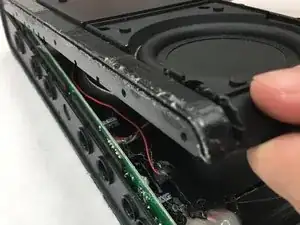
On the front of the device, use the Phillips #0 screwdriver to remove the four screws holding the speaker in.
-
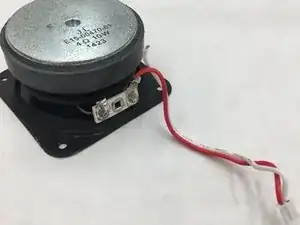
Once the screws are removed, you are able to push the speaker out from behind.
-

To reassemble your device, follow these instructions in reverse order.