Introduction
Buttons on any device are subject to replacement due to loose conductivity or friction that tends to occur over time. This guide will show you how to property replace the buttons on the Life on Trek A34 device.
-
-
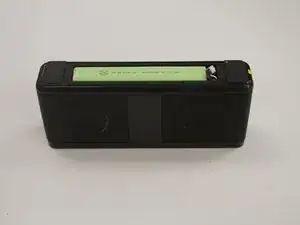
Flip your device upside down so the battery cover is facing upwards.
-
Using the Torx T6 screwdriver, remove all seven 6 mm Torx screws that are located along the perimeter of the battery cover.
-
-
-
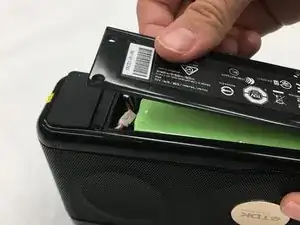
Use the metal spudger prying tool to gently pry off the battery cover.
-
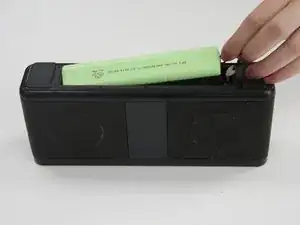
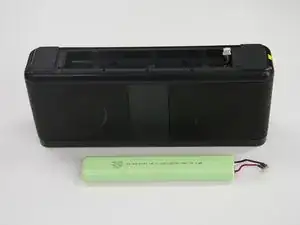
The battery should now be exposed.
-
-
-
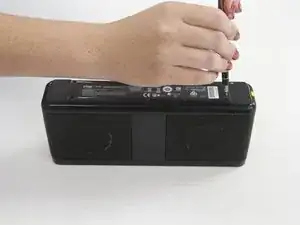
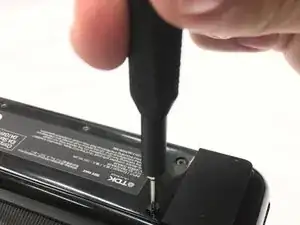
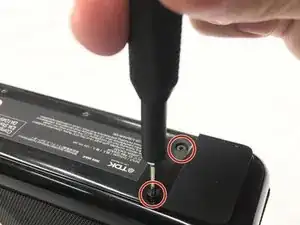
Turn over the device so the bottom is facing up. Remove the screws of the battery cover using the iFixit TR7 screwdriver.
-
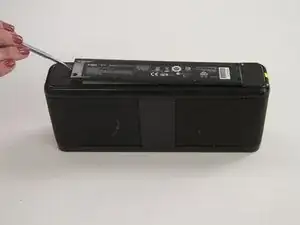
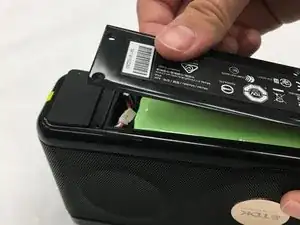
Remove the battery cover by pulling up where the screws should go.
-
-
-
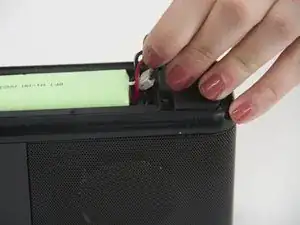
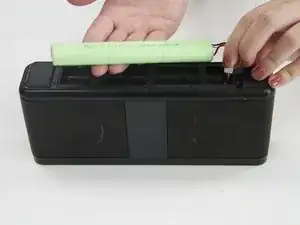
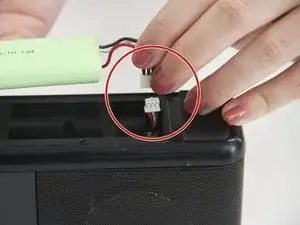
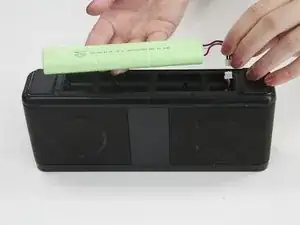
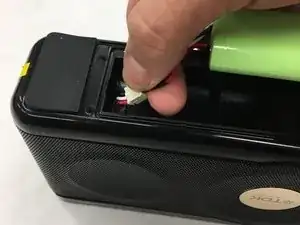
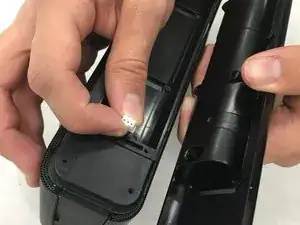
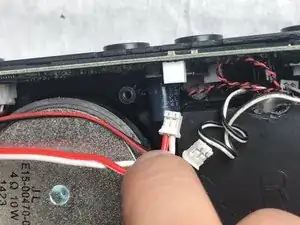
Carefully unplug and remove the battery.
-
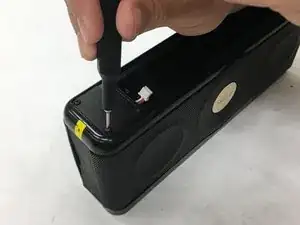
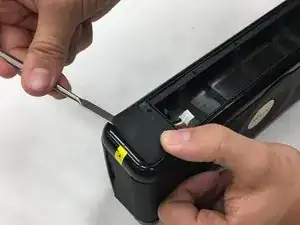
Use the metal spudger to pry off the rubber bumpers from the bottom of the speaker.
-
-
-
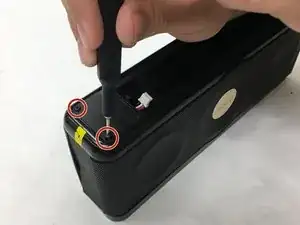
Use a Phillips #00 screwdriver to remove the screws that were underneath the rubber bumpers.
-
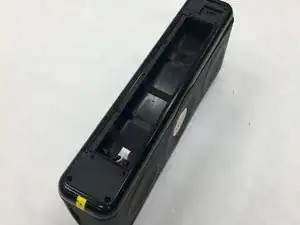
Remove the battery holder. Be sure to thread the exposed wires through the hole within the holder.
-
-
-
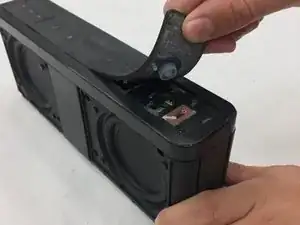
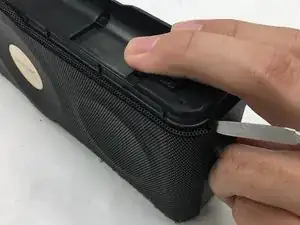
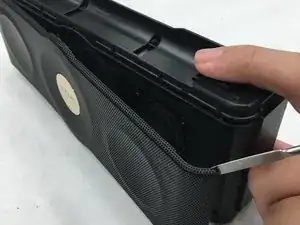
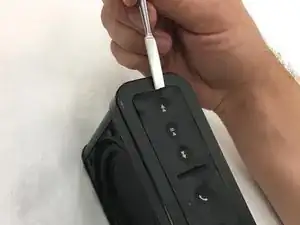
Turn the speaker back upright. Use the metal spudger to pry up the rubber cover to reveal the buttons underneath.
-
-
-
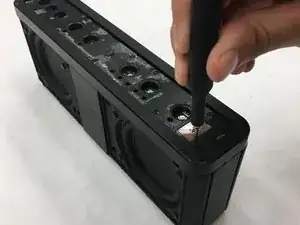
Use a Phillips #00 screwdriver to remove the screws that hold the top cover in place.
-
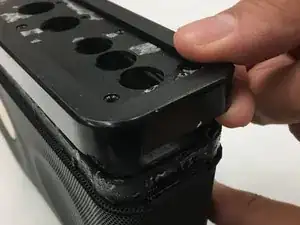
Remove the top cover.
-
-
-
On the backside of the device, remove the screws using the Phillips #0 screwdriver.
-
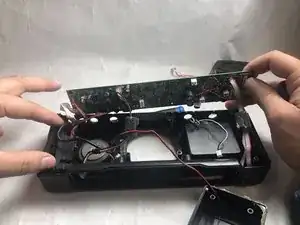
Once the screws are removed, separate the two frame pieces.
-
-
-
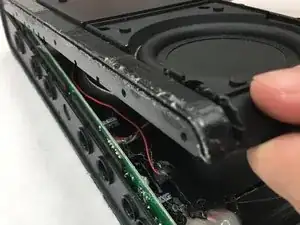
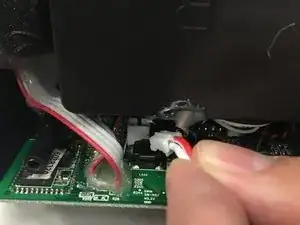
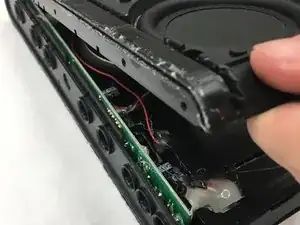
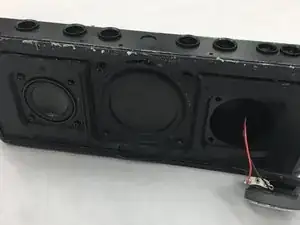
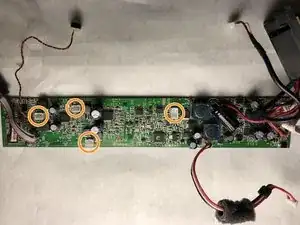
Within the device, there is a single cable connecting the large speaker to the motherboard. Unplug this cable.
-
-
-
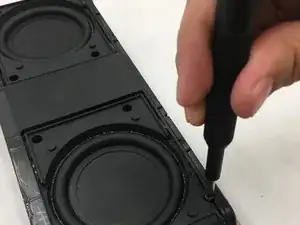
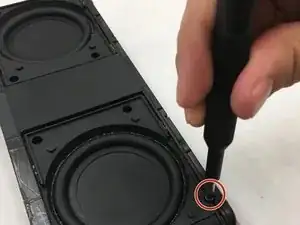
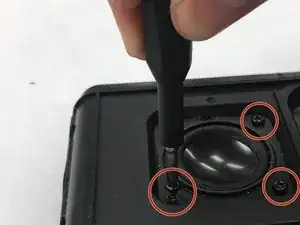
On the front of the device, use the Phillips #0 screwdriver to remove the four screws holding the speaker in.
-
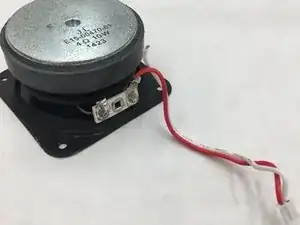
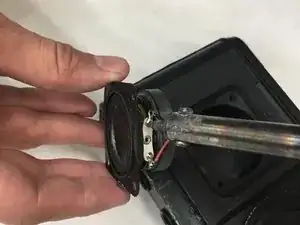
Once the screws are removed, you are able to push the speaker out from behind.
-
-
-
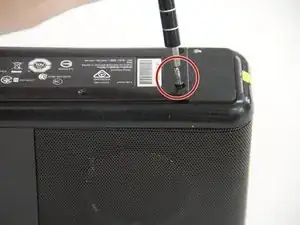
Use a TR7 screwdriver to remove the screws from the battery cover located on the underside of the device.
-
Remove the battery cover.
-
-
-
Use a J00 screwdriver to unscrew the screws that are under the rubber pads.
-
Remove the battery holder and be sure to thread the wires through the hole within the part.
-
-
-
Use the a metal spudger to pry up the rubber cover on the top surface of the device.
-
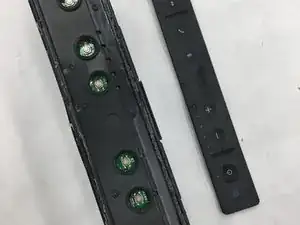
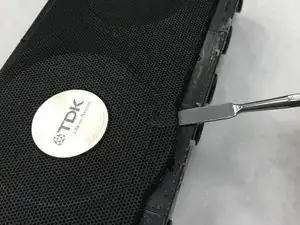
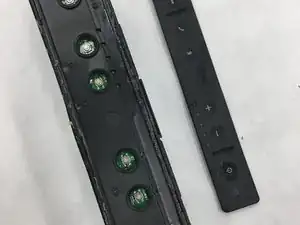
Peel off the rubber cover to reveal the buttons and screws underneath.
-
-
-
Use a J00 screwdriver to unscrew the screws that hold the top cover in place.
-
Remove the top cover.
-
-
-
On the backside of the device, unscrew the case screws with a J00 screwdriver.
-
Once the screws are removed, separate the two frame pieces.
-
-
-
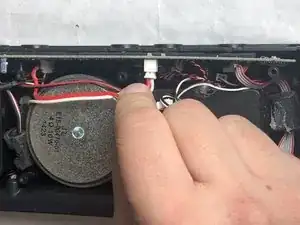
Use a J00 screwdriver to unscrew the four screws that secure the speaker.
-
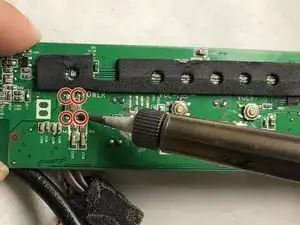
Desolder the black and red speaker wires.
-
-
-
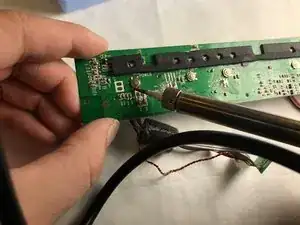
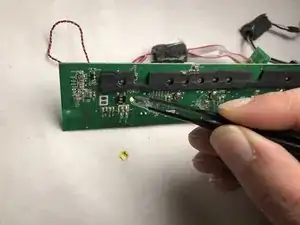
Once the soldering iron is heated, carefully place the iron onto the connection point of the button.
-
With a steady hand, hold the soldering iron in place until the metal is slightly melted.
-


To reassemble your device, follow these instructions in reverse order.
The correct screwdriver is a T6 Torx screwdriver, not T7.
rttabby -