Introduction

This guide covers how to disassemble the solar panel portion of the Solio Xcellerator and Hub Battery Pack Solar Panel for both a complete removal and a replacement of the solar panel in a step-by-step instruction.

  1. s2sbsjfZNv35XreO
    • With all cables unplugged, place the solar panel on a sturdy surface.

  2. YPy4gwqxeGWBMS2O
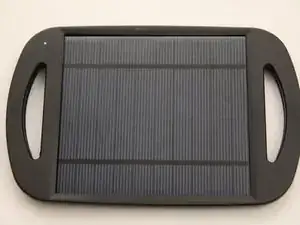
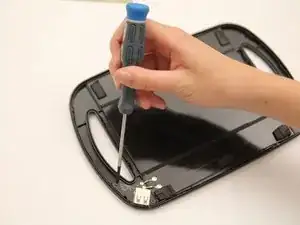
    • Flip the solar panel over so that the side with the stand is facing up.

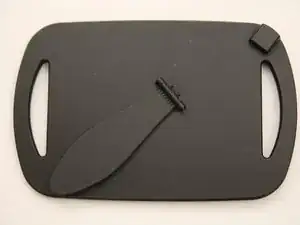
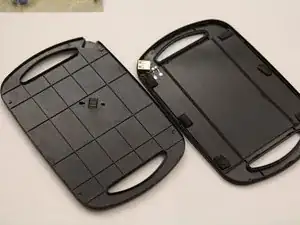
    • The next part will entail removing the plastic panel so that we can see the inside of this device.

  3. wpIhHeUptOUQTyJu
    • There are many clips inside the device holding the plastic panel in place. To remove them you must slide your iFixit Opening Picks along the edges of the panel to either break or loosen the clips.

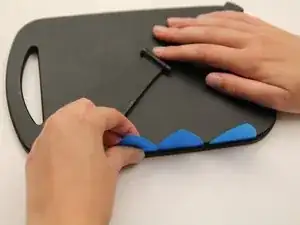
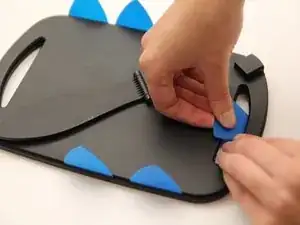
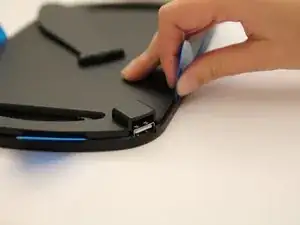
    • This may take a lot of effort, as the panel is held in extremely tight. Do not be afraid to use force.

  4. KQhJZfHmLTaObyFg
    • Keep on sliding iFixit Opening Picks into the edges of the panel without removing the ones already in place. The panel may reattach if the clips are not completely broken.

    • Also slide the iFixit Opening Picks between the interior edges of the handles, as the clips are inside as well.

  5. GlYRop32bAoogaQN
    • Once enough of the clips are broken, the panel will start to pop off.

  6. QmvPc6AZRb2FNLWs
    • After enough of the clips around the plastic panel are broken, lift it off of the device.

    • There may still be some clips holding on to the panel, so do not be afraid to use force to pull the panel off.

  7. uT4EVu2NZX5bTBCd
    • Once removed, please place the plastic panel to the side.

  8. iM4xmDlI6nZvNq6I
    • Here is an example of a broken clip to remove the panel.

  9. 1kPK5TpwEto6G5RS
    • The only thing holding the solar panel in place now is gravity, so make sure not to flip the device over! This may damage the connections.

  10. Cw3vEQfWxBoTY2MC
    • Unscrew the circuit board that holds the USB port in place.

  11. HBH2xoKcu1BNdtK3
  12. 1RD3xHWoOWw46Ebc
    • Once the screws are removed, place them on the side. Be careful not to lose them as they are very small.

  13. AxFWiPqVAQvIwUrO
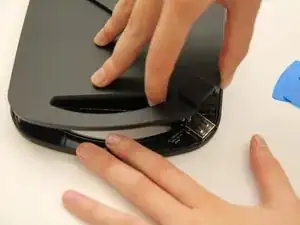
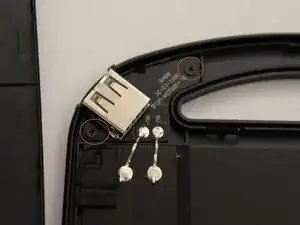
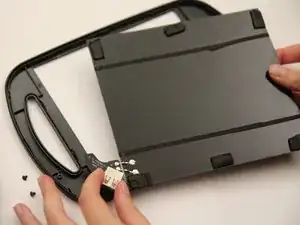
    • By holding onto both the USB port and the solar panel, remove both the circuit board and solar panel from the casing.

    • Be careful as the connection between the circuit board and the solar panel is very weak, so any wrong movement may ruin it.

  14. KyNIFNpwSub4Rxgs
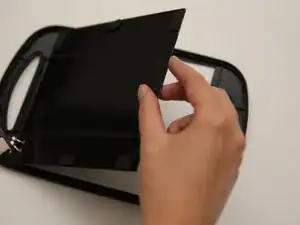
    • Place the solar panel on a surface that you can solder on.

    • Cut the two wires connecting the circuit board to the solar panel at the base near the solar panel by using wire cutters.

    • Take out the Soldering Station. With the new solar panel, solder each lead back to the circuit board, ensuring the positive and negative leads match up correctly as displayed in the photo. Refer to the Repairing Soldered Connection Guide.

    • Put the device back together following the same guide in reverse order.

    • When you reach step 8, apply your Evo-Stick Super Glue along the edges of the plastic panel.

    • Press the panel back into place on the device. Let it sit and dry for 24 hours before use.

    • Enjoy your working device!

Conclusion

For reassembly of the device, please follow the instructions in the reverse order.

Brian Sukkar

Member since: 09/10/13

539 Reputation

0 comments