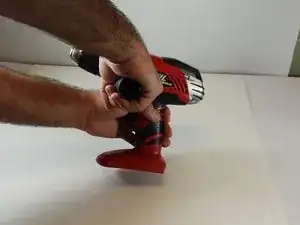
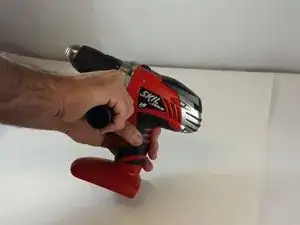
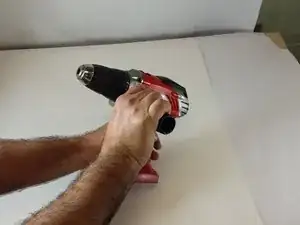
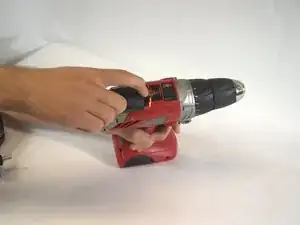
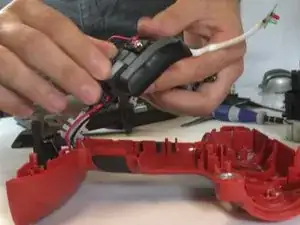
Introduction

  1. 2FMRQNxns6h2XvII
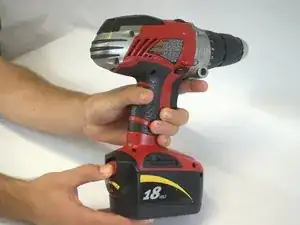
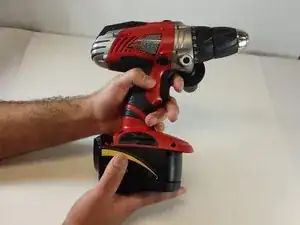
    • Grip the drill. Locate the red locking switch on the back of the battery. Hold the switch down.

  2. Cd2MZIgfPpuDBAGu
    Cd2MZIgfPpuDBAGu
    iCuFD3kpYcyYO1WY
    lBvqBXhuSAOUgSSM
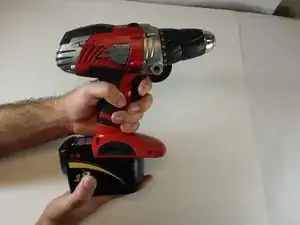
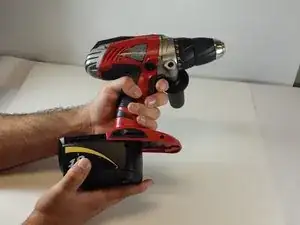
    • While holding down the red locking switch, slide the battery towards the back of the drill until the battery is fully removed from the drill.

    hi my name is Joe have a set of skil 4 pc sawsal drill skill saw 18 w need to replace a battery x drive same as Pic on this page 2887 18v someone please if anyone could guide me we're and $ it would be thank you

    Joe G -

    Release button apears to be locked. Am I doing something wrong?

    John -

  3. HpFkkaNZX2aUcWbj
    HpFkkaNZX2aUcWbj
    gB3KGKQiostetScR
    f2W51Y2iSEJHgeex
    • Grip cordless drill firmly with left hand. Grip the cordless drill handle firmly with the right hand. Rotate the handle counterclockwise in order to remove the handle from the drill.

  4. LTQUDvC25jUZfivV
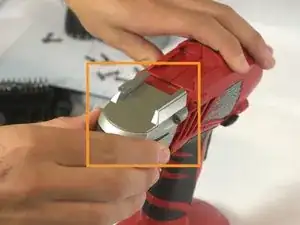
    • Hold drill upright with one hand and slide the gauge backwards to remove it with the other.

  5. OO1wTrFILYPJbIdZ
    OO1wTrFILYPJbIdZ
    kA2BEXNuWOxwXFmD
    QJRUhiWV26Yay33s
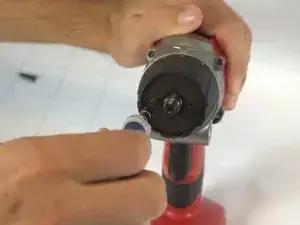
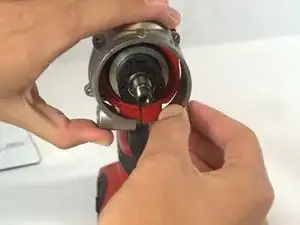
    • The chuck sleeve is held on by a 20mm Phillips #2 screw in the center.This screw is reverse threaded. Insert a Phillips #2 screwdriver and rotate it clockwise to loosen and remove it.

  6. N3rNlmt2ZMhFu6XY
    N3rNlmt2ZMhFu6XY
    aRTfHHx1v2k33vXr
    • The threaded hole the screw was in is in the shape of a 6-point star. Insert a T40 Torx Key and rotate it clockwise to loosen and remove the chuck sleeve.

  7. AyDJAlRsAu2BACO5
    AyDJAlRsAu2BACO5
    5qUEcsEBvmwJXUK1
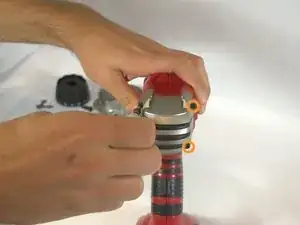
    • Set the adjustable clutch to the "1" setting before beginning. This will make it easier to remove.

    • The adjustable clutch is held on by 2 20mm T10 Torx screws. Insert a T10 Torx screwdriver and rotate it counterclockwise to loosen and remove each screw.

  8. jrA3msgISSGWUfrB
    jrA3msgISSGWUfrB
    cnWqKFBv2iy33giF
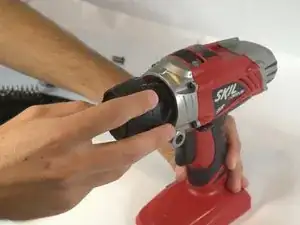
    • Firmly grip the outside of the adjustable clutch and pull it off.

    • There is a metal washer behind the adjustable clutch that holds in 12 small ball bearings. Hold the drill so it is pointing up slightly so the washer and bearings do not fall out.

  9. VbFStRMqs12Yb3eo
    VbFStRMqs12Yb3eo
    dXkDWg2OUXjmXaEP
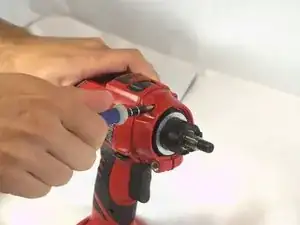
    • Locate 4 screws on front of the drill. Remove using Torx T10

    • Remove front casing piece.

  10. IaxeMxERyZnsJZnY
    IaxeMxERyZnsJZnY
    ubAcGrwwBe3UtblU
    • Locate 4 screws on back of the drill.Remove using Torx T10.

    • Remove back casing piece.

  11. QVeAnGJhdeSQPGJU
    QVeAnGJhdeSQPGJU
    rXHUEBAcgVMyRKUd
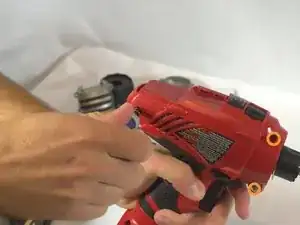
    • Locate 4 screws on side of the drill. Remove using Torx T10

  12. AWU5rUs4BZrTVUBG
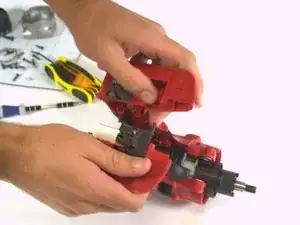
    • After all screws have been removed both side casings can be taken apart.

  13. 4Mc3aIj1nyfi4JCu
    4Mc3aIj1nyfi4JCu
    XrB1kBilY5pUWqE4
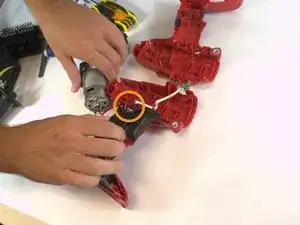
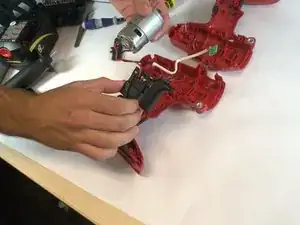
    • Disconnect all wiring on top of trigger coming from motor and board.

  14. wPSleaoJTAH2rfpA
    • Reconnect all wiring to your new trigger

Conclusion

To reassemble your device, follow these instructions in reverse order.
Daniel

Member since: 23/09/14

143 Reputation

0 comments