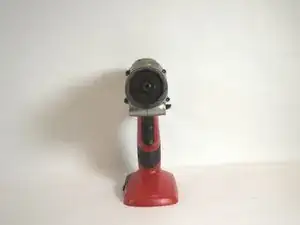
Introduction
-
-
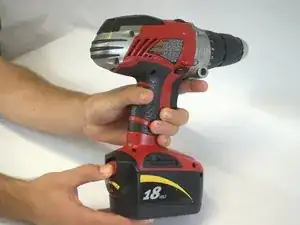
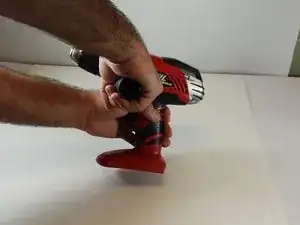
Grip the drill. Locate the red locking switch on the back of the battery. Hold the switch down.
-
-
-
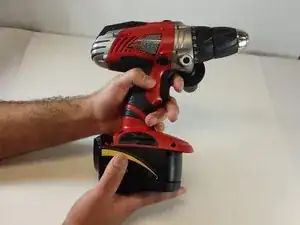
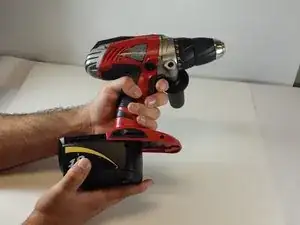
While holding down the red locking switch, slide the battery towards the back of the drill until the battery is fully removed from the drill.
-
-
-
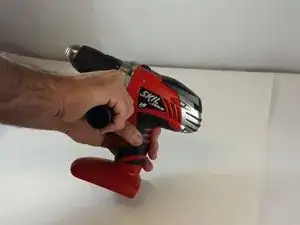
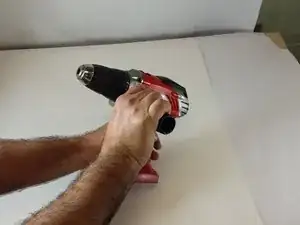
Grip cordless drill firmly with left hand. Grip the cordless drill handle firmly with the right hand. Rotate the handle counterclockwise in order to remove the handle from the drill.
-
-
-
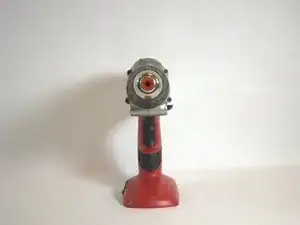
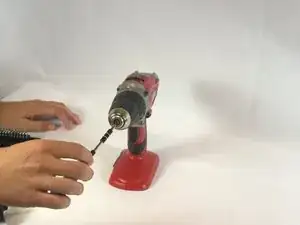
The chuck sleeve is held on by a 20mm Phillips #2 screw in the center.This screw is reverse threaded. Insert a Phillips #2 screwdriver and rotate it clockwise to loosen and remove it.
-
-
-
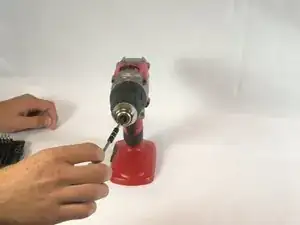
The threaded hole the screw was in is in the shape of a 6-point star. Insert a T40 Torx Key and rotate it clockwise to loosen and remove the chuck sleeve.
-
-
-
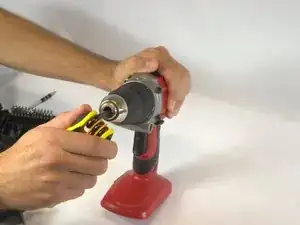
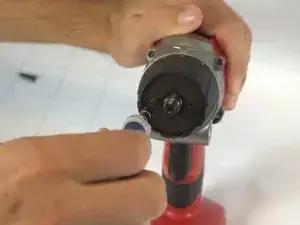
The adjustable clutch is held on by 2 20mm T10 Torx screws. Insert a T10 Torx screwdriver and rotate it counterclockwise to loosen and remove each screw.
-


To reassemble your device, follow these instructions in reverse order.

One comment
Jameson,
Beautifully done. I have a question. The phillips head screw is all screwed up there isn’t any way I can loosen it. If I could put of of those screw looseners on it that you hit with a hammer to break the screw loose that would probably work but the chuck doesn’t open enough to do that. Besides dynamite or a band saw do you know of any other way to get the cover off so I can get some other tools on that screw? Speaking of a band saw can I cut off the black plastic cover on the chuck and will that allow me to get to that screw? Before you ask yes I heard you the screw is a left hand thread.l Thank you.
RTFavara (Richard)