Introduction
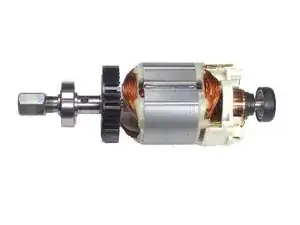
If your motor is damaged you will have to replace the entire motor assembly. This guide will provide you with a step-by-step guide to replacing the motor assembly.
-
-
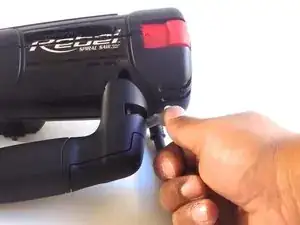
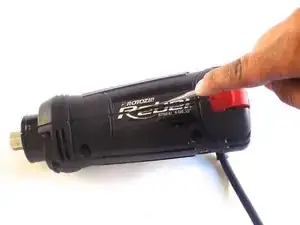
Push down on the grey lock on the right side of the handle to unlock it.
-
Pull the handle to detach it from the saw.
-
-
-
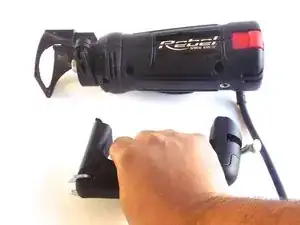
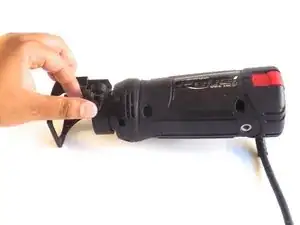
Lift the black lock at the tip of the saw to unlock the depth gauge.
-
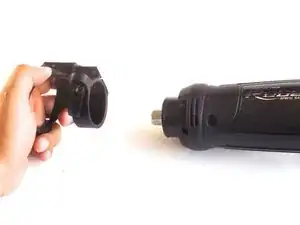
Pull the depth gauge to detach it from the saw.
-
-
-
Rotate the device so that the bottom of the saw is facing upwards.
-
Remove the six 20mm screws with a 6mm flathead screwdriver.
-
-
-
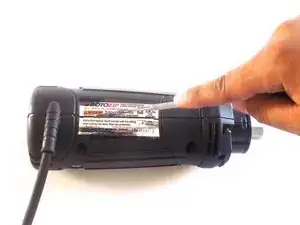
Cut through the stickers on the right and left sides of the saw using a metal spudger.
-
Pull off the top half of the casing.
-
-
-
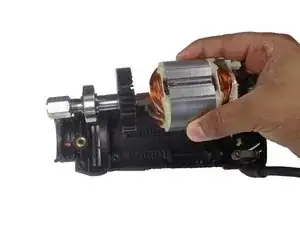
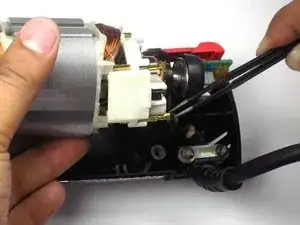
Detach the wire connected to the bottom of the motor assembly.
-
Rotate the motor away from you so that the second wire is visible, and detach that wire as well.
-


To reassemble your device, follow these instructions in reverse order.