
Introduction
This guide will show you how to patch a shaped baffle on your Nano Puff ® Jacket. The baffle we’ll be repairing in this guide is a rectangle, but the process is the same for any shape. In this guide we’ll show you how to patch the baffle without deconstructing the garment. This means that the repair stitching will show through on the jacket lining. If you’d rather not have the stitching visible, check out our Opening a Jacket Guide, and go through those steps first, before you follow the steps in this guide. (Opening the jacket makes this repair more difficult and time consuming). If you choose matching thread, your repair thread in the lining should hardly be noticible, but the choice is yours. New to sewing? Check out our sewing glossary.
For replacement parts or further assistance, contact Patagonia Customer Service.
Tools
Parts
-
-
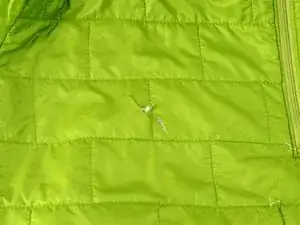
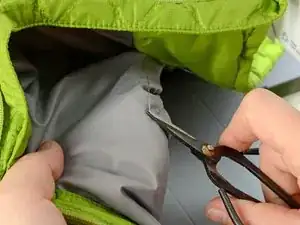
Examine the damage on your jacket, cutting off any loose threads and freeing any debris
-
Choose some patch fabric.
-
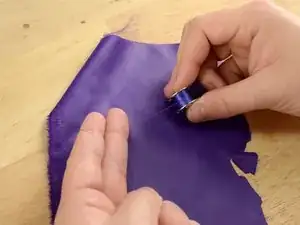
Select thread that matches your patch fabric, and load it into your sewing machine.
-
Select thread that matches the lining of your jacket, and load it into the bobbin of your sewing machine.
-
-
-
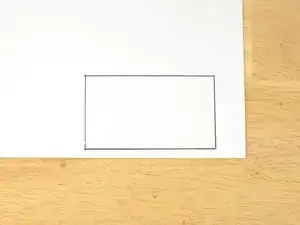
Trace the shape of your baffle onto some cardstock or heavy paper.
-
Cut out the shape of the baffle; this will be your template.
-
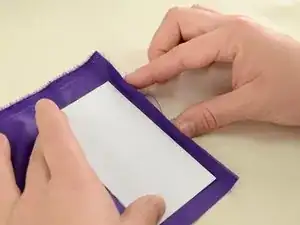
Place the template over the baffle to ensure that the shape and size of your template is correct.
-
-
-
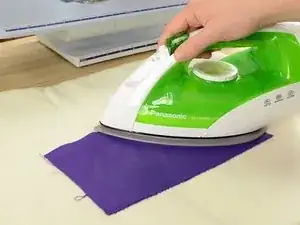
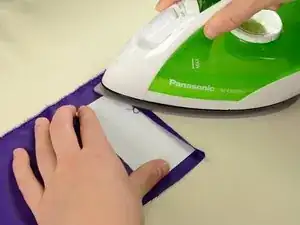
Set your iron to the appropriate setting—in our case, nylon—and iron your patch fabric to smooth out any wrinkles.
-
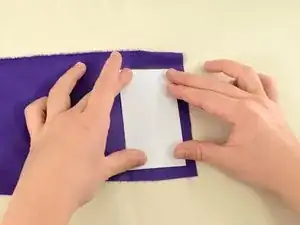
Position the template on the patch fabric, leaving about ¼ or ½ inch of extra fabric around the edges.
-
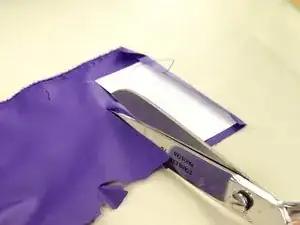
Cut out the patch, leaving 1/4 or 1/2 inch of extra fabric around each side of the template.
-
-
-
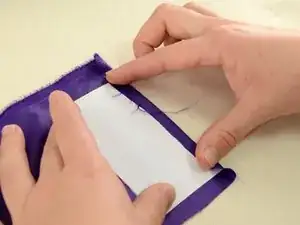
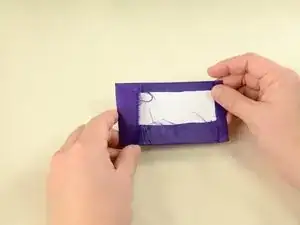
Fold the edge of the fabric over, creating a fold at the edge of the template.
-
Carefully hold the fabric in place and iron it down.
-
-
-
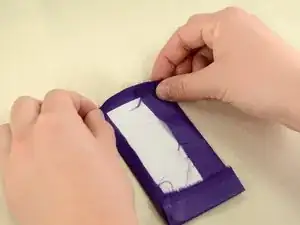
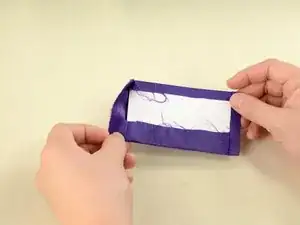
Slide the template out of the patch.
-
Refold along the creases you previously ironed.
-
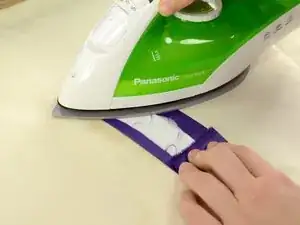
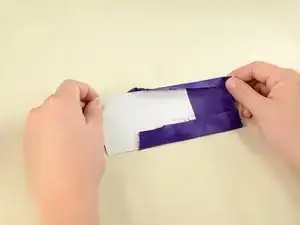
Turn the patch over so that the right-side, or the side that will be showing, is up and press it.
-
-
-
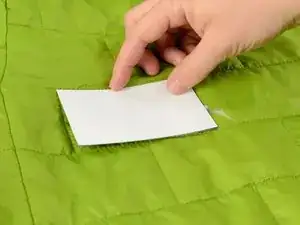
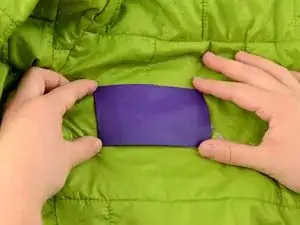
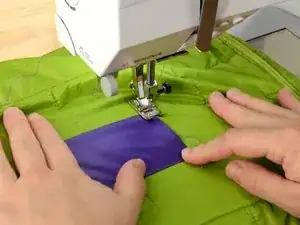
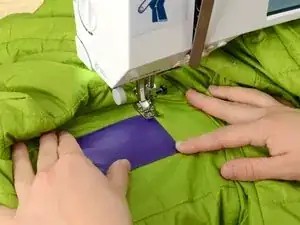
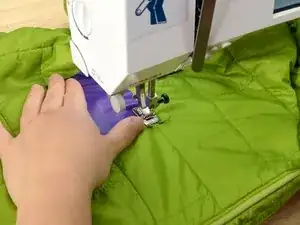
Align the patch with the baffle, exactly as you want it to appear when you are done.
-
Slide the garment into the sewing machine, repositioning the patch if necessary.
-
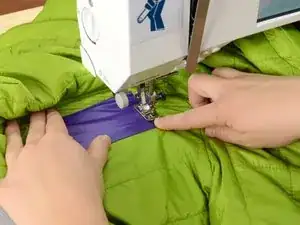
Sink the needle to hold the patch into place.
-
Holding the patch in place sew directly over the edge of your patch.
-
-
-
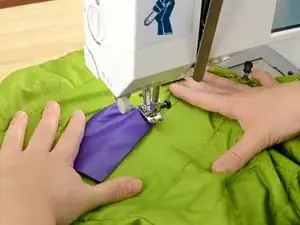
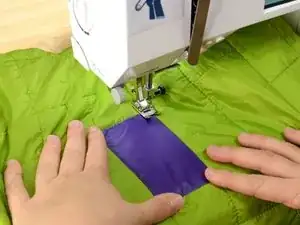
When you come to the corner of your patch, sink the needle.
-
Lift the presser foot, leaving the needle in the fabric, and gently turn the fabric 90 degrees, aligning it with the edge of the patch.
-
Drop the presser foot and continue sewing along the second edge of the patch.
-
-
-
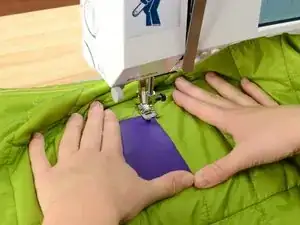
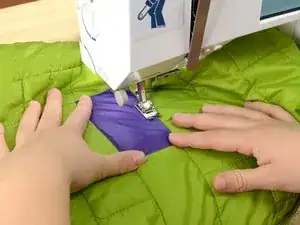
As you did with the first corner, sink the needle, lift the presser foot, and rotate the garment.
-
Drop the presser foot and continue sewing on the third edge of the patch.
-
-
-
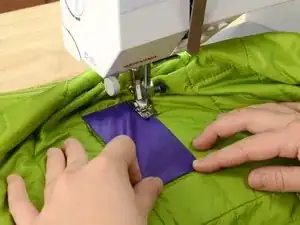
Repeat step nine for the last corner, and sew the final edge of the patch in place.
-
Backstitch when you come to the end of the patch.
-
-
-
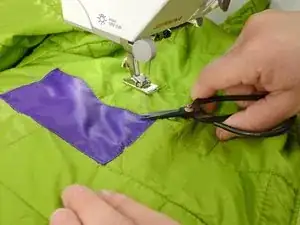
Lift the needle and presser foot, freeing the garment from the sewing machine.
-
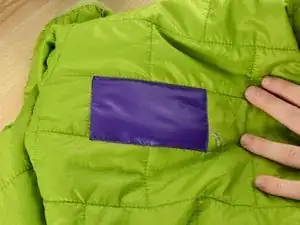
Clip any threads, and admire your work!
-


One comment
hello, I hope this finds you well.
Can I buy repair fabric from Patagonia? My jacket seems to attract rips. And the local tailor does a fast and good job.
Thanks!
Andrew