Introduction

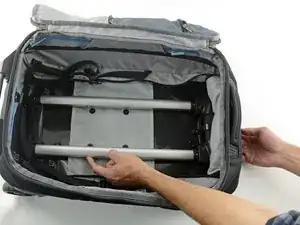
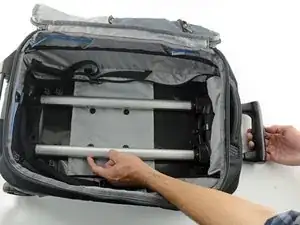
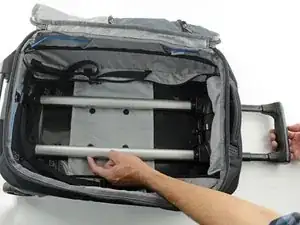
The telescoping handle on your Patagonia Transport Roller Luggage is designed to withstand years of hard use. But sometimes the handle becomes jammed or stuck and needs to be replaced to operate properly. Fortunately, installing a replacement handle is quick and easy.

For replacement parts or further assistance, contact Patagonia Customer Service.

This guide is specifically for the Patagonia Transport Roller, Style Number 49405. If you aren't sure which bag you have, here's a guide that can help you identify the style number of Patagonia products.

  1. 1o5tJVkjAbJvo1RY
    1o5tJVkjAbJvo1RY
    FoVN1eOQ2FJAPQWn
    EqvSQMW4ATp5Iwdj
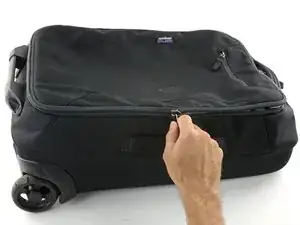
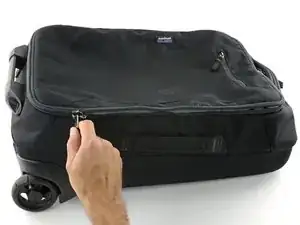
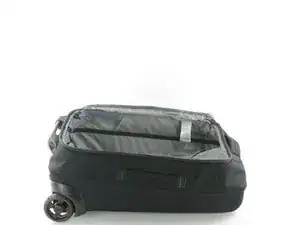
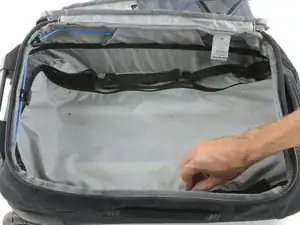
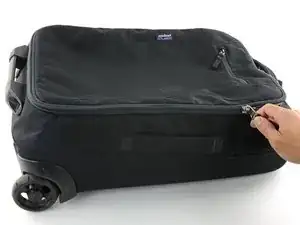
    • Lay your Transport Roller on its back on a table.

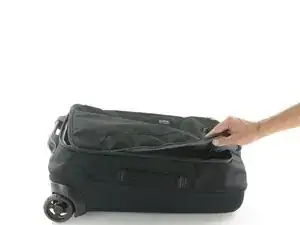
    • Unzip the main compartment.

  2. DjhTewiChxLJL3XF
    DjhTewiChxLJL3XF
    CKuvPDEhQODrKHFG
    LA4EJRW4CmFgyXr1
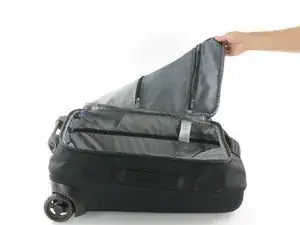
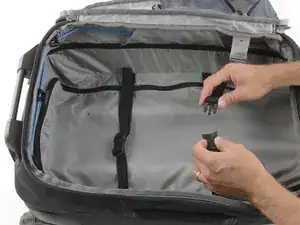
    • Flip open the main compartment of your bag.

  3. DeXkOhShvmEUpIgL
    DeXkOhShvmEUpIgL
    1cqaCCHKw3tR2cMB
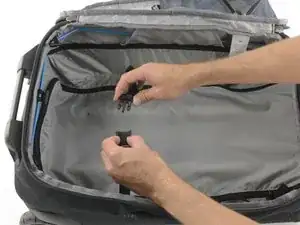
    • Unbuckle the internal compression straps.

  4. mbWchh4JtH6gfm2F
    mbWchh4JtH6gfm2F
    ukAqsU2vFmiTLHKX
    sx6CWqJT2pZR3Nox
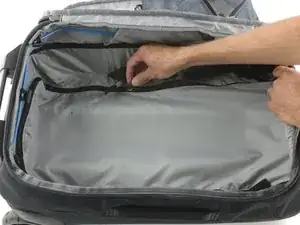
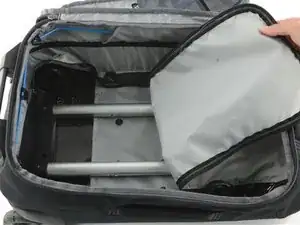
    • Unzip the the zipper in the gray inner lining of the bag, opening the lining as you go.

  5. n6pmMSKlNATfVZKh
    n6pmMSKlNATfVZKh
    anbQ3c6tvISDKt3D
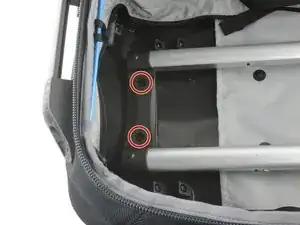
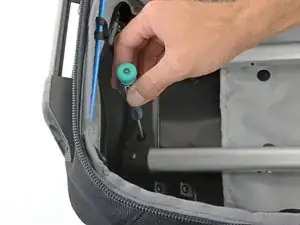
    • Remove the two Phillips #1 screws from the retaining bracket at the bottom of the bag.

    • These screws are approximately 2 cm in length.

  6. kojVkDjaPqIMZWqU
    kojVkDjaPqIMZWqU
    mGJNnyHLjNdBPlNf
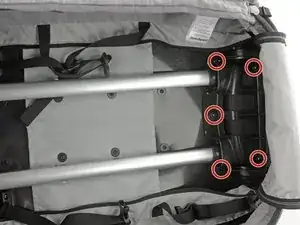
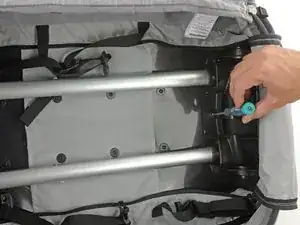
    • Remove the five Phillips #1 screws from the retaining bracket at the top of the bag.

    • These five screws are 1.5 cm in length, visibly shorter than the screws removed from the bottom retaining bracket.

  7. SwLYIvVqKoA2fZMA
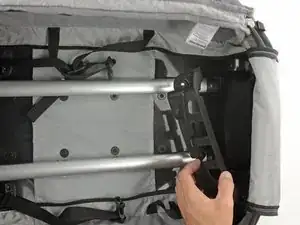
    • Remove the black plastic retaining bracket from the top of the frame.

  8. dnoDrkAConUVP6v6
    dnoDrkAConUVP6v6
    XStgXUSKMGnt5dkZ
    G4qFVWODUSZGBQ2q
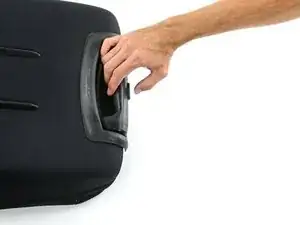
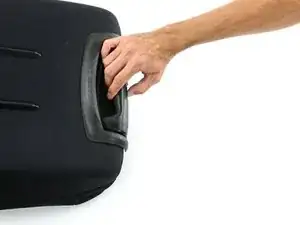
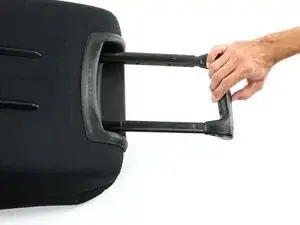
    • Using your thumb, depress the button on the telescoping handle.

    • With the button depressed, extend the handle by pulling away from the bag.

  9. 3K4EEE3KSnXISMch
    3K4EEE3KSnXISMch
    MbAcNe1FWAs4xk46
    6pHkZZdio2bQTtTZ
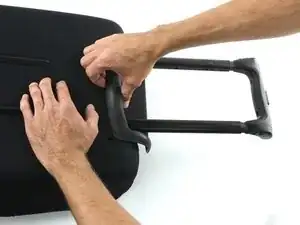
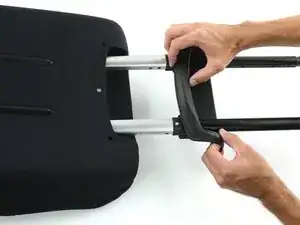
    • Turn the bag over so that the back is facing up.

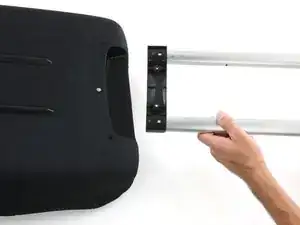
    • Remove the telescoping handle assembly by pulling it out of the top of the bag.

    • This step may take some force. It may help to push down on the back of the bag while pulling up on the outer edge of the plastic handle guard so the screw anchors can move up and out of the holes in the hard backing.

  10. MSBqMZNsD4nT3A4S
    MSBqMZNsD4nT3A4S
    VeYGFMkbkA5Ur3eA
    Qxe26mIxobbLBrRy
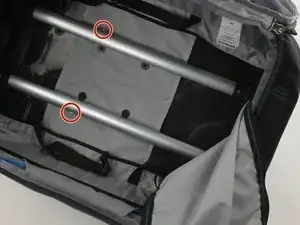
    • If you are having trouble with your handle, check the pins inside the bag.

    • When you depress the button on the handle, the two pins on the sides of the handle should retract, freeing the handle to slide.

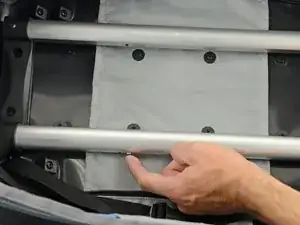
    • If either pin is not retracting when the button on the handle is depressed, push the pin into the hole using your finger or another thin object such as a pencil or screwdriver.

  11. PBmQYoCDI1TswA2P
    PBmQYoCDI1TswA2P
    dLAfIR3j5L51VpPU
    BfWOk3Yf2bGHsutC
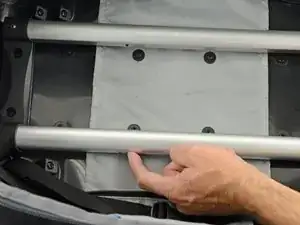
    • With the pin depressed, pull the handle to extend it from the bag.

Conclusion

To reassemble your luggage, follow these instructions starting with Step 9. You’ll be working backwards now from that point in the guide, following the steps in reverse order.
Marty Rippens

Member since: 18/09/15

16370 Reputation

0 comments