Introduction

  1. tkEt5PvwJgdugiaF
    tkEt5PvwJgdugiaF
    NFBEoTAcOC1Ug4SG
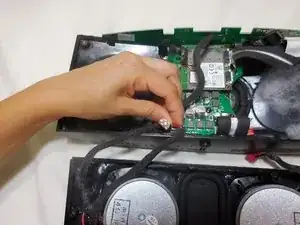
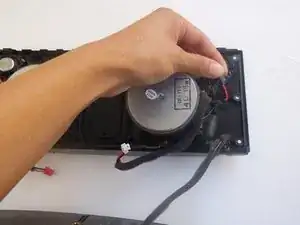
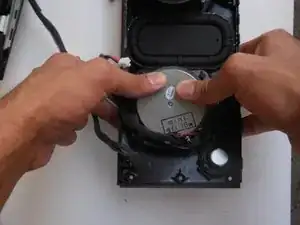
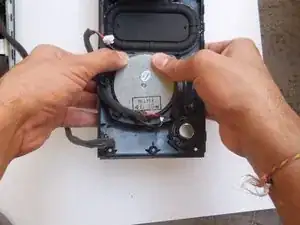
    • Remove the speaker wires from the motherboard by pinching the plastic tab at the end of the cable and pulling towards you.

  2. KMF12lidFRBDGkwM
    KMF12lidFRBDGkwM
    2vFQPinx12NglDEU
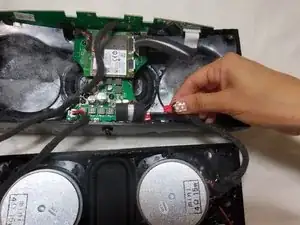
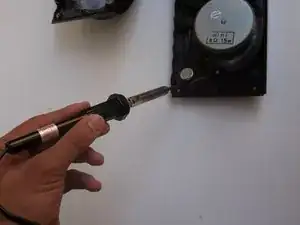
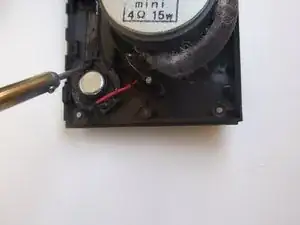
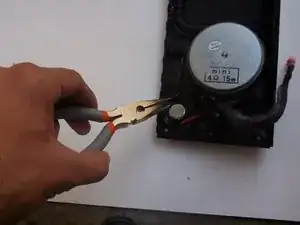
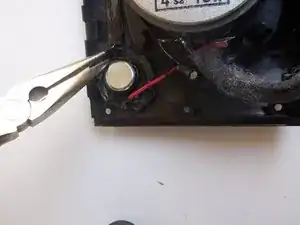
    • Unscrew 1.2 cm Torx security screw, holding the silver circle connector, to disconnect the wire from the speakerboard to the motherboard

  3. fhIeGpSiPCDJ5at6
    • Remove the black putty from the speaker wires at both ends of the speaker board.

  4. ZZ3pieobJV1cIHrD
    ZZ3pieobJV1cIHrD
    3yY6GQqQceaUwRRD
    YqxDZbBgTRHQGHc4
    • Solder the black plastic encasing the red and black wires.

  5. ae2SRDgZHZNsBRPX
    ae2SRDgZHZNsBRPX
    lxbxZDPJUM6OtDjc
    • Remove both the black and red wires with pliers

    • Pliers may stick to speaker because it is magnetic.

  6. gU5FsXXDdNTtWxkA
    gU5FsXXDdNTtWxkA
    SUIwfJnx1uZhK2c5
    • Tuck wires through the hole where the speaker is located, then gently push the speaker out.

    • The 1.2 cm Torx security screws that stayed in place near the speaker will now fall out.

    • To remove the other speaker repeat steps 3-6

Conclusion

To reassemble your device, follow these instructions in reverse order.

Heather Carrillo

Member since: 12/09/16

412 Reputation

0 comments