Introduction

  1. TDLerT6RJSCBoEVk
    TDLerT6RJSCBoEVk
    PZMjRql1r2g1dsvw
    gb65GLNSG3DCAqrd
    • Unplug and power off the speaker.

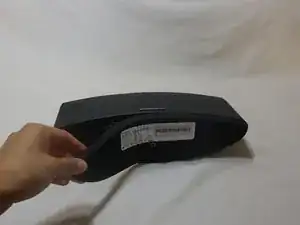
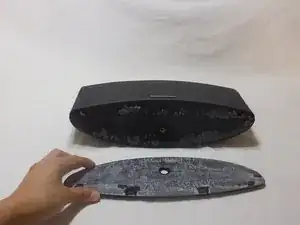
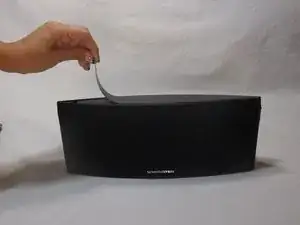
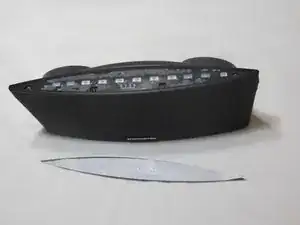
    • Lay the device on its back and unpeel the silicone base.

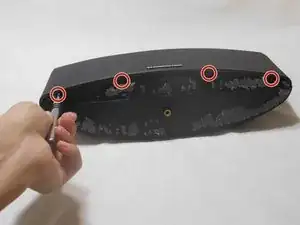
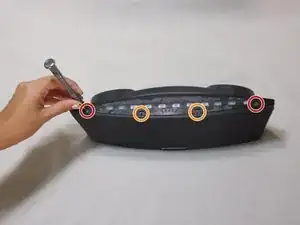
    • Unscrew the four 5mm Torx Security #10 at base.

  2. s4cT52AyV3icHna5
    s4cT52AyV3icHna5
    WscgRhWIJKyXjP5l
    yKVq5yGSQLdOIVI4
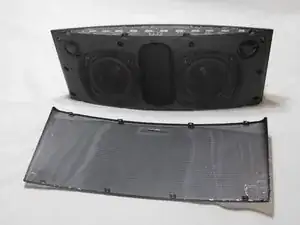
    • Return the device rightside up and unpeel the black display cover over the sensor board.

    • Unscrew the two 3mm Torx Security #6 screws on the edge of the device.

    • Unscrew the two 5mm Torx Security #10 in the middle of the device.

    • Do not worry, the display board will re-stick when reassembling.

  3. KpEmLSwRFWUYRblk
    KpEmLSwRFWUYRblk
    iHXdsyQdiFvX2hgN
    • Remove the metal screen.

  4. vTFSk4tFLfXDiWeC
    • Unscrew the two 4mm Torx Security #10 screws on the top edge.

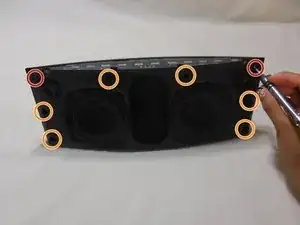
    • Unscrew the six 10mm Torx Security #10 screws around the perimeter.

  5. 1YFZbaUw6uhbxSpd
    1YFZbaUw6uhbxSpd
    n51KMFIxtRAuYybv
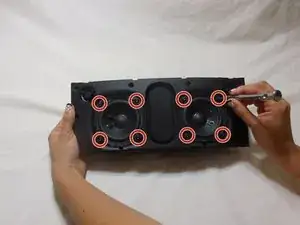
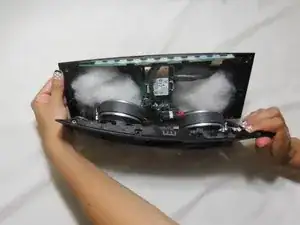
    • Remove the four 10mm Torx Security #10 screws around each individual speakers.

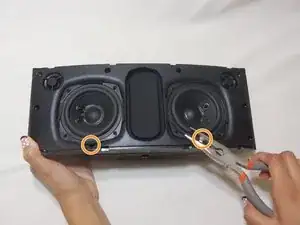
    • Loosen the two Torx Security #10 screws under the speaker using pliers or a long screwdriver.

    • Screws are hidden and are difficult to get to. Also, these screws remain in place due to the magnetic speakers inside.

  6. 3QpM2EBfMpPiRF6I
    3QpM2EBfMpPiRF6I
    3CZ4VWLcXBYULVFV
    1uT6IFG5qZa1RsSb
    • Lift the speaker assembly and remove the stuffing.

    • When returning the speaker assembly, make sure the stuffing is tucked in.

Conclusion

To reassemble your device, follow these instructions in reverse order.

Sarah Garcia

Member since: 12/09/16

207 Reputation

0 comments