Introduction

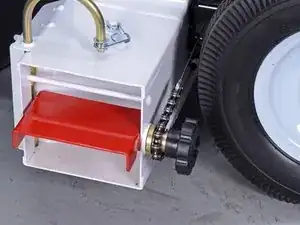
Follow this guide to replace and adjust the deflector chain and cable on a Little Wonder GX270 Maximum Output blower.

  1. SeJ4hTxQOoBO6OBj
    SeJ4hTxQOoBO6OBj
    uafIUiYaqVl41Alw
    • Before you begin, ensure that the engine is off and cool to the touch.

  2. MpWuTOhekHyGPQGX
    MpWuTOhekHyGPQGX
    Qar1yHPjWySqrGiY
    • Locate the gas cutoff valve and flip the switch to the left to shut it.

    Hi ,,, Hve a good day

    Mack -

  3. 2cXOSLfd1KhrxvaH
    2cXOSLfd1KhrxvaH
    GcdUJkIMmtF1pDBT
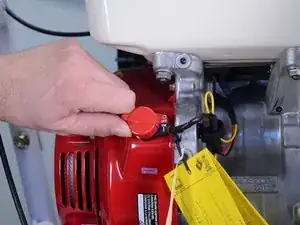
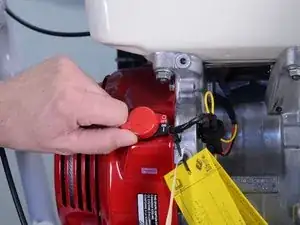
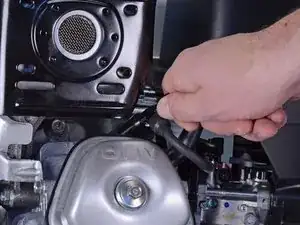
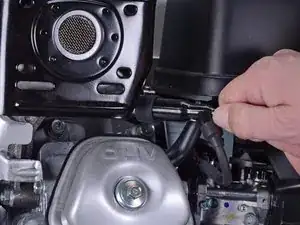
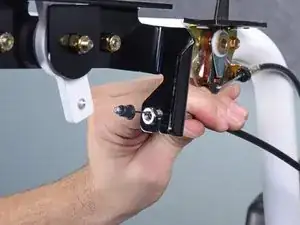
    • Grab the plastic housing at the end of the spark plug wire.

    • Pull firmly to disconnect the wire from the spark plug.

  4. vyJ2IUKxtjOFqX2d
    vyJ2IUKxtjOFqX2d
    ROUp3tdCnGXnvjcD
    • Remove the cotter pin from the clevis.

  5. XdYaroqqoqVoRklq
    XdYaroqqoqVoRklq
    FwZoaSoLjGjjT1qB
    oTTVWB56gMl2vQqM
    • Remove the clevis pin.

  6. 1ZwMpTYqFf5lDPMp
    1ZwMpTYqFf5lDPMp
    a1CLZDn5lhnnZZTY
    Du52ZAiEpQbgPwOA
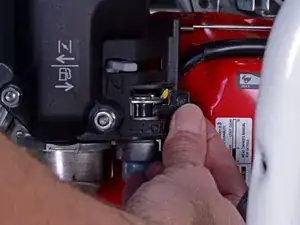
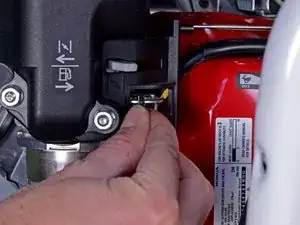
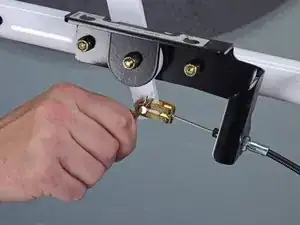
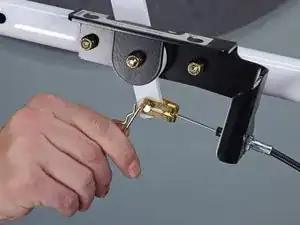
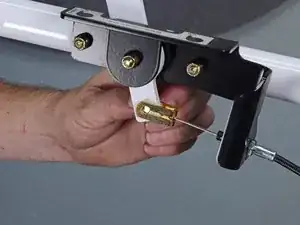
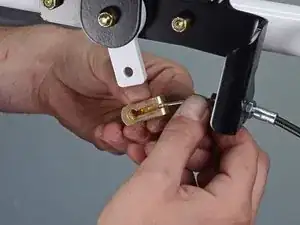
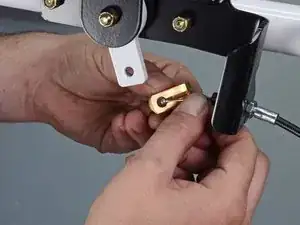
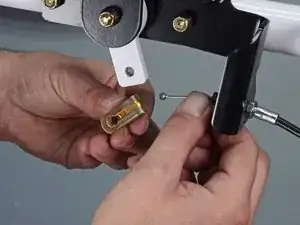
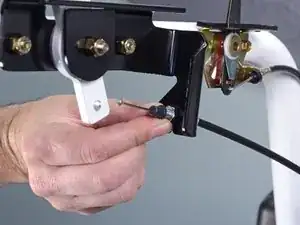
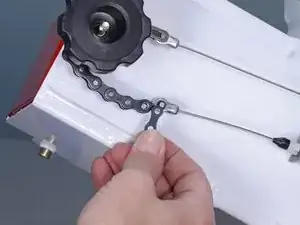
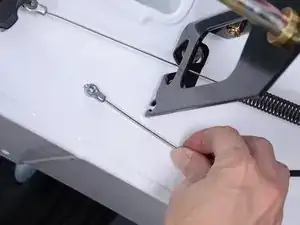
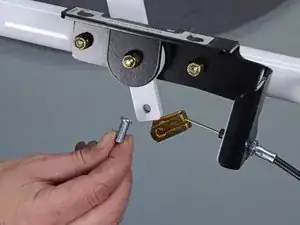
    • Slide the ball at the end of the cable through the round opening in the clevis.

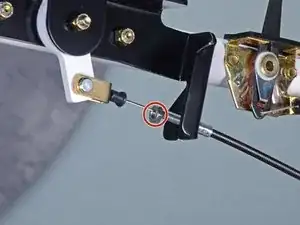
    • Remove the clevis from the deflector cable.

  7. 6lTRotT6RfyNE3Qc
    6lTRotT6RfyNE3Qc
    3WpAkvQvJmeP5IkI
    • Slide the rubber boot off of the cable housing to the end of the cable.

  8. wZ2TfFSCFPNxiLdQ
    wZ2TfFSCFPNxiLdQ
    6lMPokgMH1ZeNTAT
    • Use a 7/16 inch wrench to unscrew the nut securing the cable housing to the bracket.

  9. yvA6HeyVUumlVrKT
    yvA6HeyVUumlVrKT
    FDi3vlt63XEpWEZN
    yY4fwCJxSJOY1EYt
    • Slide the cable housing out from the deflector lever bracket.

  10. 5WxLZGgWSNCQPCNS
    5WxLZGgWSNCQPCNS
    nBUgCGyo4VDE13Nd
    • The next two steps will show you how to remove the master link on the deflector chain.

  11. OaqjHyhFFJeXVfNr
    OaqjHyhFFJeXVfNr
    mtgePqR5kZENyr1d
    • Use a pair of pliers to unclip the master link.

    • Remove the master link retaining clip.

  12. jFIxIErmY1wPL3UC
    • Remove the outer plate.

  13. CTJyGvXVkWiiMLqq
    • Remove the outer plate.

    • Remove the chain from the end of the deflector cable.

    • Repeat steps 11–13 for the upper master link if necessary.

    • During reassembly, follow steps 11-13 in reverse order to reinstall the master links.

  14. YriB42CVoUDkWuxE
    YriB42CVoUDkWuxE
    YDlkgJLEkQBE4sjI
    bapeF1X4vBmrxPeY
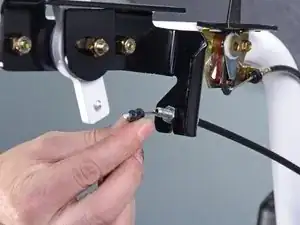
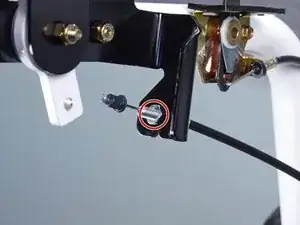
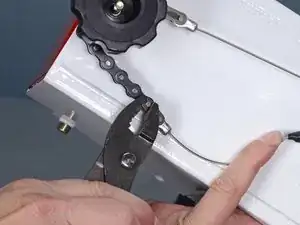
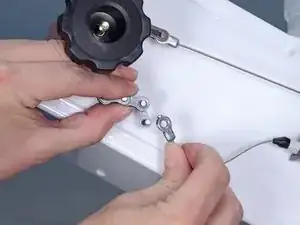
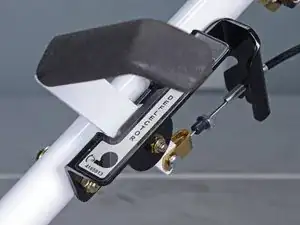
    • Squeeze the tabs on either side of the cable pusher with a pair of pliers and slide it through the bracket.

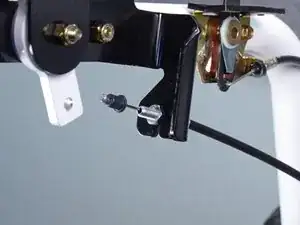
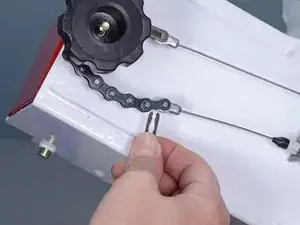
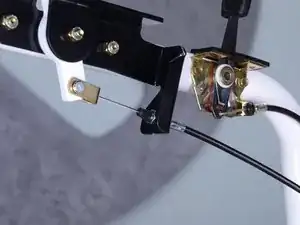
    • Remove the deflector cable.

  15. 5paAuYtITAPXX3rG
    5paAuYtITAPXX3rG
    B4WxpDjil2bb24VN
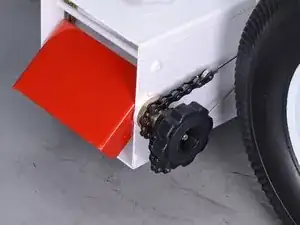
    • The following steps show how to install a new deflector chain.

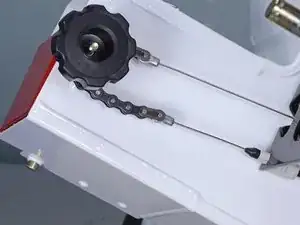
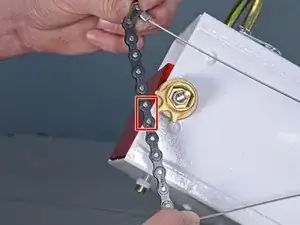
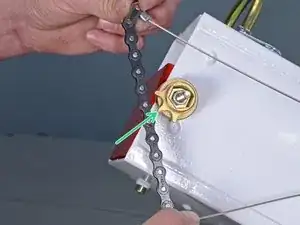
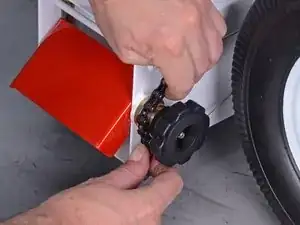
    • Note the center link on the deflector chain.

    • Note the middle tooth of the pivot.

    • The deflector knob has been removed for illustrative purposes.

  16. QCShtMtKMeB4RyUK
    QCShtMtKMeB4RyUK
    CBKqfiC2J23NiTIH
    BqIXTsyBokQMW4SB
    • Drop the middle link onto the middle tooth of the pivot.

  17. LrF4dDZZK2ioumja
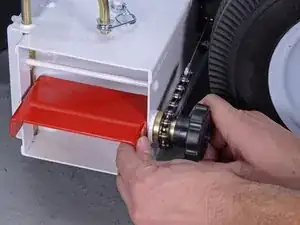
    • Lift the deflector so that it is horizontal.

    • Turn the deflector knob clockwise to lock the deflector horizontally in the wide-open position.

  18. lPIATudTgOLLBqQA
    lPIATudTgOLLBqQA
    mEwPXXB544vD1cnP
    4KgimZZFZutsJWHN
    • Slide the cable housing back onto the deflector lever bracket.

  19. YvjQfCVnJicWvcwV
    YvjQfCVnJicWvcwV
    CnaYxt1B5gkGS1LV
    • Slide the clevis back on to the deflector cable.

  20. nkN6BP3GmcIywsSJ
    nkN6BP3GmcIywsSJ
    2sDMYLSZwCDIIRef
    • Insert the clevis pin through the clevis and the deflector adjustment lever.

  21. pqWENZRs2AHBNsUS
    • Move the deflector lever into the open position.

  22. U3KVgsCnphTiYBLP
    U3KVgsCnphTiYBLP
    xOUXyDCiRUNX65OQ
    • Use an open-ended wrench to tighten the 7/16 inch bolt until the cable is taught.

  23. YkKGsvWVcFYmJWQt
    • Slightly loosen the deflector knob to allow the deflector to move freely.

  24. uTXkleR1hRUWcIZm
    uTXkleR1hRUWcIZm
    XI2DQSlZQSHLtlve
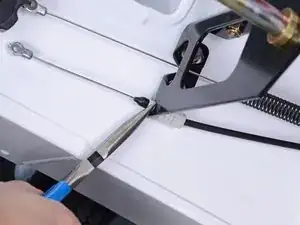
    • Use the lever to open and close the deflector to check that cable is properly adjusted.

    • If the deflector does not fully open, the cable needs to be tightened more:

    • Repeat step 17, then step 22 but give the nut an additional clockwise turn.

    • Repeat steps 23–24.

    • If the deflector does not fully close, the cable needs more slack:

    • Repeat step 17, then step 22 but give the nut an addition counterclockwise turn.

    • Repeat steps 23–24.

  25. oFQQmrut4Tg2KOn3
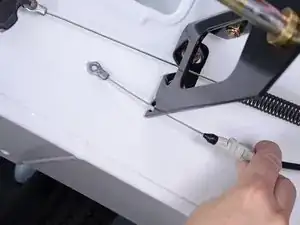
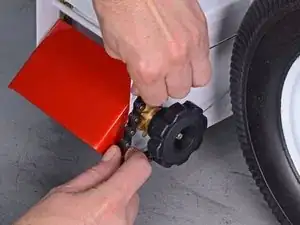
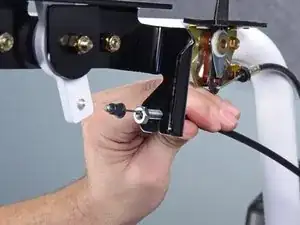
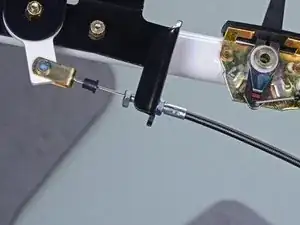
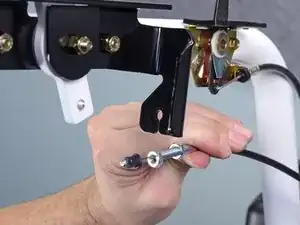
    • Use an open-ended wrench to tighten the other 7/16 inch bolt on the cable housing until it is snug against the bracket.

  26. 11nlRIqSSYwXJQtU
    11nlRIqSSYwXJQtU
    aPQ4c66UpgGMmQTc
    • Slide the rubber boot back onto the end of the cable housing.

    • Install the cotter pin onto the clevis pin.

Sam Omiotek

Member since: 25/02/19

78491 Reputation

0 comments