Introduction
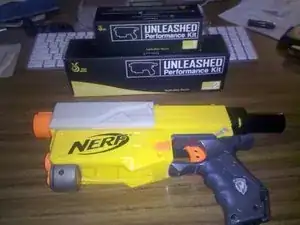
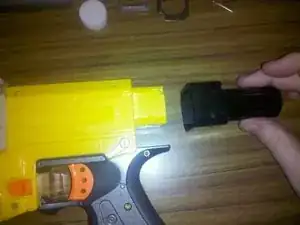
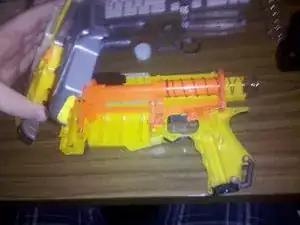
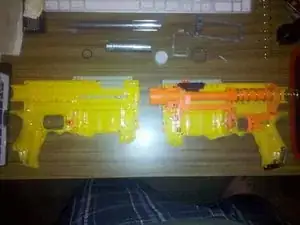
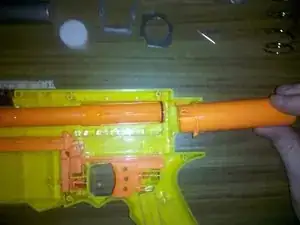
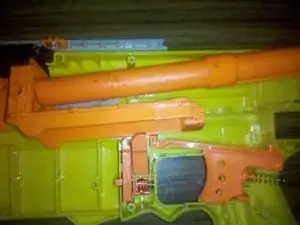
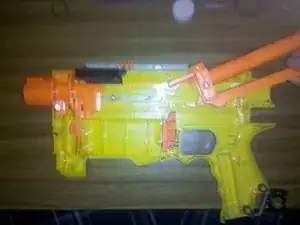
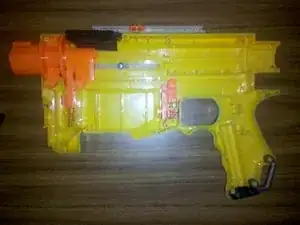
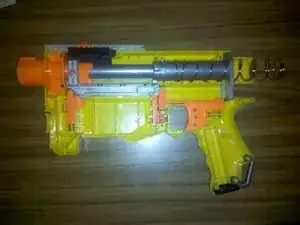
The Nerf N-Strike Recon is a great foam dart blaster which can be found for around $20. Like most blasters, the range is about 30-35 feet. However, with the Stage 1 and Stage 2 mod kits from Orange Mod Works, the blaster's internal parts can be upgraded to attain 80 foot ranges and muzzle velocities in excess of 90 feet per second.
Please pardon the poor quality images. I only had my camera phone available while installing the kits. If you've got better images, please contribute them!
Tools
Parts
-
-
The Nerf N-Strike Recon is a great blaster on its own, but we can significantly improve its performance by modding it.
-
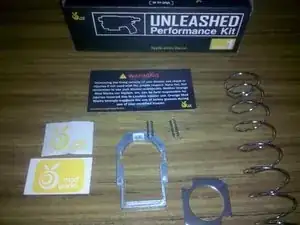
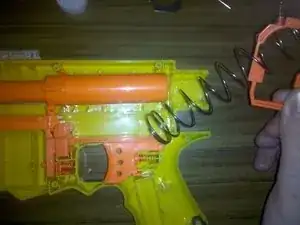
The Stage 1 Performance Kit comes with a spring that's twice as powerful, a metal trigger catch and stronger catch spring, and a reinforcement plate.
-
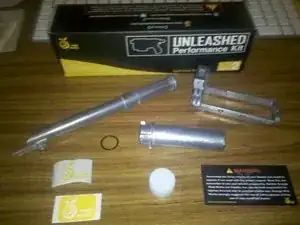
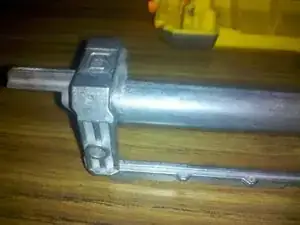
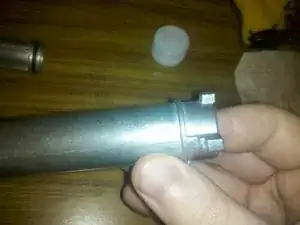
The Stage 2 Performance Kit comes with a metal breech, metal bolt sled, metal plunger tube, and an O-ring with lubricant.
-
-
-
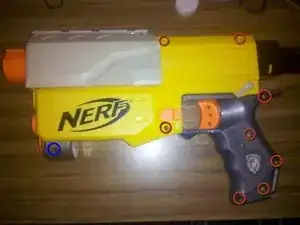
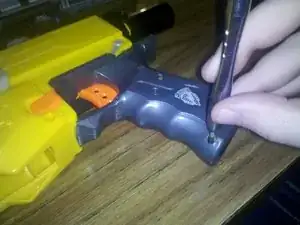
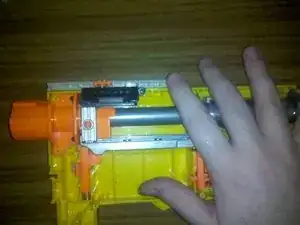
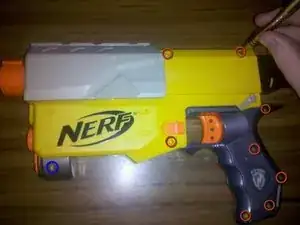
The blaster is relatively easy to take apart. Just remove the Phillips #0 screws from the body.
-
Remove the 8 screws from the rear body. They're all the same size.
-
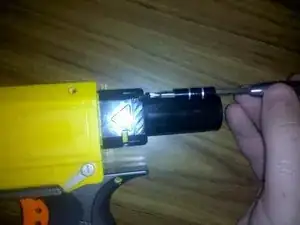
Remove the screw below the barrel. This is the only screw that's a different size. It's quite a bit longer than the others.
-
-
-
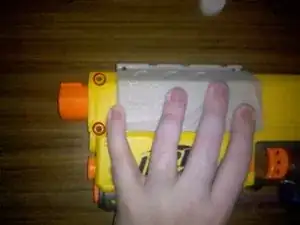
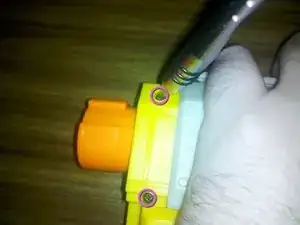
Slide the cocking mechanism back slightly to reveal two more screws.
-
Remove these short Phillips #0 screws from the front body. They're the same size as the eight we removed in the previous step.
-
-
-
Now remove the two Phillips #0 screws on the cocking mechanism itself. They're the same size as all the other short screws.
-
-
-
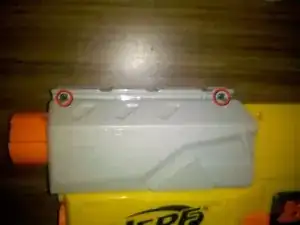
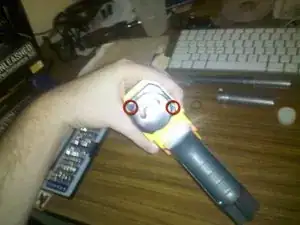
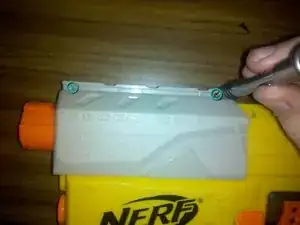
Finally, remove the two screws on the back securing the plunger tube guard.
-
Once free, remove the plunger tube guard from the blaster.
-
-
-
Carefully pry around the middle seam, and the blaster should come apart.
-
Work slowly and methodically so that you don't disturb the internal components in the process. Chasing down stray springs is not fun!
-
-
-
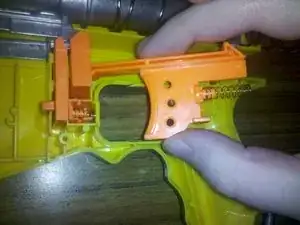
Carefully remove the plastic trigger catch and stock spring.
-
Next you can slide the plunger tube off the breech.
-
-
-
Next, remove the bolt sled and breech assembly. They are attached, so they'll come out together.
-
You may find it easier to remove if you take out the trigger and trigger lock first. Just remember how it went together so you can reassemble these pieces later!
-
-
-
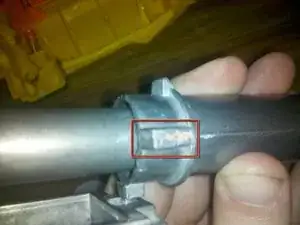
Slide the plunger tube guard reinforcement plate (from the Stage 1 kit) into the guard we removed in step 5.
-
-
-
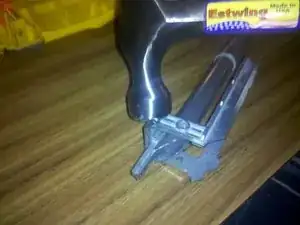
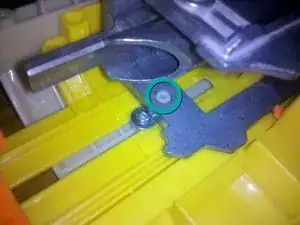
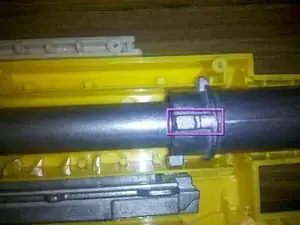
Use a hammer to insert the included pin between the breech and bolt sled.
-
It won't be super tight. There should be some play up and down between the bolt sled and the breech.
-
-
-
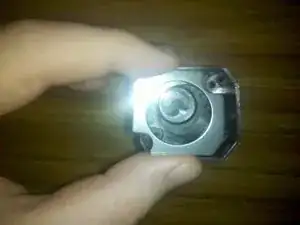
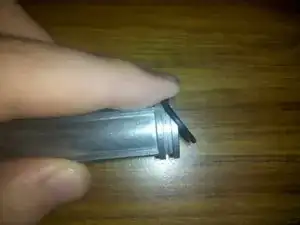
Install the included O-ring onto the breech (both from the Stage 2 kit).
-
Use the grease from the kit to lube up the O-ring and surrounding breech area.
-
-
-
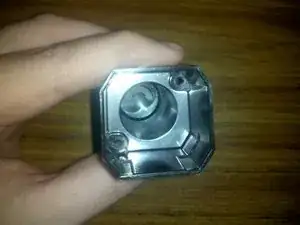
It's a good idea to use your finger (with some grease on it) to lube up in the inside of the plunger tube.
-
Continue applying lube and testing the plunger tube on the breech until they slide nicely.
-
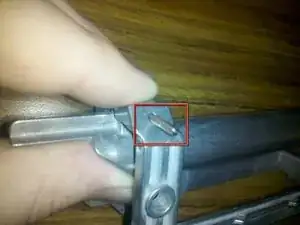
It's also a good idea to apply grease to areas where the metal is in constant contact with the plastic, like the plunger tube guide tabs.
-
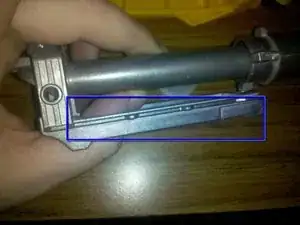
The bottom rails on the bolt sled also slide past the plastic a lot, so might as well lube them up, too.
-
-
-
Install the new bold sled assembly, plunger tube and all, back into the gun.
-
Be careful with the trigger lock. You may have to remove it and reinstall it. Make sure you put it back exactly how you found it.
-
The hole in the bolt sled should drop right into the plastic peg on the cocking mechanism.
-
Make sure the tabs on the plunger tube are in the guide rails on the outer shell of the blaster.
-
-
-
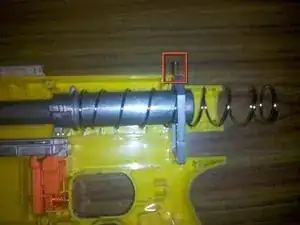
Carefully lift the plunger tube slightly and slide the new spring (from the kit) and trigger catch over the plunger tube.
-
Make sure you put one of the new stronger trigger catch springs (again, from the kit) on your trigger catch.
-
-
-
Holding your hand down over the sensitive internals around the trigger area (to prevent them from dislodging), slide the cocking mechanism all the way forward.
-
With the cocking mechanism forward, you should be able to reinstall the trigger (if you removed it earlier).
-
-
-
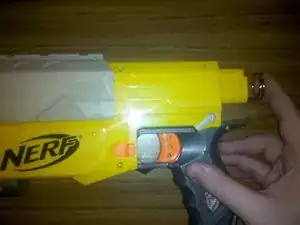
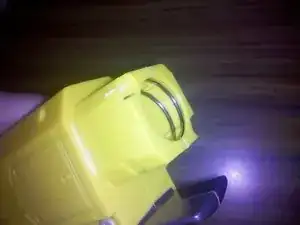
Place the other half of the body back onto the gun, making sure everything lines up. It's ok if the spring sticks out of the back for now.
-
While holding the body together firmly with one hand, use the other to push the spring inside. This may require separating the body slightly around the spring.
-
Once the spring is inside the body, grab the plunger tube guard and reinstall it with two of the short Phillips #0 screws.
-
-
-
Use eight of the short Phillips #0 screws to secure the rear body.
-
Remember, the single long screw goes below the barrel.
-
Use two more short screws to reconnect the two halves of the cocking mechanism.
-
Lastly, slide the cocking mechanism back slightly to reveal the last two screw holes. Use your last two short screws to secure the front body.
-
-
-
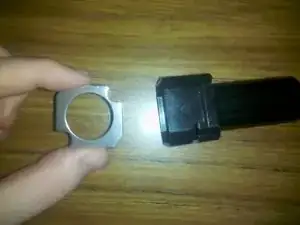
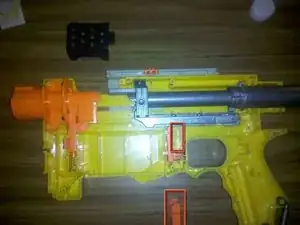
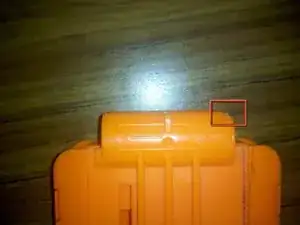
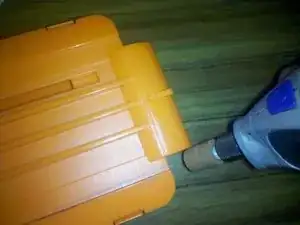
It's an easy fix that won't affect the use of the modified magazine in your other blasters.
-
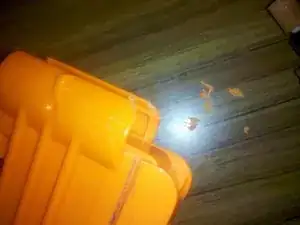
Using a rotary tool or file, grind down the back corner of the top of the magazine.
-
Keep grinding and testing the fit in your blaster. You don't need to take off much.
-
-
-
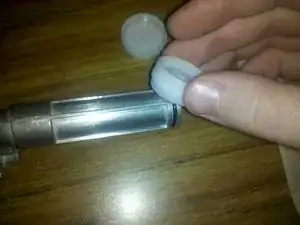
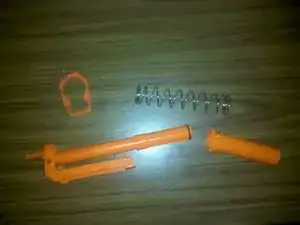
Say goodbye to all those plastic parts!
-
Or, if you're feeling sentimental, store them somewhere safe in case you ever decide that the performance kits have made your blaster too awesome.
-
All finished! Please be safe and responsible with this blaster! After modification, this is no longer a toy for children. Close range shots can hurt and poking around the internals with a finger during operation could cause serious injury. Be careful!
3 comments
Dzięki za instrukcje.
Pozdrawiam
Mariusz W.
Polska
marek -
recon performance kits no longer available sadly
Disappointed to read these arnt even available anymore n havnt been what looks 6years but ironically I made vid yesterday on YouTube doing an install in a Retro mod, these kits arnt too bad with a couple 103fps duplicates, wouldn't mind slapping a stronger spring in though but these days it's just not worth the time doing the mod when we can now buy 160fps blasters that are tunable to over 300fps
