Introduction
-
-
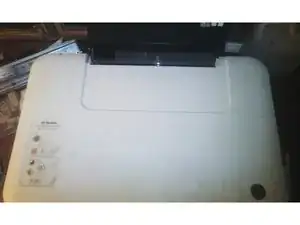
Disconnect the printer from power source and then open the photocopy/scanner door.
-
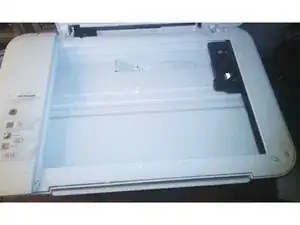
You will see four screws on the ends. Unsrew them with the necessary equipment.
-
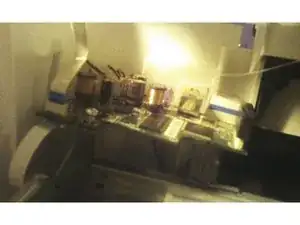
Carefully lift the top of the printer. Lift he back first near the paper tray to expose the interior of the printer.
-
-
-
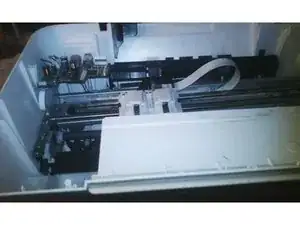
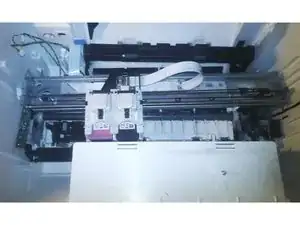
Slowly remove the cables that are connected to the motherboard and the sensor.
-
Now remove all other cables connected to the motherboard as shown.
-
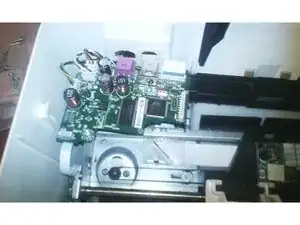
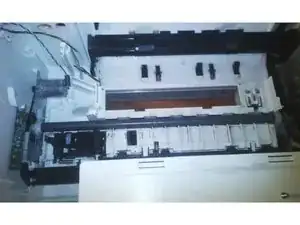
Unscrew the motherboard by removing three screws.
-
-
-
Unscrew the three screws one on the upper side on the left and two that are in the middle of the catridge belt mover.
-
Remove it to expose the cables.
-
-
-
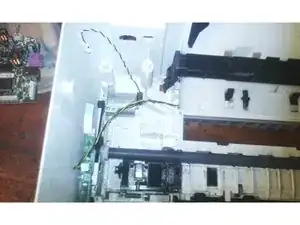
As you can see in this case my printer has broken cables. The yellow, green and black cables are broken.
-
Replaces the cables. It is also important to check the sensor cable.
-
-
-
After replacing any broken cables, reassemble your printer starting with the printer mover rail.
-
Screw it tightly into place.
-
Screw the motherboard into place tightly.
-
Ensure everything is in place.
-
Your printer should work just fine.
-


To reassemble your device, follow these instructions in reverse order.

2 comments
Thank you very much sir I got it .
Rao -
You are much welcome. Glad to know I was able to help.