Introduction
Over time, the laser toner leaks into the scanning element and can interfere with the printer's ability to produce consistent color. To repair this, we first must disassemble the printer to reach the scanning element, and then clean the optics so the printer produces color as it was meant to.
The first time I did this repair it was with guidance from the pdf attached to the first reply in this thread
-
-
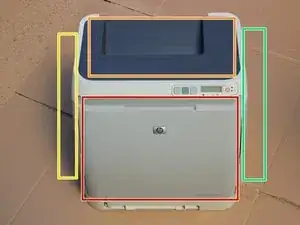
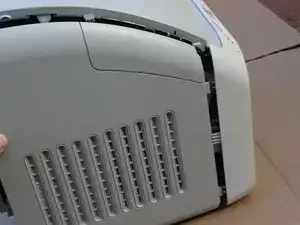
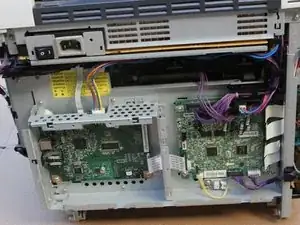
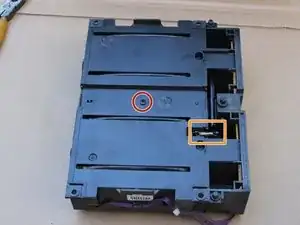
First, let's establish what part of the printer is what so that we can communicate clearly throughout the guide. The red square is the front and the orange square is the top. After those, we have left (yellow), and right (green). The back is opposite the front and the bottom is opposite the top.
-
-
-
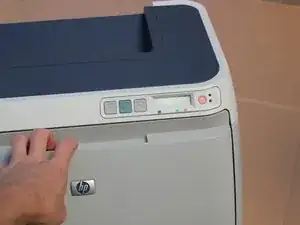
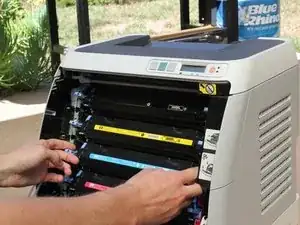
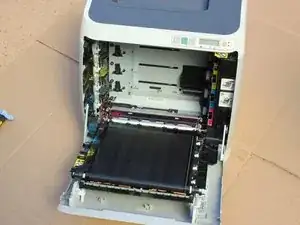
Open the front door and remove the toner cartridges.
-
Set the cartridges aside for later. To keep them clean, place them in a bag or closed box.
-
-
-
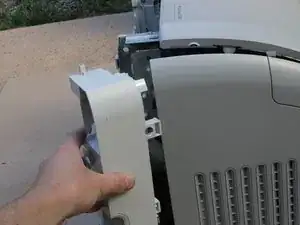
Place the printer so that the right side is on the ground.
-
Remove the paper tray from the bottom of the printer.
-
-
-
Rotate the device so it rests on its back.
-
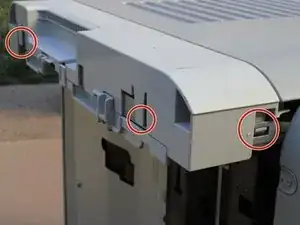
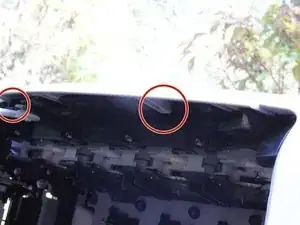
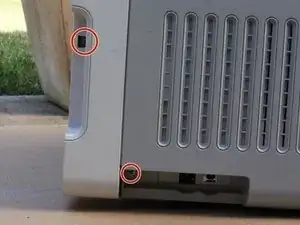
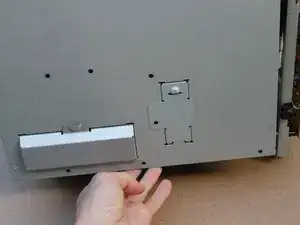
Unscrew and remove the two Phillips M3 screws as indicated from the right side covers.
-
-
-
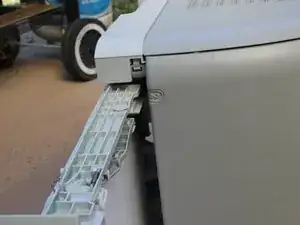
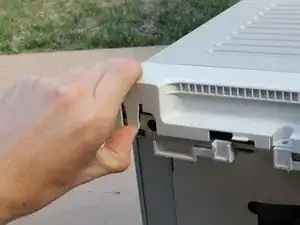
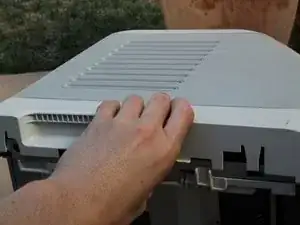
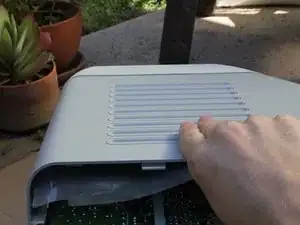
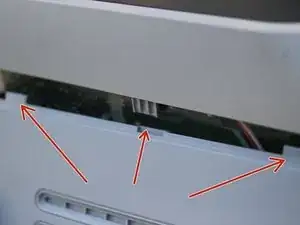
Release tabs on the right base cover and right cover.
-
Some of these tabs are inside the printer, so you will need to open the door and look along the right side.
-
-
-
Place the device right side up once again.
-
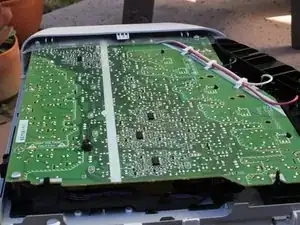
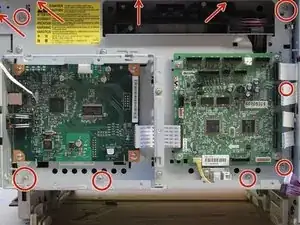
Remove the nine indicated Phillips M3 screws from the back plate.
-
-
-
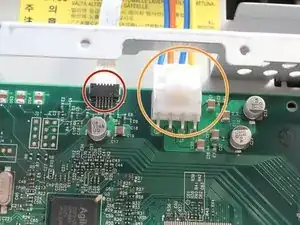
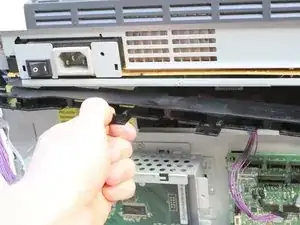
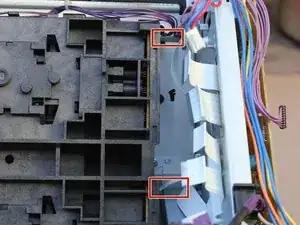
Remove the ribbon cable by pulling directly along the cable.
-
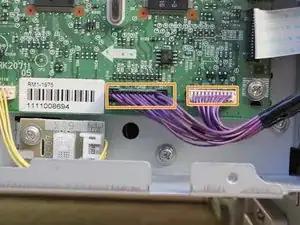
Remove the white connector by pressing down on the tab and pulling out.
-
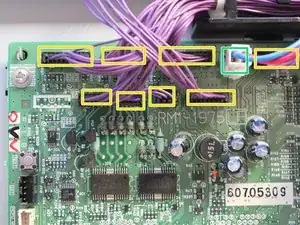
Pull the purple wire connectors directly out. You do not need to mark which cable goes where, as they are all unique sizes.
-
Remove the white connector by pressing down on the tab and pulling out.
-
-
-
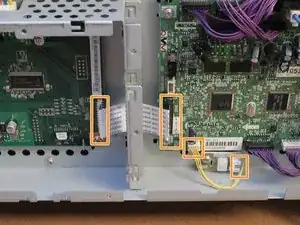
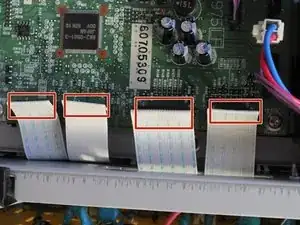
Remove the four ribbon cables gently from the right edge of the circuit board assembly.
-
Remove the final two wires by pulling them straight out.
-
-
-
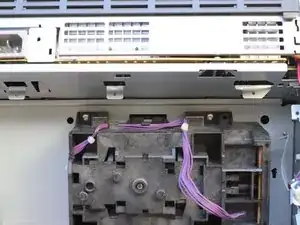
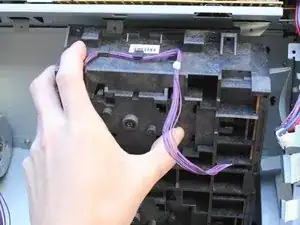
Unwind the cables from the black harness on the top and right edges of the circuit board assembly.
-
-
-
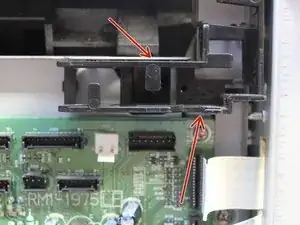
Depress the indicated tabs and remove the corner wiring harness from the circuit board assembly.
-
-
-
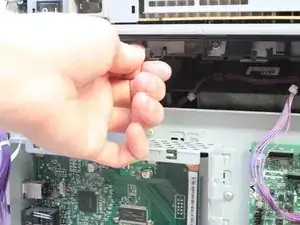
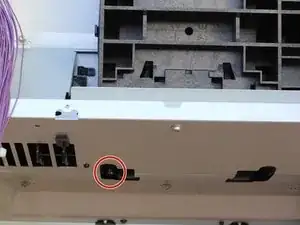
Tilt the printer forward and remove the Phillips screw with a lock-washer from the bottom area of the printer.
-
-
-
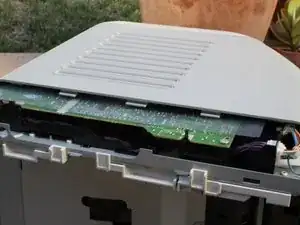
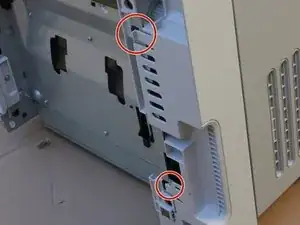
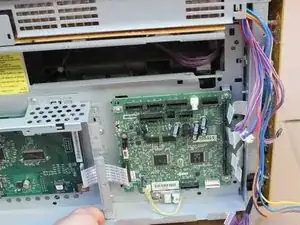
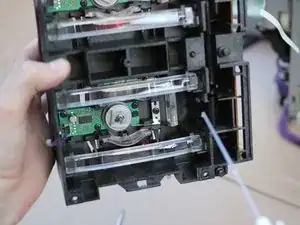
Set the printer back down and remove two more Phillips screws with integrated lock-washers, which releases the optical sub-assembly.
-
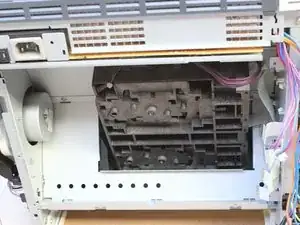
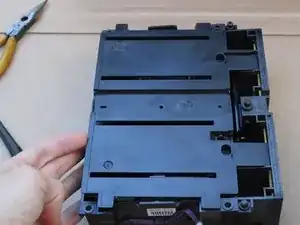
Remove the optical sub-assembly, this is what you need to repair.
-
-
-
Place the optical sub-assembly with the side that was facing you down.
-
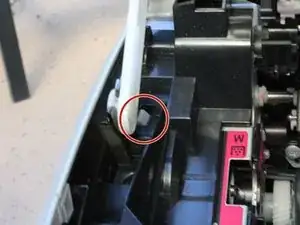
Remove the indicated black screw.
-
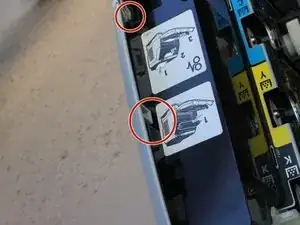
Unhook and save the indicated spring.
-
Remove the top plate from the optical sub-assembly.
-
-
-
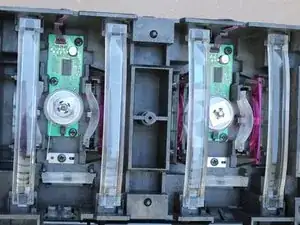
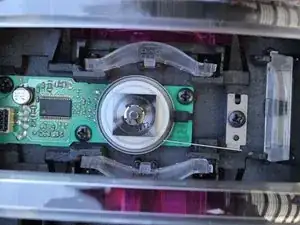
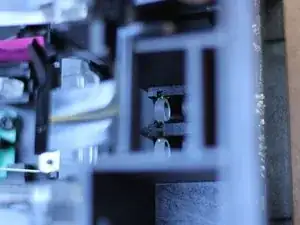
Using a clean cotton swab or lens brush, GENTLY clean the visible sides of every clear or reflective surface you can find.
-


To reassemble your device, follow these instructions in reverse order.
33 comments
Takes 2-3 hours to disassemble and reassemble for a first timer but it worked really well!
And in the end all it cost me was my time.
Many thanks!
Thank you very much for sharing your knowledge with this guide.
Since I had the machine apart I took the time to clean every area I could get to that is within the paper path.
It took me 6 hrs. to complete the job; but it did not work.
The printer indicated an Error Code 51.21.
So I did the job over again.
I had been fooled by the two ribbons that connect to the optical sub-assembly that by design rub up against the right side of the box, even when disconnected.
My second servicing took me about three hours.
Thank you.
I have a normal working color printer again, and did not have to buy saved the cost of parts and labor by using your guide for restoration.
Hi there - In step # 23, am I missing the right screw or is there really just one Phillips screw with a lock-washer?
This printer requires genuine HP toner cartridges. If you don't believe me, knock yourself out with the cheapies and you will be knocking at this iFixit guide before too long. You will get a lot of toner blowing out of the cartridges, all over the inside of the printer and the paper tray. Pretty soon your printouts will have color streaks on them. I didn't believe it until it happened to me. After using only genuine HP toner for years I finally bought two sets of knockoffs and my printer was nearly destroyed. After tearing it down again and cleaning all the blown-by toner from everywhere, I'm back in business. This is a great guide. Now where IS that ice cream truck?
George Fish -
Agree! ^^ If I’d stuck with the more expensive HP toner rather than looking to save some money, I’d have saved time by not having to mess with this.
Seykick -
My printer has printed 19,877 copies with only genuine HP cartridges. It got so bad that some parts of the page were perfect where other parts were badly faded. When I went through this process, both inside mirrors were covered with toner. After completing the process, the printing is almost perfect. Thanks for this tutorial.
Jeff Martin -
A have a perfect 2605 and bought a 2nd hand 2605dtn with faded colors. Thought empty cartridges were the cause, but no. Decided to rescue the network card for my 2605. But with nothing to lose, I decided not to watch TV with a beer but to try this manual. And to my own surprise I managed to follow all steps. Ended with 2 screws left over and a brand new printer. It wasn’t that difficult and it didn’t take long.
I also feel good for doing something for the environment.
Thanks Jay
p.s. do you have such manual’s for my car, dishwasher & scooter?
wentfotografie -