Introduction
Feeling torn as to whether or not you have the skills to repair a blown-out seam in your garment? Fear not. This guide will show you how to repair a rip along a straight seam. In this guide we'll be using contrasting thread for visibility. When it comes time to do your actual project, you'll want to use thread that matches the color of your fabric.
Tools
-
-
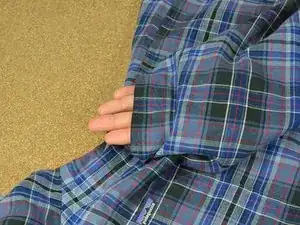
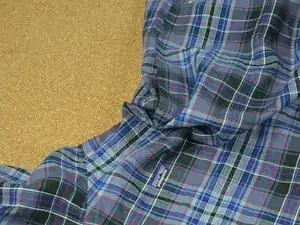
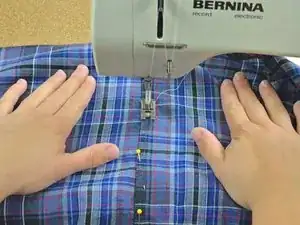
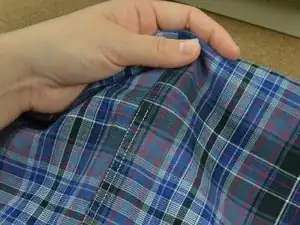
Flatten out the garment around the torn seam, and align the fabric where the seam used to be.
-
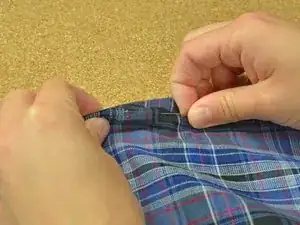
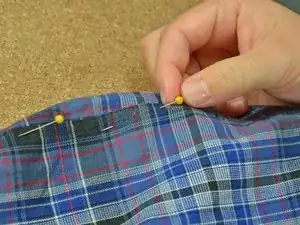
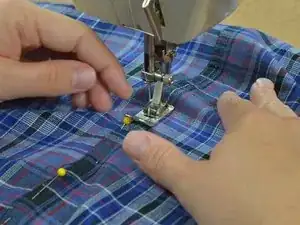
Pin the two layers together. Be sure to catch only the two layers of fabric you wish to sew back together.
-
-
-
Open the garment as much as possible, laying the seam flat.
-
Check your alignment and make sure the two edges of your fabric line up.
-
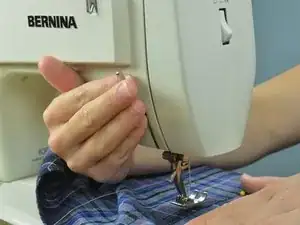
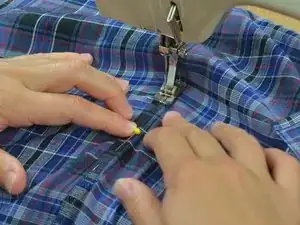
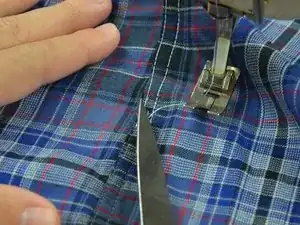
Put the garment in the machine, starting a few inches before the torn seam to overlap with the stitches.
-
Drop the presser foot. Align the first line of stitches with the needle.
-
-
-
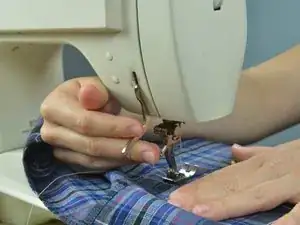
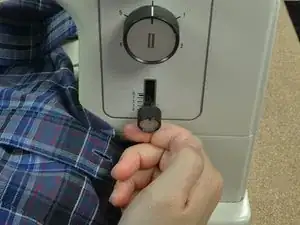
When you come to the end of the row of stitches, engage the backstitch function of your machine. Backstitching prevents the seam from unraveling.
-
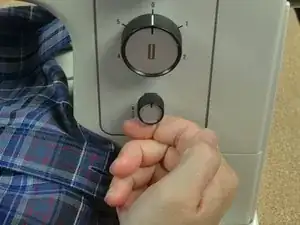
Depress the pedal slowly. Sew two or three stitches backwards. Release the pedal and disengage the backstitch function.
-
-
-
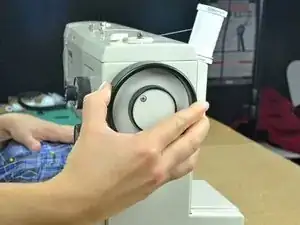
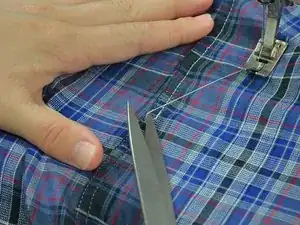
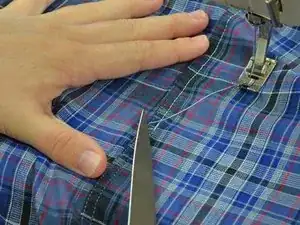
After you've completely sewn over the torn seam, clip the threads and free the garment from the machine.
-
-
-
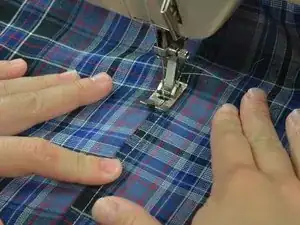
Some clothes have two rows of stitching, If your garment does, reposition it in the sewing machine. Drop the needle into the second line of stitches at about where you began sewing your previous seam.
-
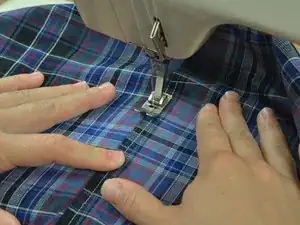
Repeat steps 3-7 of this guide to resew the second line of stitches.
-
If your garment only has a single line of stitches, skip this step and proceed to the next step.
-


One comment
You will want to put the pins in (if possible to catch all layers) perpendicular to the seam you are sewing. Then you can sew right over them without breaking your needle. Plus you will not poke yourself as they come at you in the line of travel!
AMY -