Introduction
Inflatable SUPs are a fantastic way to enjoy the water, but leaks can put a damper on your fun. Whether it’s a small puncture or a seam issue, repairing a leak on your SUP is a straightforward process that can save you time and money. In this guide, we’ll show you how to fix this problem, ensuring your SUP stays in top condition for all your adventures.
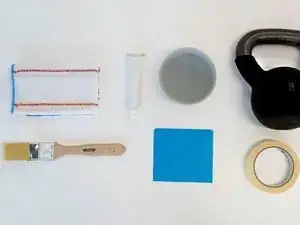
Tools
-
-
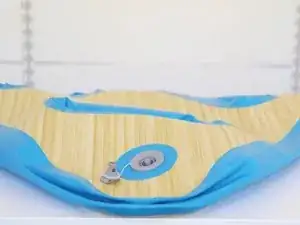
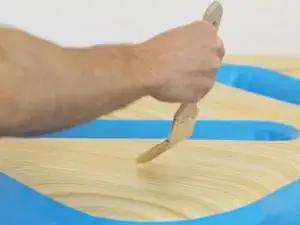
Use a brush to apply soapy water to the surface of the SUP.
-
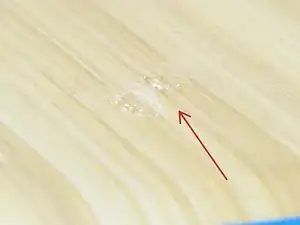
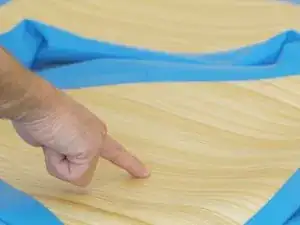
In order to find the leak, look for any bubbles that may appear after brushing. In this example, we were able to identify the leak (red arrow).
-
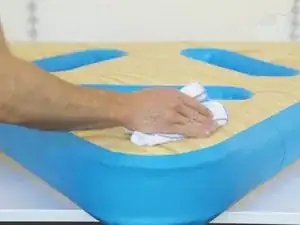
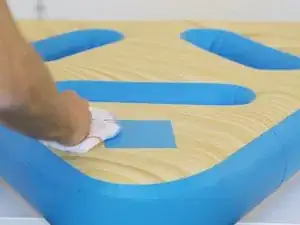
Once you have found the leak, clean the area with a wipe to remove excess water and prepare for the next step.
-
-
-
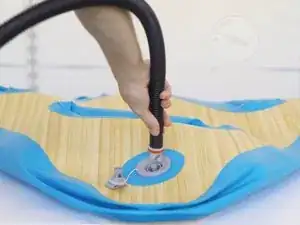
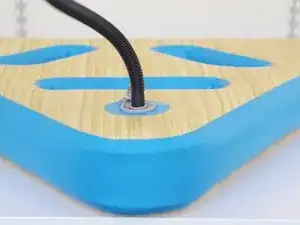
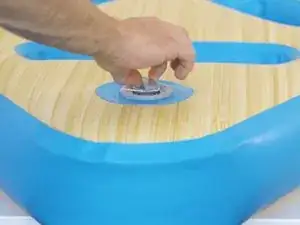
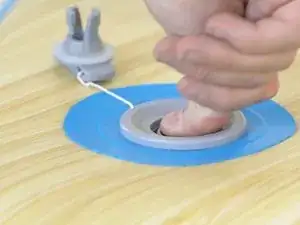
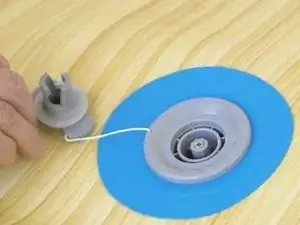
Take out the valve and let the air come out.
-
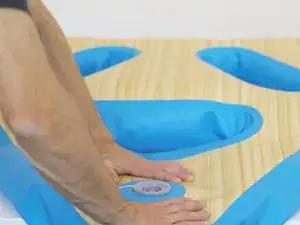
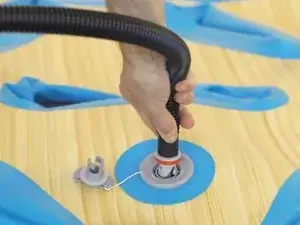
Apply pressure with both hands until all the SUP has been deflated.
-
-
-
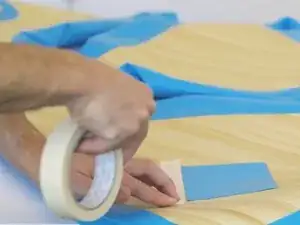
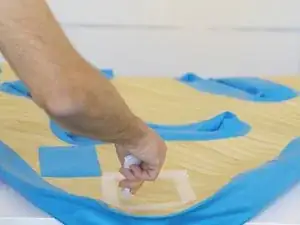
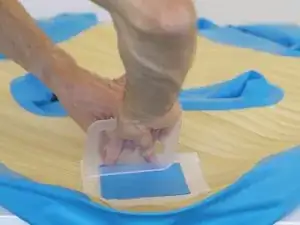
Place a patch to cover the repair area.
-
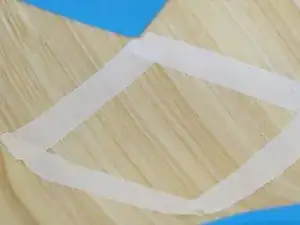
Tape the patch around and prepare for glueing in the next step.
-
-
-
Apply the glue on the patch and the surface of the taped area.
-
Use a brush to spread the glue evenly.
-
-
-
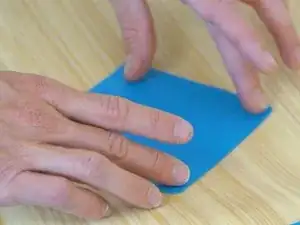
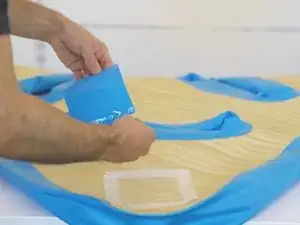
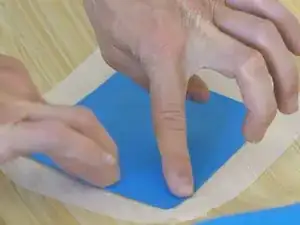
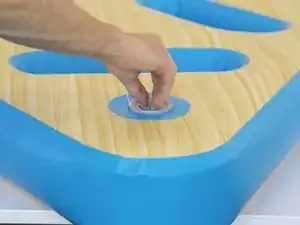
Use both hands to gently place the patch on top of the taped area and apply pressure with your fingers to let the patch set.
-
-
-
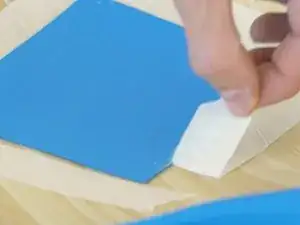
Remove the tape around the patch.
-
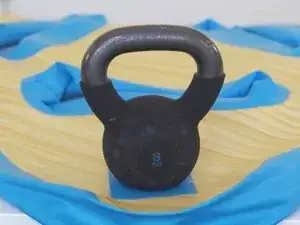
Use a heavy object such as a weight to apply pressure and let it set overnight.
-
-
-
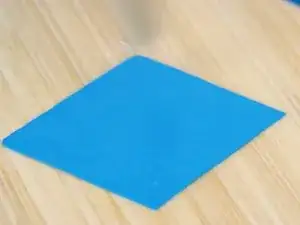
Apply soapy water to test the repair and check if any bubbles appear.
-
The new area should remain free of bubbles, if this is the case, the repair has been successful, and you can clean the area with a wipe after.
-


In need of another repair? Don't worry! Check out our other guides to find quick solutions for your favourite clothing, footwear and equipment!