Introduction
Changing the high-pressure valve on an inflatable SUP is a straightforward process that can help maintain the board’s performance and longevity. Whether you’re dealing with a faulty valve or simply performing routine maintenance, following these instructions will ensure your SUP remains in good condition. Let's get started!
Tools
-
-
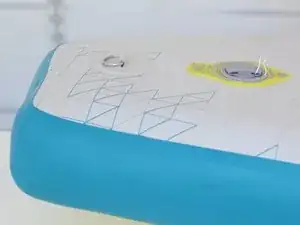
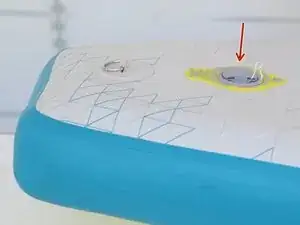
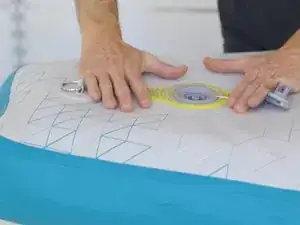
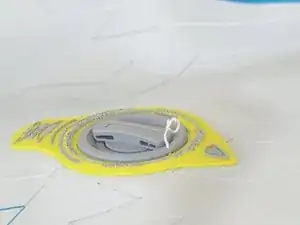
Locate the valve that needs to be replaced (red arrow).
-
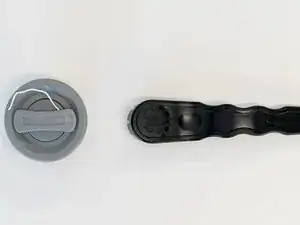
Prepare the area with all the tools needed for the repair.
-
-
-
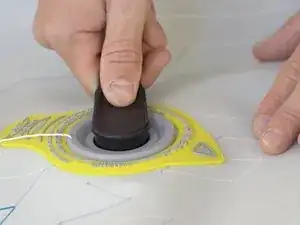
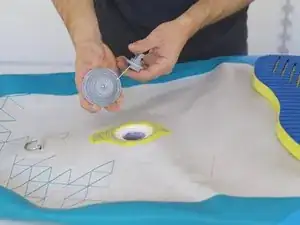
Start by pressing the center of the valve with your thumb to open it.
-
Apply pressure with both hands to deflate the SUP and let the air out.
-
-
-
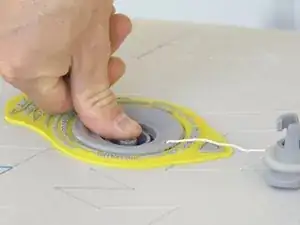
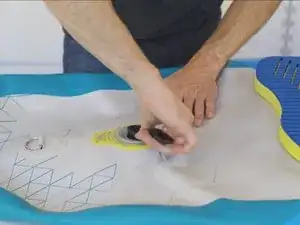
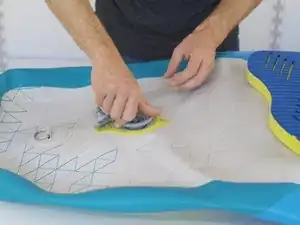
Use the valve tool by placing it on top of the valve and rotating until the old valve comes out.
-
-
-
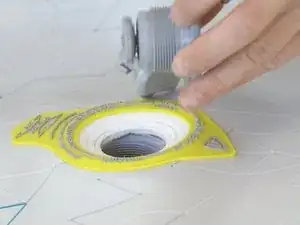
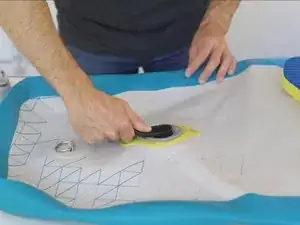
Insert the new part by placing it on top of the valve hole and rotating it.
-
Use the valve tool to fix the valve in its new position and making it as tight as possible.
-
In need of another repair? Don't worry! Check out our other guides to find quick solutions for your favourite clothing, footwear and equipment!