Introduction
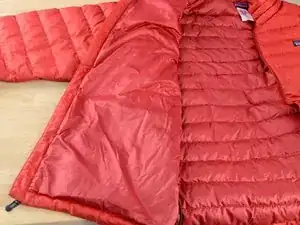
A down jacket provides exceptional warmth for its weight in a wide range of conditions. Because of their versatility, we place numerous demands on our down jackets – from the mundane of running daily errands to use on multi-day alpine climbs. This guide will walk you through the steps needed to access the inside of your Patagonia down jacket when you’ve determined it’s time to make repairs. There are numerous styles of Patagonia down jackets, and each one is constructed slightly differently, so be sure to go slowly to ensure you aren’t causing irreparable harm to your jacket.
Tools
-
-
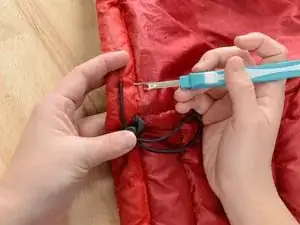
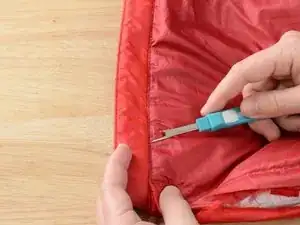
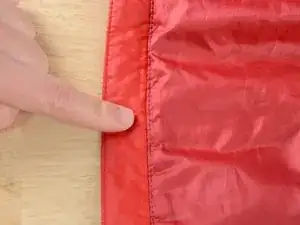
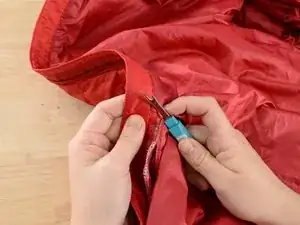
Find the closest seam to the area that needs repair. In our case, it’s the bottom seam of the jacket.
-
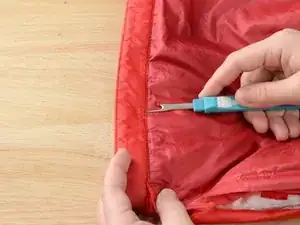
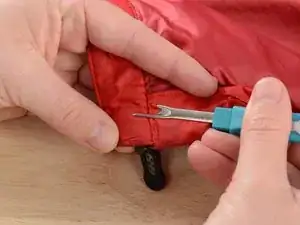
Using a seam ripper, gently pull out the visible stitches on the seam.
-
-
-
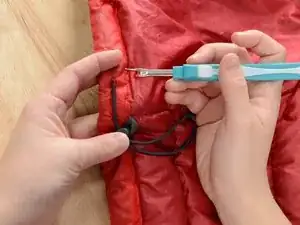
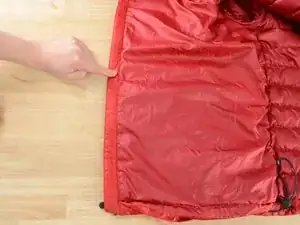
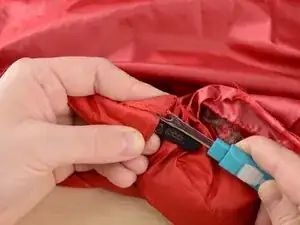
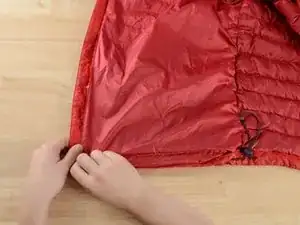
Rip the seam until you have ripped several inches of seam on either side of the hole. Then continue ripping in the direction of the nearest perpendicular seam. In the case illustrated here, it’s the zipper seam.
-
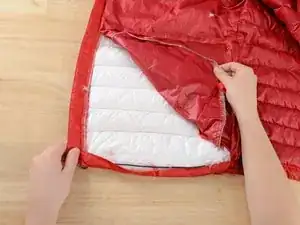
With this seam ripped, you should see the baffles inside of the jacket.
-
-
-
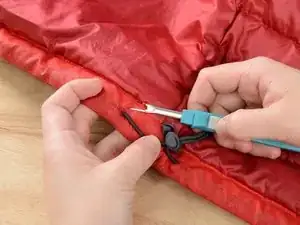
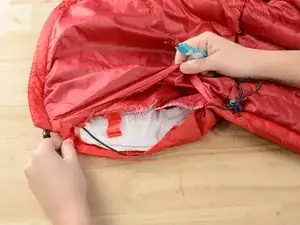
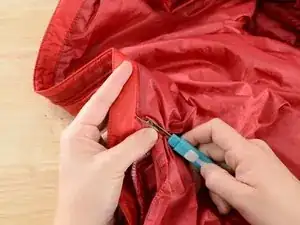
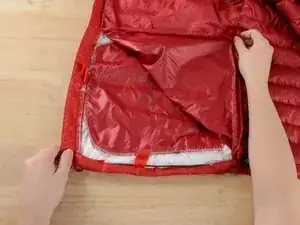
Identify the stitching in the nearest perpendicular seam. In this case, it’s the seam where the lining meets the fabric for the zipper flap.
-
-
-
Rip this seam until the seam opening is three to five inches past the area that needs to be repaired.
-
-
-
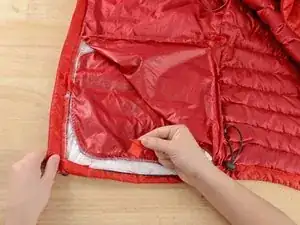
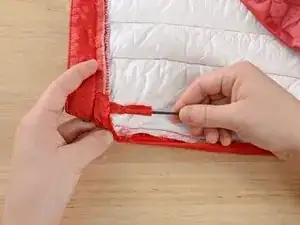
Insert the seam ripper between the two pieces of fabric and carefully rip any stitches between them that may hold the fabrics together.
-
-
-
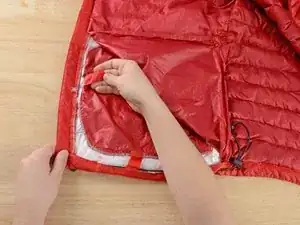
If your jacket has a pocket, make sure the two tabs holding the pocket in place are free.
-
If the tabs aren’t free, rip any stitches remaining to free them.
-
Fold the pocket away from the area that needs repair.
-
-
-
Unless the repair is at the very bottom edge of the garment, leave the drawcord intact. If you can work around it, it will be easier than removing it and sewing it back into place.
-


To reassemble your jacket, follow these instructions in reverse order.

3 comments
Does this have to be hand sewn back up? Is it just the basic handsewing stitch? It feel like the sewing up of the garment is just as challenging if not more than the seam-ripping of it. From this guide, I'm not at all confident about how to put my coat back together again - which has me be very wary of ripping the seams to take it apart. Please help! Thanks!
Byron Go -
Great question Byron! You can either hand-sew or machine stitch your jacket back together. If you hand sew, you'll want to use a straight stitch (guide here: Sew a Straight Stitch). If you machine sew, be sure to use a very sharp needle in your machine. You will also probably want to use some sewing clips (like these: https://www.amazon.com/Clover-Wonder-Cli...) to hold the garment together while you sew it up, instead of pins that will create more little holes. In either case, take your time, as the material is very slippery. You will also want to follow the guide backwards to ensure you have the layers in the right positions and order. Good luck on your repair—you got this!
👏 Great guide on accessing the insides of a Patagonia down jacket! The step-by-step instructions are clear and helpful. For those worried about reassembly, hand-sewing or machine stitching with a sharp needle should do the trick. Remember to take your time and use sewing clips instead of pins. Happy repairing! 🧵🧥