Introduction
Tools
Parts
-
-
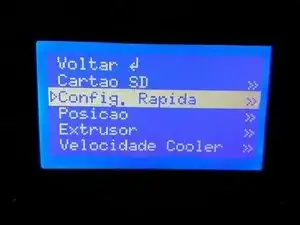
With the printer switched on, access the menu screen and select the option "Quick Configuration".
-
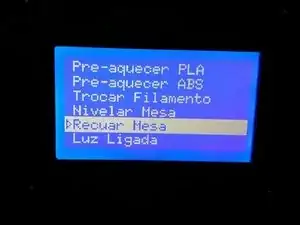
In the Quick Configuration menu select the option "Back off the Table".
-
-
-
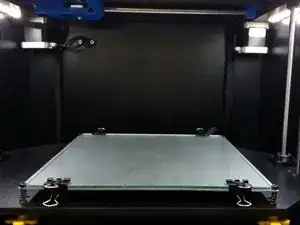
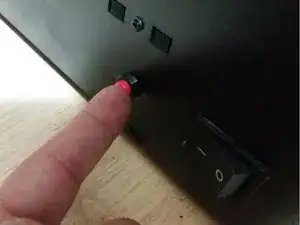
When the table reach the position indicated in the picture, press the Reset button on the left side of the machine as shown.
-
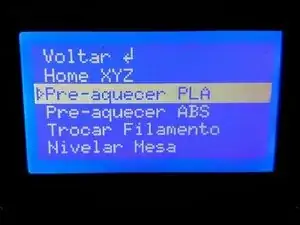
Select the option "Pre-heat PLA" in the Quick Configuration menu.
-
-
-
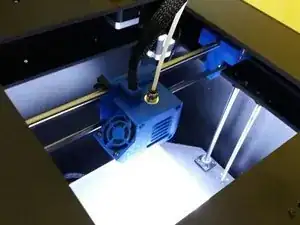
With the table in position push the head manually toward the machine center in order to obtain an easy handling.
-
-
-
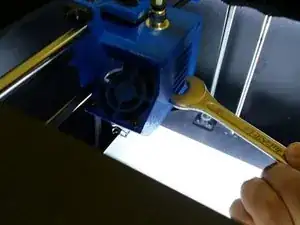
Position the 17mm Fixed Key as indicated in the picture, locking the inner part of the head to prevent the nozzle head from turning.
-
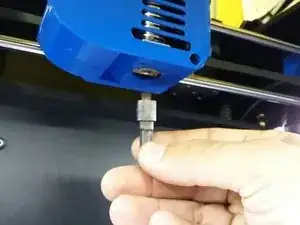
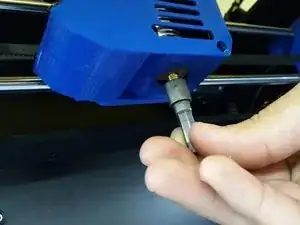
WIth the 7mm wrench take off the nozzle head.
-
-
-
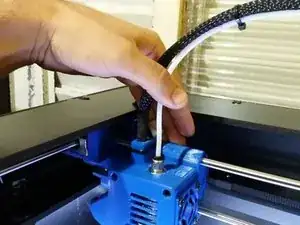
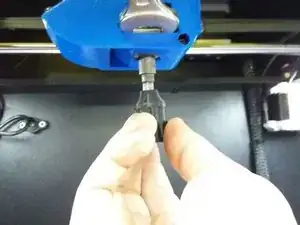
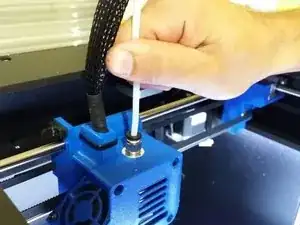
With your hands, pull out the PTFE tube from the printhead by pressing the black piece of the part where the tube is seated
-
-
-
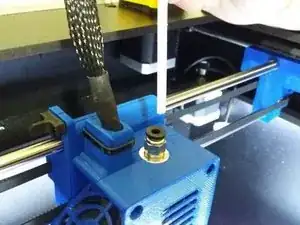
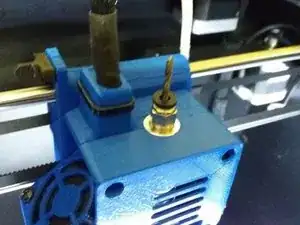
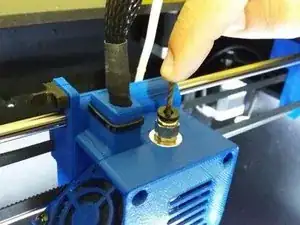
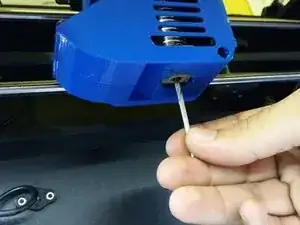
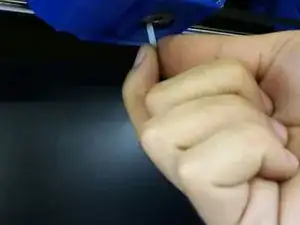
By positioning the drill bit into the indicated hole, push it down until the inner PTFE comes out from under the head (where the nozzle hole is).
-
-
-
Finish removing the inner PTFE and replace it with a new one or clean it.
-
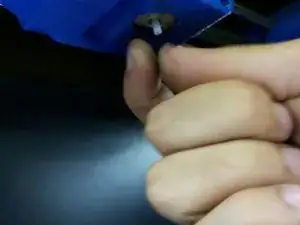
With the drill bit, clean the nozzle hole, as shown in the figure.
-
Insert the new inner PTFE in place as shown.
-
-
-
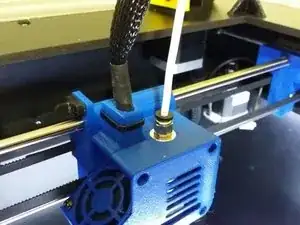
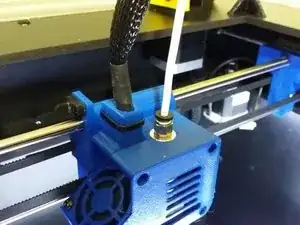
Replace the nozzle at the bottom of the printhead and the PTFE at the top, pushing it all the way with your hands.
-
-
-
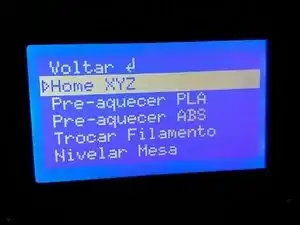
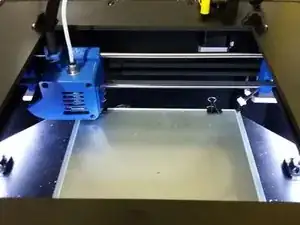
Reposition the table in the "Home XYZ" menu option in the fast settings section and wait until it is in the position indicated by the figure
-
You are ready to continue your impressions!
