Introduction
Tools
Parts
-
-
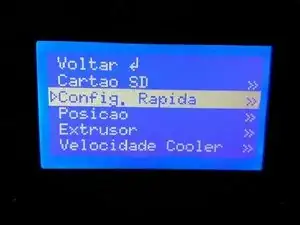
With the printer powered on, enter the menu screen and select the "Config. Rápida" (Quick Setup) option.
-
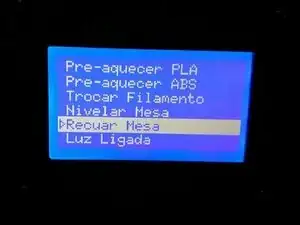
In the quick settings, select the "Retreat Table" option.
-
-
-
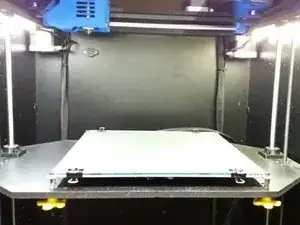
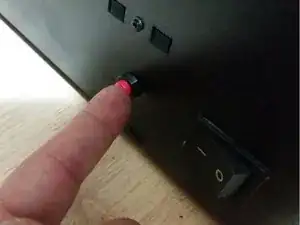
When the table is in the position shown in the photo, press the Reset button on the left side of the machine, as shown.
-
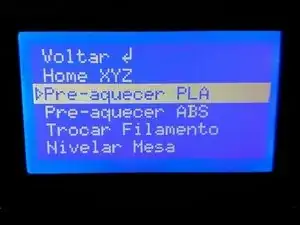
Select the "Pré-aquecer PLA" (Preheat PLA) option from the quick settings menu.
-
-
-
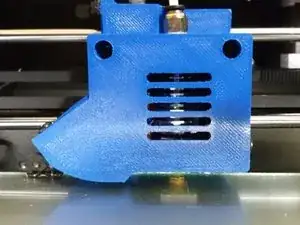
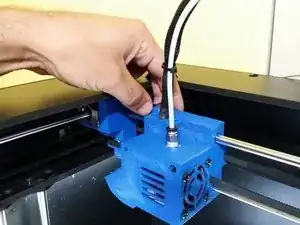
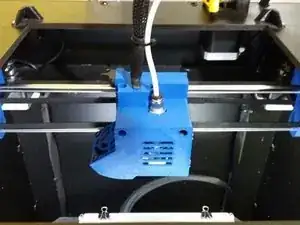
With the table in place, manually push the head to the center of the machine for easier handling.
-
-
-
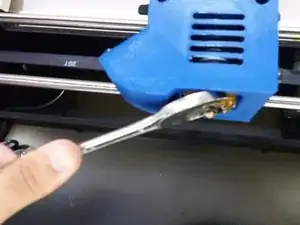
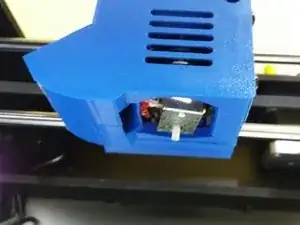
Position the 20mm Fork Spanner, as shown in the figure, locking the inside of the head in order to prevent the nozzle from spinning.
-
With the 7mm Fork Wrench, remove the nozzle from the head.
-
-
-
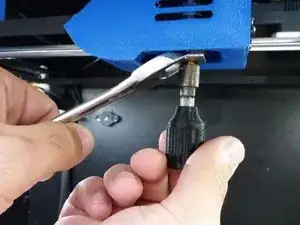
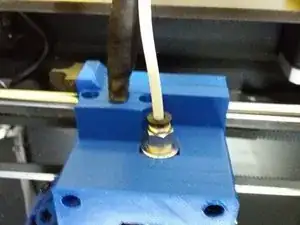
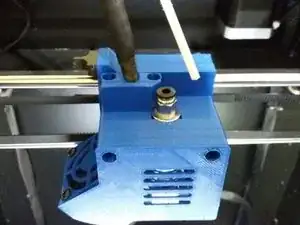
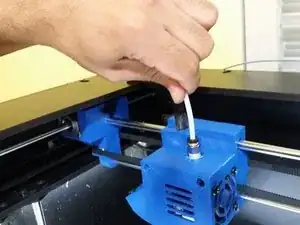
With your hands, pull the PTFE tube from the head, pressing the black part of the piece where the tube is fitted.
-
-
-
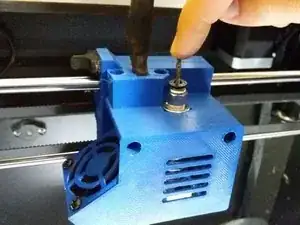
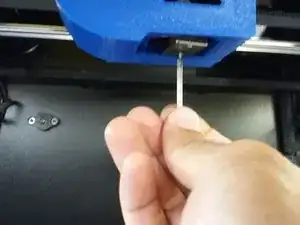
Positioning the bit in the indicated hole, push it down until the inner PTFE comes out from under the head (where the nozzle hole is).
-
-
-
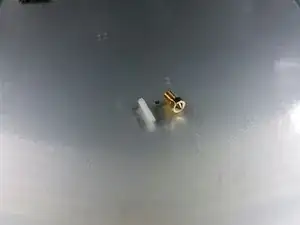
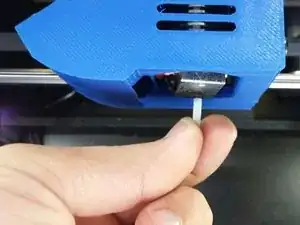
Finish removing the internal PTFE and replace it with a new one or clean it.
-
With the drill, clean the nozzle hole as shown in the picture.
-
Put the new inner PTFE in place as shown.
-
-
-
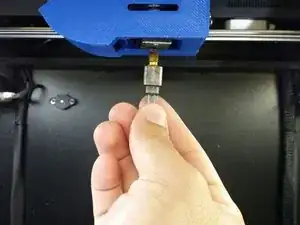
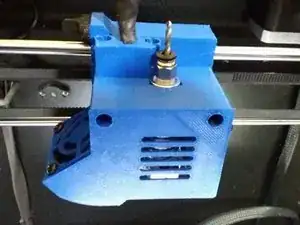
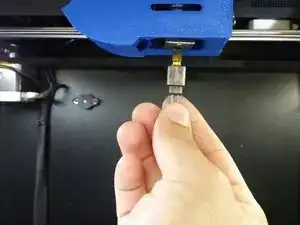
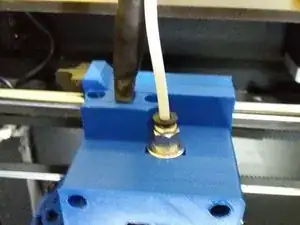
Replace the nozzle at the bottom of the head and the PTFE at the top, pushing it all the way down with your hands.
-
-
-
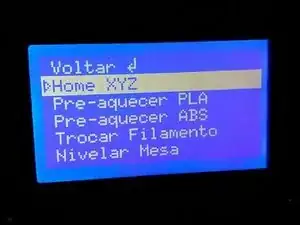
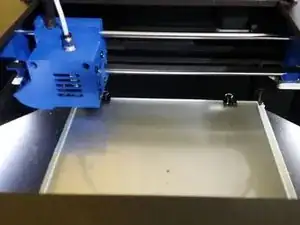
Reposition the table, in the option "Home XYZ" of the menu, in the section of quick setup and wait for it to be in the position indicated by the figure
-
You are ready to continue your prints!
