Introduction
Is your HP Laserjet Pro 200 not turning on? Then there may be an issue with the power button. This guide demonstrates how to quickly replace the power button inside your printer. All you need is a Phillips #2 Screwdriver, iFixit Opening Tool, and Metal Spudger!
-
-
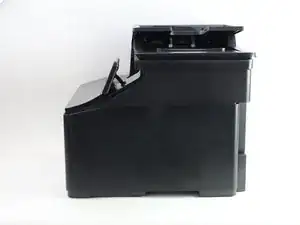
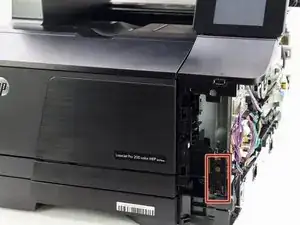
Turn the printer so that the front is facing to your left.
-
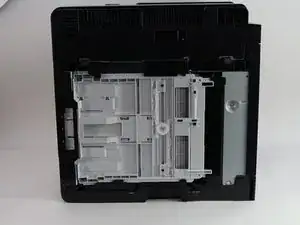
Flip the printer so that it is laying with its left side facing down and the bottom facing you.
-
-
-
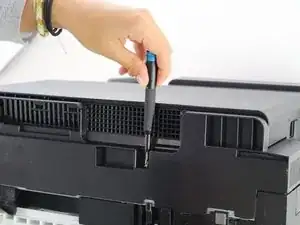
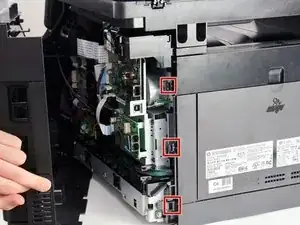
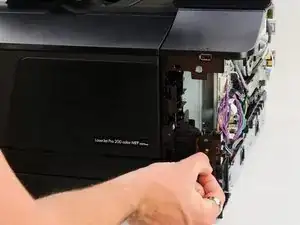
Use a flathead screwdriver to depress the tabs while lightly pulling the panel towards you.
-
Begin with the upmost tab and move your way down, individually depressing the tabs.
-
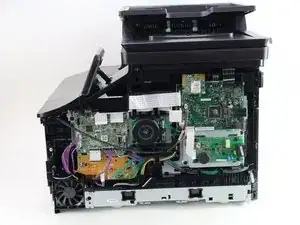
Pull the panel towards you and remove it from the printer.
-
-
-
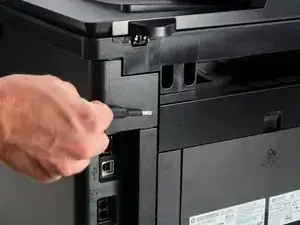
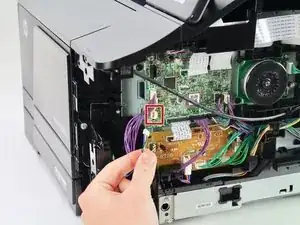
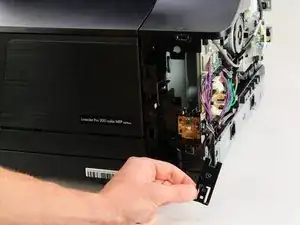
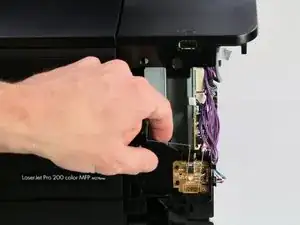
Turn the printer so that you are facing the open side with the power button chord.
-
Carefully remove this cord.
-
-
-
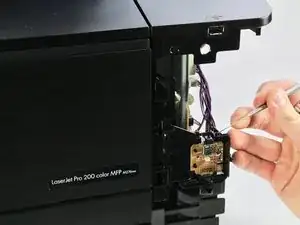
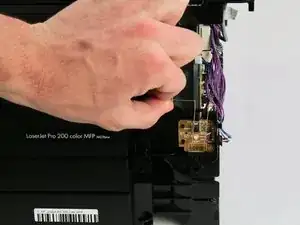
There is a cover that protects the electronics within the power button.
-
Remove it by pinching the two tabs on the cover.
-
Pull it outward from the printer.
-
-
-
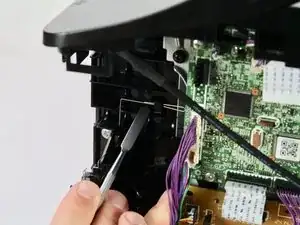
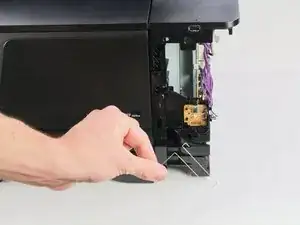
In order to remove the spring completely, begin by removing the right end of the wire from it's slot above the power button with a metal spudger.
-
-
-
Unclip the left side of the wire from printer by applying upwards pressure along the edge of the wire.
-
-
-
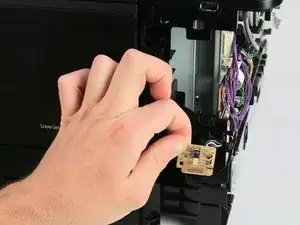
Grab the wire and hold it firmly with two fingers.
-
Pull it directly upwards.
-
Wiggle it until it is fully removed from the printer.
-
-
-
Pull the power button board directly towards you, until both the board and the wire are fully clear of the printer.
-

To reassemble your device, follow the instructions in reverse order.
One comment
super tuto
avez vous un tuto similaire pour le remplacement de la carte d'alimentation grillée par la foudre ?