Introduction

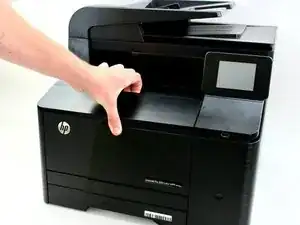
Is your HP Laserjet Pro 200 toner cartridge drawer jammed or broken? If so, this guide demonstrates how to quickly replace the toner cartridge drawer in your printer. All you need is a Phillips #2 Screwdriver and iFixit Opening Tool!

  1. lBCR4JiDBQHcXAPq
    • Open the front cover by grasping the edge and pulling it outwards.

  2. hwNeCXIpdExEyAUB
    • Pull out the toner cartridge drawer by using the handle as shown.

  3. BMY61DeZyTMLCCGD
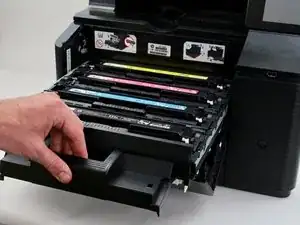
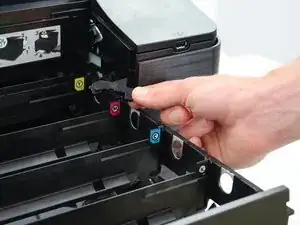
    • Use the handles built into the toner cartridges to remove them by pulling straight upwards.

    • Remove all 4 toner cartridges.

    • Each toner cartridge has a specific place depending on color. The right locations for each cartridge can be found by looking at the colored stickers on the right side of the drawer. This is important to note for reassembly.

  4. GoTBL1byuWu6inui
    GoTBL1byuWu6inui
    TGWJXY3WxHILqddI
    • There are 2 locks on the inner walls of the sides of the printer which need to be removed in order to have access to the toner drawer.

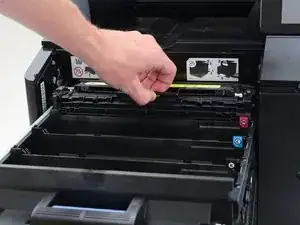
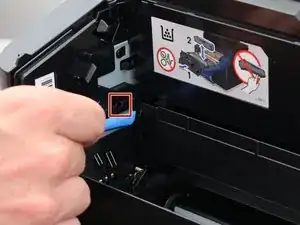
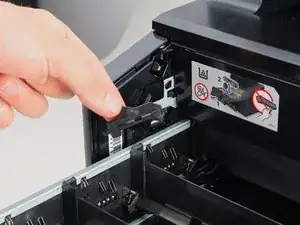
    • Use the opening tool or a small flathead screwdriver to depress the small button on the inside of the lock. This button keeps the lock from moving.

    • The second picture shows what these lock assemblies look like.

  5. LxlWvOWUB1h1TRDA
    LxlWvOWUB1h1TRDA
    jBNcfUJLLE5uNMUS
    QxDpMZeiZH3y3PdS
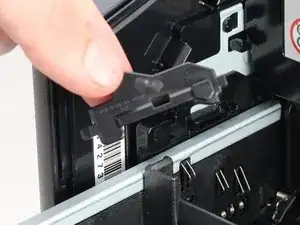
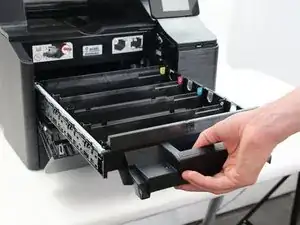
    • While continuing to depress the button, use your finger to grab ahold of the lock.

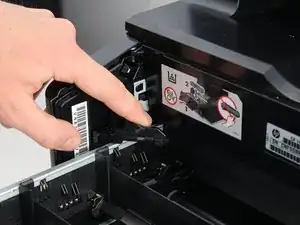
    • Push it forwards into the printer and maintain pressure on the lock.

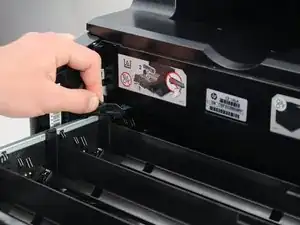
    • Pivot the back end of the lock away from the inner wall of the printer and towards you until it pops out.

  6. JByD4u2LfNbGED2M
    • Repeat steps 4 and 5 for the lock on the opposite side of the printer.

  7. LkWZ1IJxpKvXGcu3
    • Pull out the faulty ink cartridge drawer and replace it with a functioning drawer.

Conclusion

To reassemble your device, follow the instructions in reverse order.

Kendall Gentzen

Member since: 18/04/19

999 Reputation

0 comments