Introduction

Prerequisite Only

  1. 3xuNQIhuXs2XUDwB
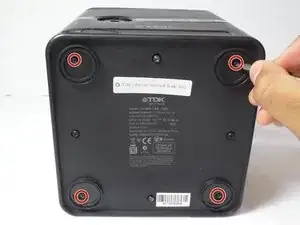
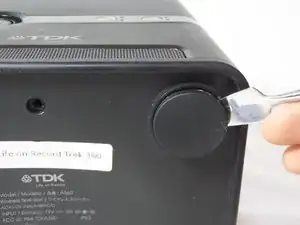
    • Remove the four rubber feet of the device using a metal spudger.

  2. 1ei14ULmbwWVfTiO
    1ei14ULmbwWVfTiO
    utorX5oROpEptkcn
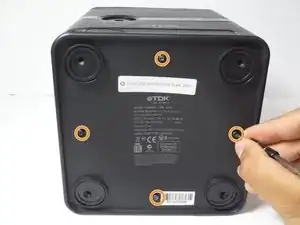
    • Remove the four 9 mm Phillips #0 screws located under the feet of the device.

    • Remove the four 9 mm Torx #8 screws located on each side of the bottom the device.

  3. vsJ1XXupavPuJIFr
    vsJ1XXupavPuJIFr
    pOD5MwkMGkJrFVsu
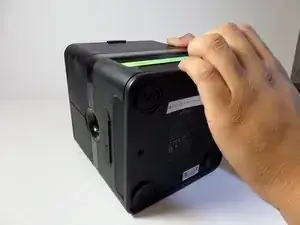
    • Pull the bottom cover of the device towards you.

  4. HbXjAUjt2SDoCDup
    HbXjAUjt2SDoCDup
    rOsORsOrMEt4Cxsv
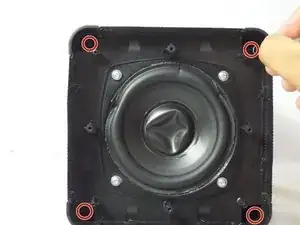
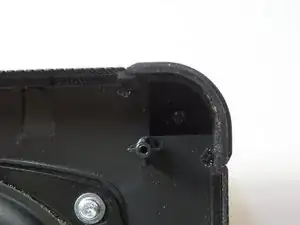
    • Remove the four 13 mm Phillips #1 screws.

  5. aiQA3cHgBSHTNOJc
    aiQA3cHgBSHTNOJc
    rMwpc26rsDZsZVpk
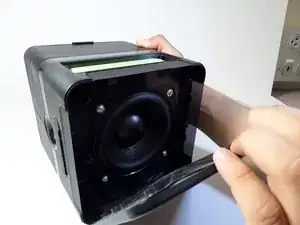
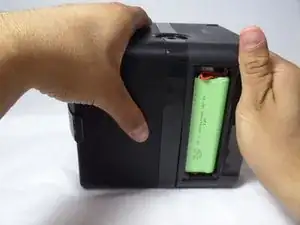
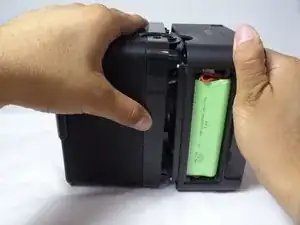
    • Use one hand to grip the device from the side of the handle, and use the other hand to grip the side of the device that contains the woofer

    • The woofer is the circular component located at the bottom of the device after the bottom cover has been removed

    • Pull apart the compartments by applying force in opposite directions.

    • Do not pull with extreme force!! There are many electrical wires inside the device that can become damaged if the bottom panel is removed without care

  6. CdfTOgkcIr5Tu5Ug
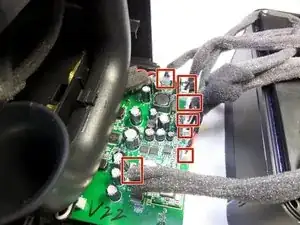
    • Disconnect the seven cables attached to the motherboard.

    • Do not use too much force when pulling on the wires. Pulling with too much force can damage the wires.

Conclusion

To reassemble your device, follow these instructions in reverse order.
Eduardo Barrios

Member since: 14/09/15

323 Reputation

0 comments