Introduction

  1. ZTN1owbLfeNQMiUW
    ZTN1owbLfeNQMiUW
    OSZw3JoZxIJmdrAW
    • Remove the 2 screws on the back cover using a Phillips head #0 screwdriver.

  2. tBEh21jPI6ORarab
    tBEh21jPI6ORarab
    OUShLBbeWJRYNETm
    • Remove the screw on each side of the device using a Phillips head screwdriver.

  3. OQiVCVmjykmc3pNe
    OQiVCVmjykmc3pNe
    sqapc32WTp5VMskK
    COO6BMPOhbDNa4PI
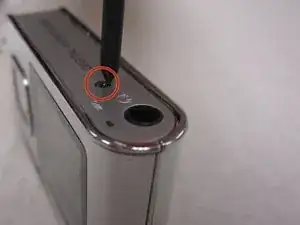
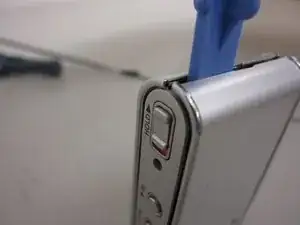
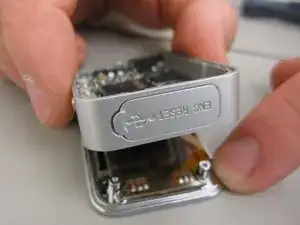
    • Using the plastic opening kit, place the prying end of the kit into the opening created by removing the screws.

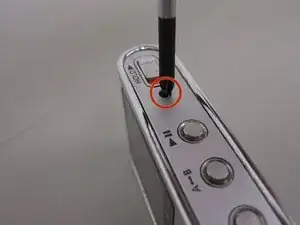
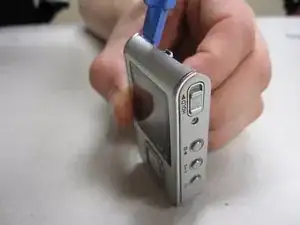
    • Gently pry open the back cover. Insert the plastic opening tool in between the cover joints.

  4. pKotRltwftHlS6Dw
    pKotRltwftHlS6Dw
    J5eYGVn3VrfDFGRN
    • Using the philips screwdriver, remove the two screws on the mother board.

  5. BrssQpYN2bQoAPkw
    BrssQpYN2bQoAPkw
    PgVFGPcFTSI1VXFD
    T4OqVNyFP6ISJwwM
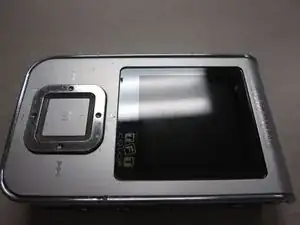
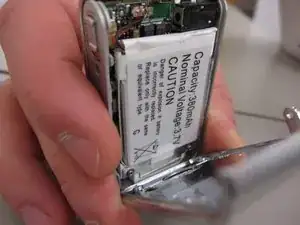
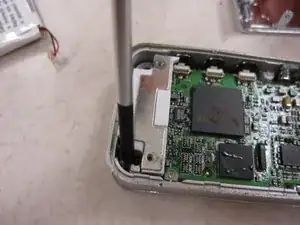
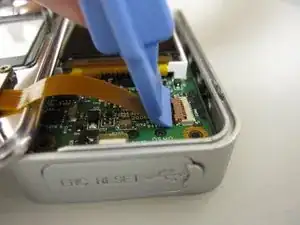
    • Place the pry tool in-between the front cover and mother board.

    • Gently separate the front cover.

  6. a5msKJhqpFLOlVAt
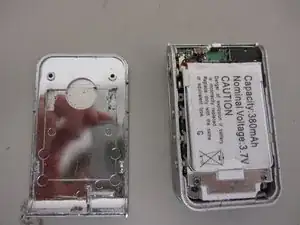
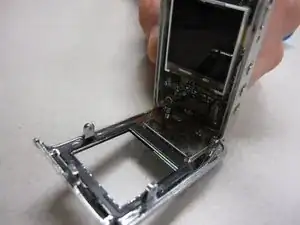
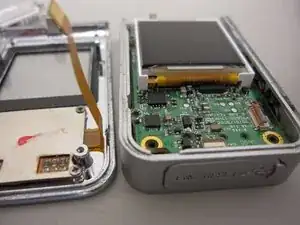
    • After opening the front cover you will see and electric ribbon connecting the buttons to the mother board.

  7. AJcVvBWDcVOUdNFS
    AJcVvBWDcVOUdNFS
    uwUGnVyR4RTjtKSA
    • CAUTION: Do not rip the electric ribbon from the mother board.

    • Carefully flip up the plastic lip that holds the electric ribbon to the board.

Conclusion

To reassemble your device, follow these instructions in reverse order.

Jason Farr

Member since: 21/10/13

353 Reputation

0 comments