Introduction

Following this guide involves completely disassembling the monitor. This process isn't terribly difficult, just time consuming.

  1. Fjby5QK6txtsVdYy
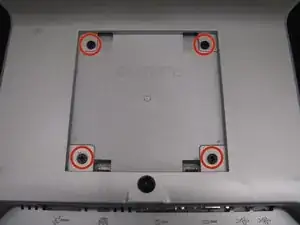
    • Carefully place the monitor face down on a flat surface, being careful to protect the display.

    • Remove the four 10 mm Phillips #2 screws from the back panel.

  2. Tu4slOqiVmkEHXyV
    • Flip the monitor back over, so that the display is facing you.

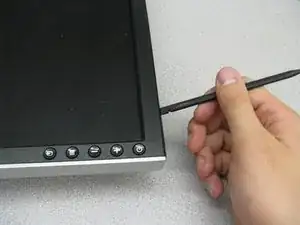
    • Use a spudger to remove the front bezel by unsnapping it in a counter clockwise fashion, starting at the bottom right, and ending at the button panel.

  3. gRmuLHxHvsDA6UZT
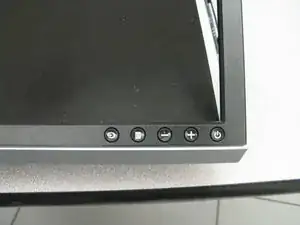
    • Slowly unsnap the bezel around the buttons.

    • Be careful to not fully remove the bezel here, because a ribbon cable attaches the buttons to the monitor.

  4. SUdSm6DjHQJpBwHf
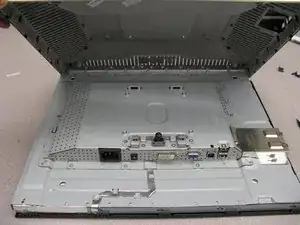
    • Carefully flip the monitor back over, making sure to keep the front bezel in place.

    • Lift the back cover off of the rest of the monitor.

  5. WvLZnoM4vdnfemre
    WvLZnoM4vdnfemre
    KXlfHwgPSndqkMyh
    KHwyPF4YKfHZPoJf
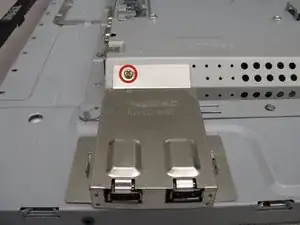
    • Locate the USB port cover on the right hand side of the monitor.

    • Remove the one 5 mm Phillips #2 screw.

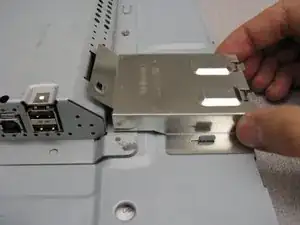
    • Remove the USB port cover by sliding it out and away from the monitor.

  6. sgE5HuLAOyAxjtdc
    sgE5HuLAOyAxjtdc
    mI1vfnAopPBZPuBu
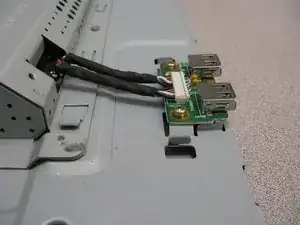
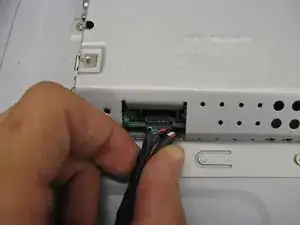
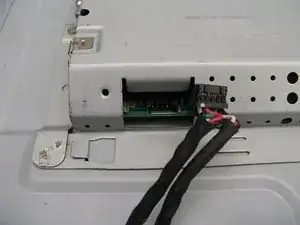
    • Disconnect the USB ports by gentling grasping and pulling on the connector.

  7. MJ6gt2RloldfdNbv
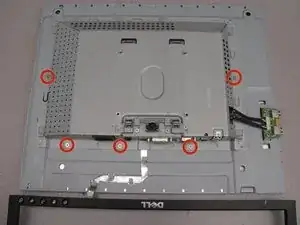
    • Remove the five 5 mm Phillips #2 screws from the back panel.

  8. YlSEgeNtbIdmSc44
    YlSEgeNtbIdmSc44
    EKuvapBuUQsYLbCI
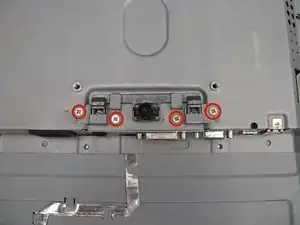
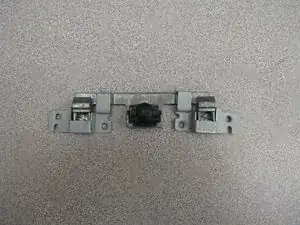
    • Remove the four 4 mm Phillips #2 screws that secure the monitor mount release mechanism to the panel.

    • Set this mechanism off to the side, taking care to keep it all in one piece.

  9. qk66Kse3E3VSFFI2
    qk66Kse3E3VSFFI2
    pDmdEIvaA2Hm2PdT
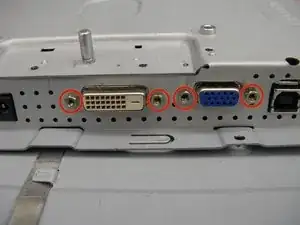
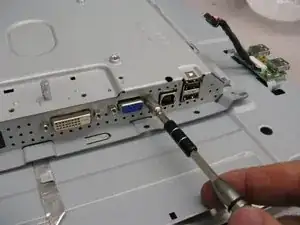
    • Use a 5 mm nut driver to remove the four 12 mm standoff screws securing the video connectors to the panel.

  10. ErOcHy3QFOTqbNet
    ErOcHy3QFOTqbNet
    yAiHxvEmP6CTJb2V
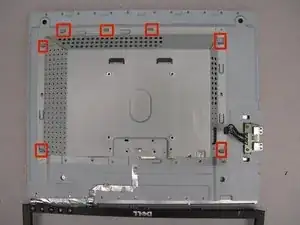
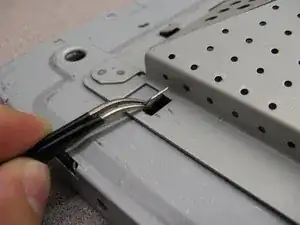
    • Use the tweezers to lift up the seven security tabs that secure the back panel to the rest of the monitor.

    • If the security tabs are held down too tightly, use the spudger to pry them up, and then finish them off with the tweezers.

  11. APDNbHUsVlM2L2hC
    APDNbHUsVlM2L2hC
    FetOyQmYeJfeNK6c
    u5myw4cU5eikbDsf
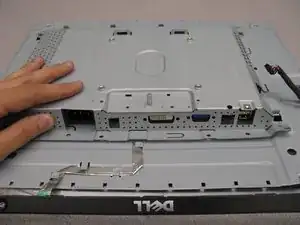
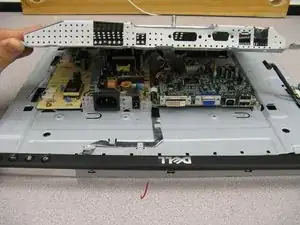
    • Lift up on the back panel to remove it from the rest of the monitor.

    • Be careful when doing so, as the edges of the back panel can be very sharp.

  12. kR2xVDocajZjUGJQ
    kR2xVDocajZjUGJQ
    UtBxSNx1JrF66EUF
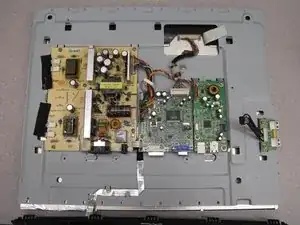
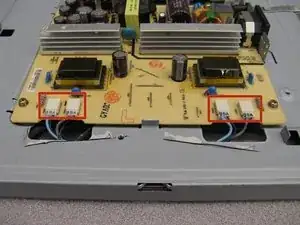
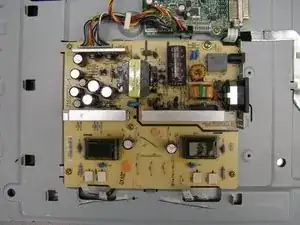
    • The power supply has several large capacitors (they look like little cylinders), that can shock you if they discharge. Be careful not to touch them as you continue to work.

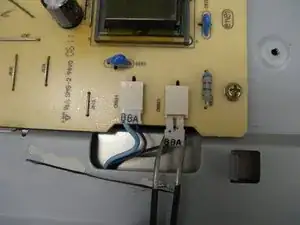
    • Use the tweezers to remove the four connectors from the power supply board.

  13. 22uWvrPQ3ORevQCk
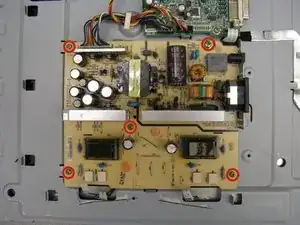
    • Remove the five 7 mm Phillips #2 screws from the power supply board.

  14. CgRYLqATCbIEIDFT
    CgRYLqATCbIEIDFT
    T4wi2NpnRhubfOD2
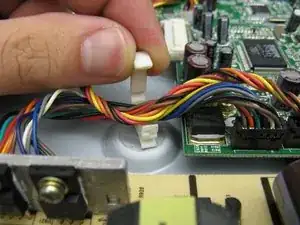
    • Open up the clip securing the wires running between the power supply and video boards.

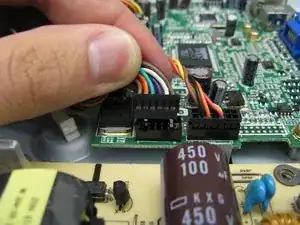
    • Gently remove the connector running from the video board to the power supply board.

  15. XRQJDi1wNlFf43Pk
    XRQJDi1wNlFf43Pk
    TtNkSyXkVCEMmDIr
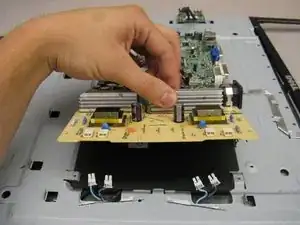
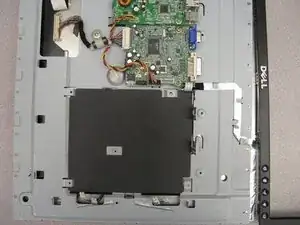
    • The power supply board can now be removed.

Conclusion

To reassemble your device, follow these instructions in reverse order.
Geoff Wacker

Member since: 30/09/13

90584 Reputation

0 comments