Introduction
Over time the cable on the Motherboard may become loose or even break due to wear and tear. This guide will demonstrate how to replace the motherboard of the keyboard.
-
-
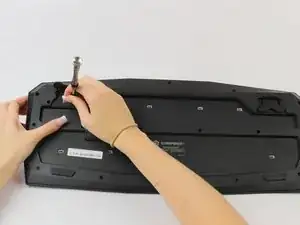
Remove the two 10 mm length screws using the Phillips head #1 which are located underneath the kickstand of the keyboard and directly next to it.
-
-
-
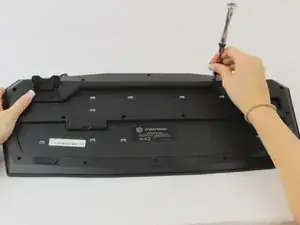
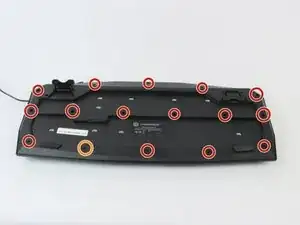
Remove the sixteen 5 mm length screws using the Phillips head #2.
-
One of the screws may be located underneath a manufacturer's sticker.
-
-
-
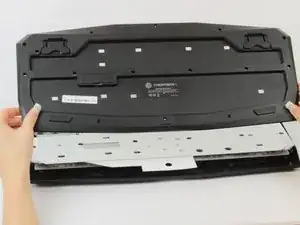
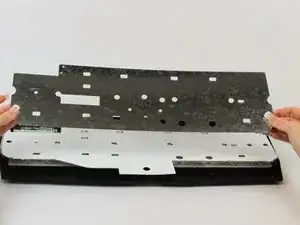
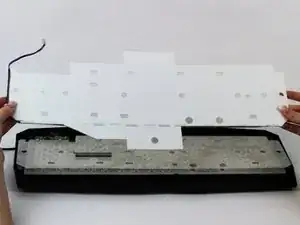
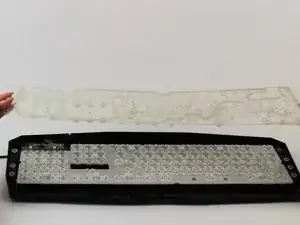
Now the cell membrane should be exposed, gently lift this part and ensure that the rubber buffers are all intact to the membrane, if not pick up the buffers and set to the side.
-
-
-
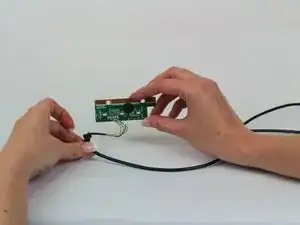
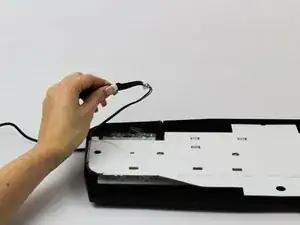
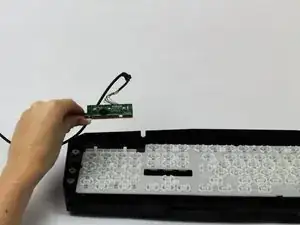
Remove the motherboard and its attached cable from the plastic casing. The cord should now come free to replace.
-
To reassemble your device, follow these instructions in reverse order.