Introduction
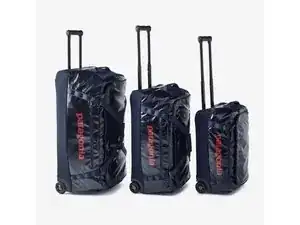
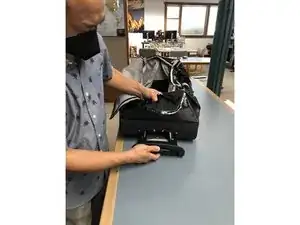
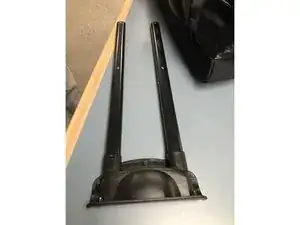
This guide will walk you through a handle replacement for the Black Hole® Wheeled Duffel Bag.
For replacement parts or further assistance, contact Patagonia Customer Service.
Tools
Parts
-
-
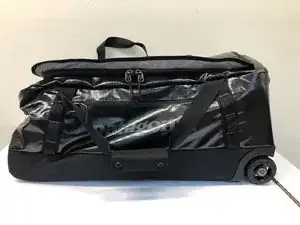
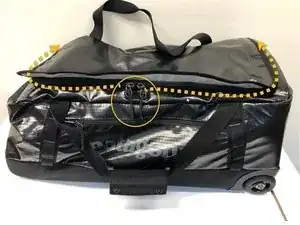
Place luggage on back and locate the zipper sliders to the main compartment zipper.
-
Open the main zipper completely.
-
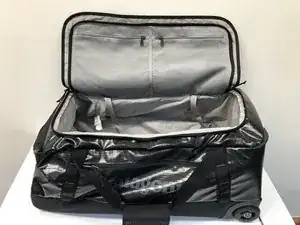
Open the flap to the main compartment.
-
-
-
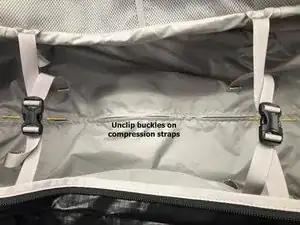
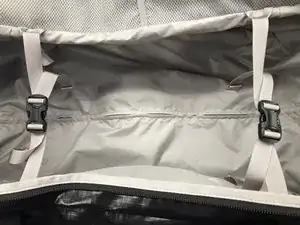
Unclip the buckles of the compression straps for ease of access in the main compartment.
-
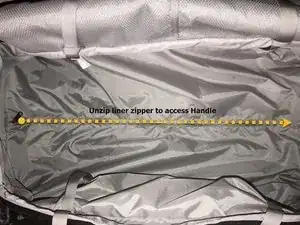
At the bottom of the main compartment, open the zipper of the lining to expose the handle housing inside the liner compartment.
-
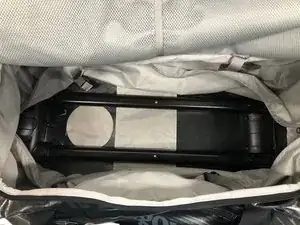
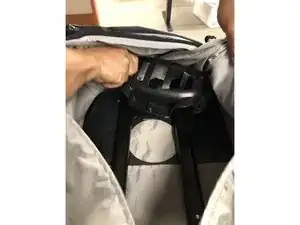
Push the lining fabric out of the way.
-
-
-
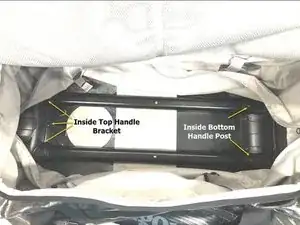
Locate the Inside Top Handle Bracket for removal.
-
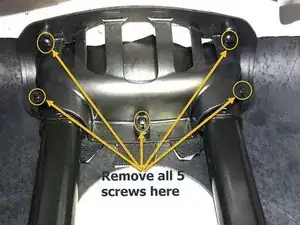
With a #2 Phillips-head Screwdriver, unscrew all 5 screws of the Inside Top Handle Bracket.
-
Once all screws are removed, you can now remove the Inside Top Handle Bracket.
-
-
-
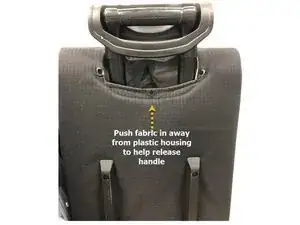
To remove Handle from bag, pull Handle Assembly straight out of the bag while pushing fabric inward away from Plastic Handle Housing to separate it from the bag.
-
Once you have released the Outside Plastic Handle Assembly from the bag continue to pull Handle straight out to completely remove it from bag.
-
Handle Assembly is now removed
-
-
-
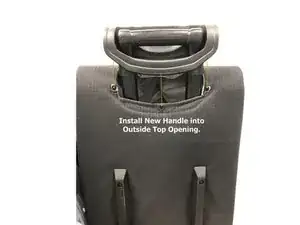
Install New Handle into Outside Top Handle opening of bag as shown.
-
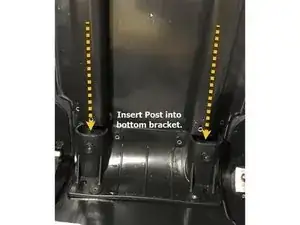
Insert Handle post into Bottom Bracket slots.
-
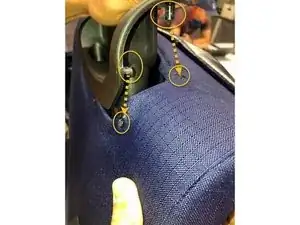
While inserting Handle, align Outside Plastic Handle Housing screw post into each hole in bag .
-
-
-
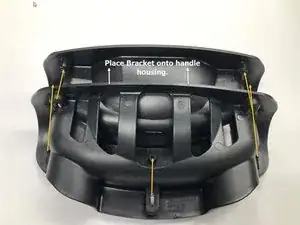
Place Inside Top Handle Bracket on top of Handle Housing. See Reference image #1
-
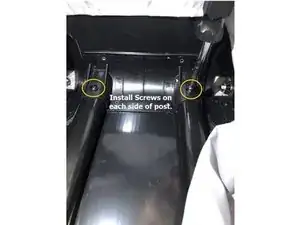
Ensure Inside Top Handle Bracket aligns with screw post of Handle Housing for proper installation of screws. See Reference image #2
-
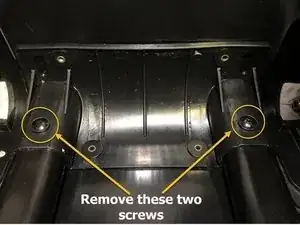
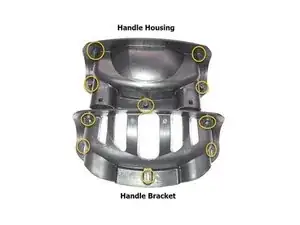
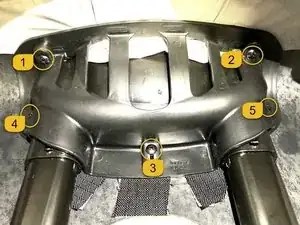
Using a #2 Philips Screwdriver, install screws in sequential order as pictured in Reference Image#3 for ease of installation while holding bracket in place. Do not over tighten.
-
-
-
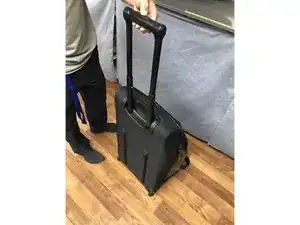
Test Handle to ensure it works properly by fully extending it until it locks into position.
-
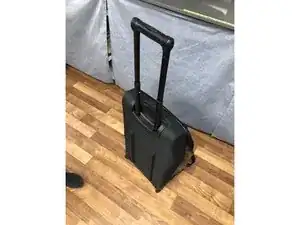
Collapse Handle down into the middle locking position.
-
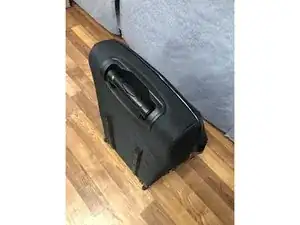
Collapse Handle completely down into the Handle Housing. Handle should lock into place.
-
-
-
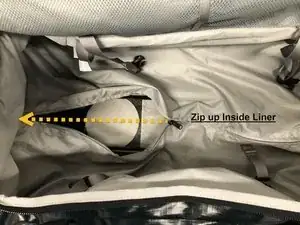
Zip up Inside Liner.
-
Reinsert Compression Strap Buckles
-
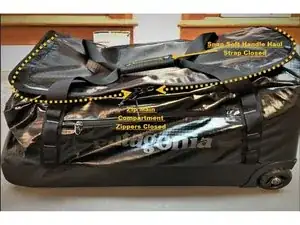
Zip up Main Compartment Flap and snap Soft Handle Haul Strap back together
-
The repair is complete, Great Job!
-
Black Hole® Wheeled Duffel Handle, To obtain a replacement handle please contact Patagonia Customer Service or your regional Patagonia Retail Store.
