
Introduction
This guide offers step-by-step instructions on how to replace a battery on a Kindle Fire 7.
Parts
-
-
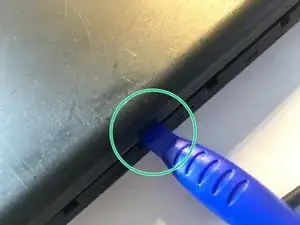
Insert the plastic prying tool in the seam where the back cover meets the screen's bezel along the edge of the tablet.
-
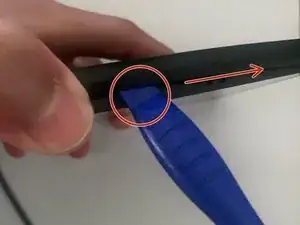
Carefully work your way around the edges to free all of the clips that secure the back cover in place.
-
-
-
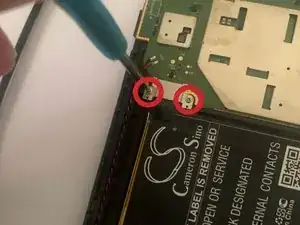
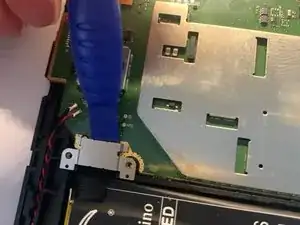
Remove the two screws that secure the battery connector cover in place with a #00 Phillips screwdriver.
-
Lift the battery connector cover off
-
-
-
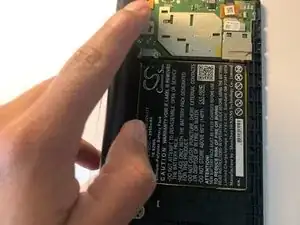
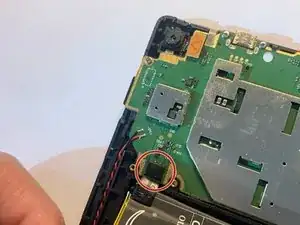
Disconnect the battery.
-
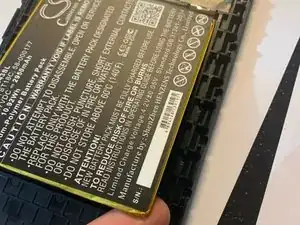
Fit the tip of the plastic opening tool under the bottom right of the battery.
-
Remove the battery from the frame.
-


Conclusion
To reassemble your device, follow these instructions in reverse order.
